OpenLiteSpeed is an open-source web server. This tutorial shows you how to install OpenLiteSpeed on Rocky Linux 8. The tutorial is also compatible with other RHEL clones Like CentOS 8 and AlmaLinux 8.
Prerequisites
In order to install OpenLiteSpeed, you will need the following:
- A non-root user with sudo privileges.
- A Rocky Linux 8 / AlmaLinux 8 / CentOS 8 Linux server with a minimum of 6GB disk space when installed (8GB recommended).
- Recent versions of the wget and curl command-line tools are also required.
Updating the system
OpenLiteSpeed is compatible with many Linux distributions. The first thing to do is update the system and ensure OpenLiteSpeed can be installed. Use the following commands to update your system.
sudo dnf clean all
sudo dnf -y update
sudo dnf install -y epel-release
Adding the RPM OpenLiteSpeed Package
It’s time to add the RPM to your system. The process is very simple and can be done using one command. It’s time to add the RPM to your system. RPM OpenLiteSpeed Package is a software bundle that includes OpenLiteSpeed and all its dependencies. It also takes care of switching to the OpenLiteSpeed daemon if you have any other web servers running on the server.
Run the command below to add the RPM OpenLiteSpeed Package. The rpm -Uvh portion of the command installs the OpenLiteSpeed RPM from the link provided by Litespeedtech http://rpms.litespeedtech.com/centos/litespeed-repo-1.1-1.el8.noarch.rpm. This command also upgrades any existing packages that are currently installed on your system.
sudo rpm -Uvh http://rpms.litespeedtech.com/centos/litespeed-repo-1.1-1.el8.noarch.rpm

Run the sudo dnf repolist litespeed command to check if the package has been enabled properly.
sudo dnf repolist litespeed
Ensure the command above output shows litespeed as enabled as shown below.

Installing OpenLiteSpeed Web Server
Now that you have installed the RPM package and the OpenLiteSpeed repository is enabled, the next step is to install OpenLiteSpeed itself.
Run the command below to install OpenLiteSpeed Web Server on your Centos 8 system.
sudo dnf install openlitespeed -y
Configuring OpenLiteSpeed Web Server
OpenLiteSpeed is installed now. You need to run some commands in order to continue the configuration process. It is recommended that you do not make any changes to your website until the configuration of OpenLiteSpeed has been completed successfully. This will ensure that your website’s back-end and front-end remain synchronized as changes are made to the code and files during this process.
The default password for OpenLiteSpeed is: 123456. You should change the password to something more secure at the very least before you complete the installation process.
You can change the default password by running the admpass.sh below. admpass.sh is designed to generate the admin password string. It uses the language of the file named addpass.php supplied with OpenLiteSpeed distribution and then applies that to the local LSWS installation by hardcoding it in an auto-generated script.
/usr/local/lsws/admin/misc/admpass.sh
Provide a username that is the username you want to use for your LSWS admin account. Provide a password that contains at least six random syllables that are also of your choice.

Run the commands below to start and check the status of your lsws service.
sudo systemctl start lsws
sudo systemctl status lsws
You will get the following output.

Configuring Firewall
Now that you have successfully installed OpenLiteSpeed, it is time to open up some ports for OpenLiteSpeed on your firewall. This is where OpenLiteSpeed communicates with the clients.
OpenLiteSpeed uses ports 7080 and 8080 by default. You need to open up these ports on your firewall so that your clients can access OpenLiteSpeed and publish their webpages
Port 7080 is the default listening port for the OpenLiteSpeed Web Server. This is the port that the server will use to listen for incoming requests from clients.
Port 8088 is the default port for HTTP. This is the port that any web browser will use to connect to your OpenLiteSpeed server. To open up these ports, we will use the iptables commands.
Run the command below to open 8088 and tcp port on your firewall.
sudo firewall-cmd --zone=public --permanent --add-port=8088/tcp
Run the command below to open 7080 and tcp port on your firewall.
sudo firewall-cmd --zone=public --permanent --add-port=7080/tcp
Run the sudo firewall-cmd –reload command to apply the new firewall rules.
sudo firewall-cmd --reload
Accessing OpenLiteSpeed Web UI
Now that OpenLiteSpeed has been installed and configured, you can visit the web interface on your system and start managing your website.
Open your web browser and visit the IP address of your server, followed by 8080. For example, if you have 192.168.1.102 as the IP address then you would visit http://192.168.1.102:8088 on your browser. You will be presented with the OpenLiteSpeed welcome page.

Once you are happy with the welcome page, you can navigate to http://youser-ip:7080 to access the OpenLiteSpeed admin page from the browser.
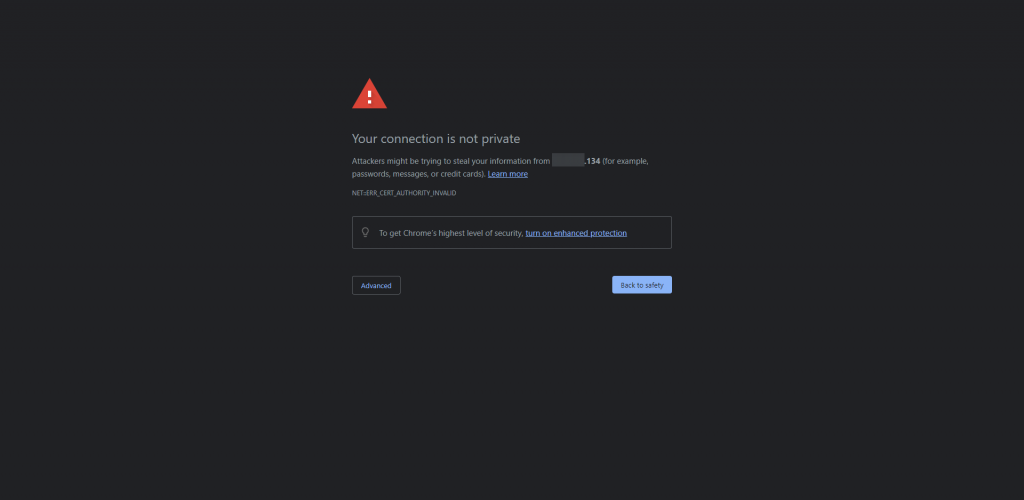
You will get a Your connection is not private warning. This is part of your browser’s default security settings. You will get the warning because you have not yet secured your webserver. You can ignore this warning for now and continue with the installation process.

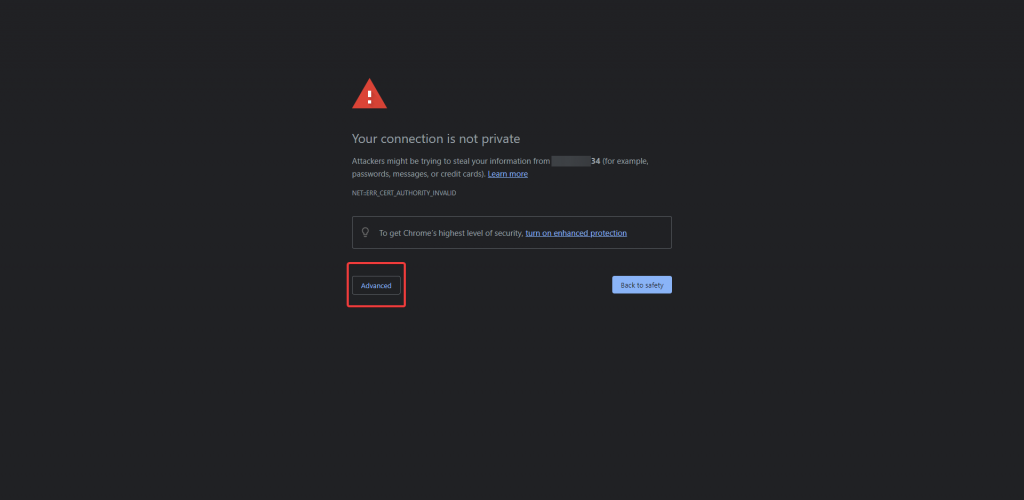
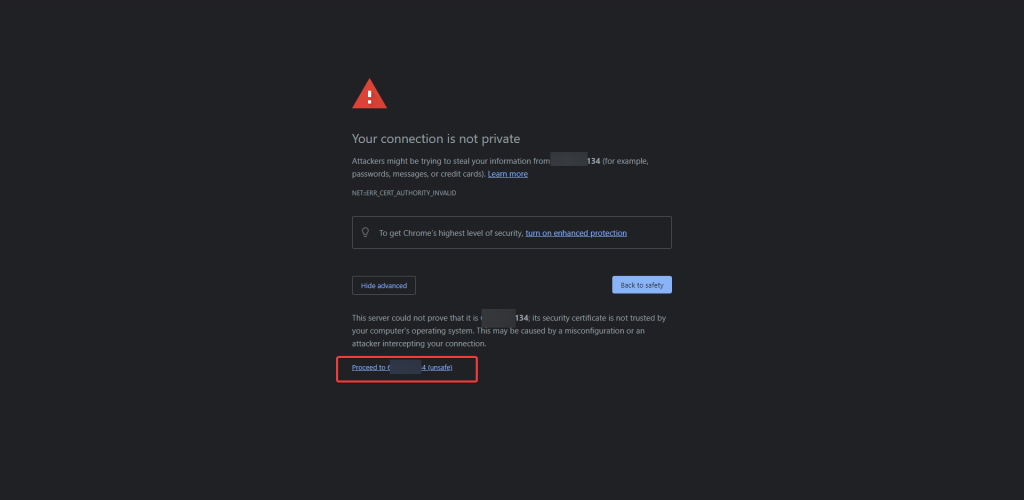
To overcome this issue, click on Advance Settings. Click on the Proceed to (unsafe) link as shown below.


You will get a login page. In this page you will be asked to enter a password for the admin account. Provide the credentials you configured during the installation process. Click on Login.

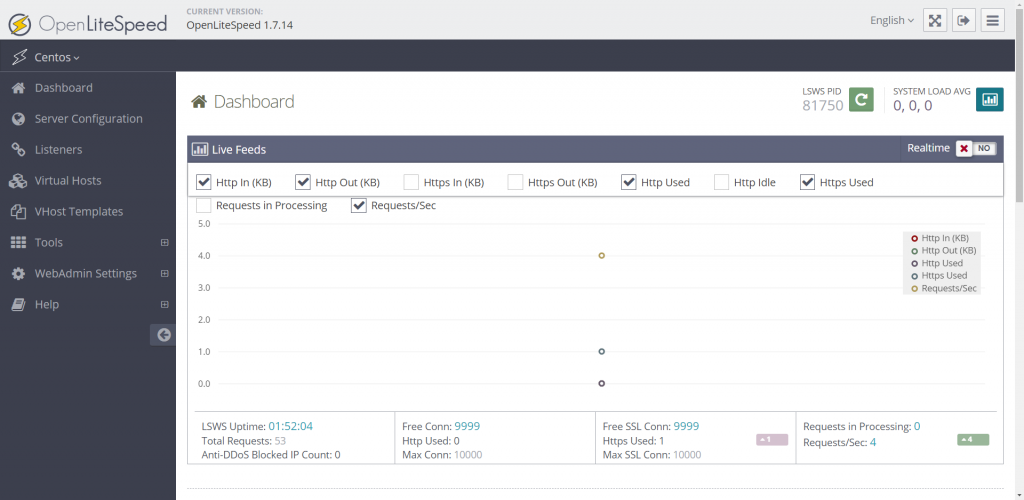
Once the login process is complete you will be redirected to the OpenLiteSpeed admin web interface, as shown below. From this screen, you can go ahead and configure OpenLiteSpeed to your liking.

Conclusion
In this tutorial, we have seen how to install and configure the OpenLiteSpeed Web Server on Rocky Linux 8, AlmaLinux 8 or CentOS 8. There is a lot more to learn about configuring and working with OpenLiteSpeed on your system. If you are interested in learning more about how to set up and work with the OpenLiteSpeed web server, please visit its official documentation page for more information.