
Gradle is a general-purpose build tool that is popular with Java developers. It has a simple syntax that makes it easy to learn, and it can be used to build a wide variety of projects, from simple Java applications to complex enterprise systems.
One of the things that makes Gradle so popular is its flexibility. It can be used to build projects of any size and complexity, and it can be customized to meet the specific needs of your project. Additionally, Gradle is well-supported by the development community, with a large number of plugins available that add extra functionality.
However, Gradle can be difficult to set up and configure. Even for simple projects, you’ll need at least a basic understanding of its directory layout and build syntax. This involves learning about the Gradle Wrapper, which is an important part of the Gradle ecosystem.
The good news is that once you’ve got your project set up, it’s easy to add new tasks or update existing ones. You may even find yourself writing custom tasks that add functionality not available in any other plugin!
Gradle is very popular with Java developers because of the way it simplifies dependency management. Rather than requiring each team member to explicitly define all their project dependencies (such as library JAR files), Gradle allows them to declare their dependencies once and then let Gradle take care of the rest. This makes it easy to manage updates and changes to your project dependencies, and it also ensures that all team members are using the same version of each dependency.
In this article, we’re going to show you how to install Gradle on Rocky Linux 8. We’ll also demonstrate how to create a simple Java project and build it using Gradle.
Prerequisites
In order to follow along with this article, you’ll need to have
- Access to a Rocky Linux 8 server instance.
- Root access or sudo privileges on the server.
Updating the System
Before we start configuring Gradle, you’ll need to make sure that your system is fully up to date. Run the following command to update your system.
sudo dnf check-update && sudo dnf update -y
Reboot your server to apply all updates and changes, then proceed to the next step.
sudo reboot
Installing Java
Gradle requires Java 8 or above, so the first thing that you’ll need to do is install Java on your system.
The Appstream repository contains both Java 8, Java 11, and Java 17, so we’ll use that to install Java. Run the command below to list all of the Java packages that are available in your system.
sudo dnf search openjdk
You should see a list of all of the Java 8, 11, and Java 17 packages that are available.

As of this writing, the latest stable version of Java is 11, so we’ll install that package. Run the command below to install Java 11 on your system.
sudo dnf install java-11-openjdk -y
Once the installation is complete, you can run the command below to verify that it has been successfully installed.
java -version
The output should show your version of Java, which in this case is v11.0.3

Installing Gradle on Rocky Linux 8
Now that our system is up to date and we have Java installed, let’s install Gradle.
The Gradle website provides binaries for a wide variety of platforms, including Rocky Linux 8. Run the command below to download the latest Gradle package for Rocky Linux 8. Replace VER=7.1.1 in the command below with the latest version number from the Gradle website.
sudo dnf install wget -y && VER=7.1.1 && wget https://downloads.gradle-dn.com/distributions/gradle-$VER-bin.zip -P /tmp
Now, unzip the Gradle package and move the unzipped files to the /opt/gradle directory.
sudo dnf install unzip -y && unzip -d /opt/ /tmp/gradle-7.1.1-bin.zip && mv /opt/gradle{-7.1.1,}Run the ls command below to verify that the unzipped files have been moved.
ls /opt/gradle
Sample output:

Once you’ve verified that the Gradle files have been successfully placed in the /opt/gradle directory, we’re ready to start using Gradle on our system!
First, we will need to configure the environment variables to point to the Gradle executables. We can do this by running the commands below. The command will add the Gradle executables to our system’s PATH variable so that we can run them from any directory.
echo 'export PATH=$PATH:/opt/gradle/bin' > /etc/profile.d/gradle.sh
Next, run the command below to make sure that the /etc/profile.d/gradle.sh file has the correct permissions.
chmod +x /etc/profile.d/gradle.sh
Now, source the /etc/profile.d/gradle.sh file to set the environment variables to your current shell.
source /etc/profile.d/gradle.sh
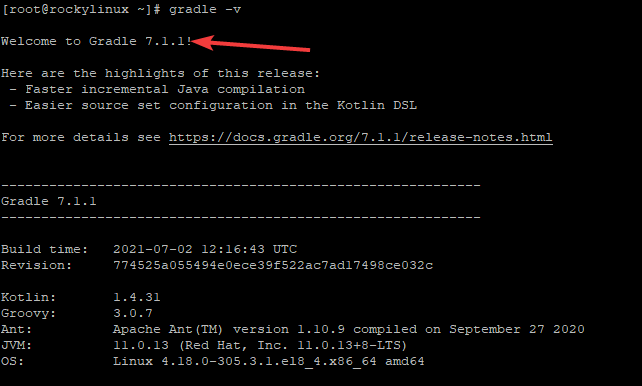
You can test if Gradle is installed and working by running the gradle command with the -v option.
gradle -v
Gradle should show the version number that was installed on your system, which in this case is 7.1.1
Testing the Gradle Installation
Now that we have Gradle installed and configured on our system, let’s create a simple Java project using Gradle and see how it works.
First, create a new directory called “test-gradle” to house our project files. Then, cd into the new directory.
cd && mkdir test-gradle && cd test-gradle
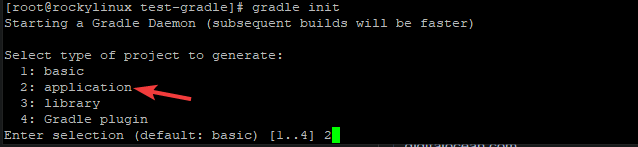
From inside the newly created test-gradle directory, run the init task to initialize the project.
gradle init
On the first prompt, select 2 and hit Enter.
On the second prompt, select 3 and hit Enter.

On the third prompt, select 1 and hit Enter.

For the remaining prompts, just keep the default by hitting Enter.
You will get a BUILD SUCCESSFUL message in the terminal if the task was successful.

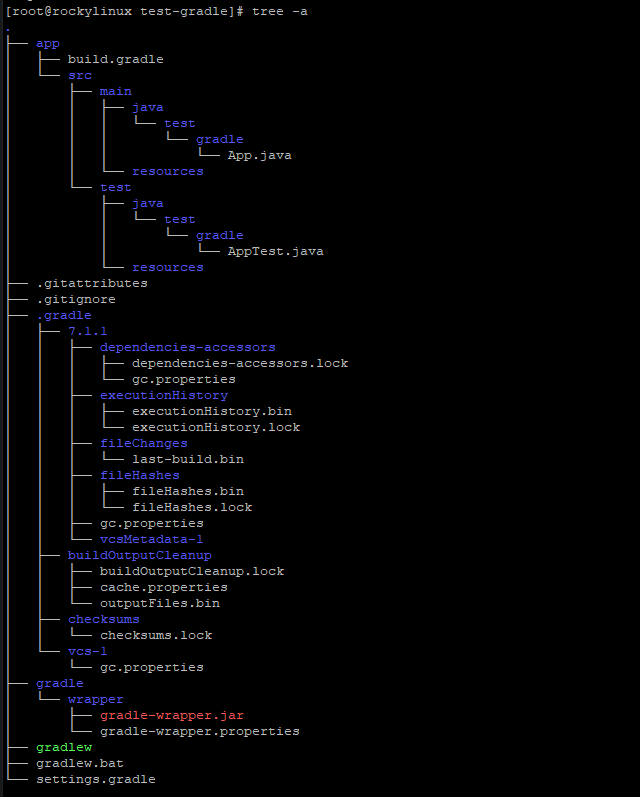
If you take a look in the test-gradle directory, you’ll see that there are many new files that were created for you with the following structure.
You can run the command below to see your project directory structure.
tree -a
Sample output:
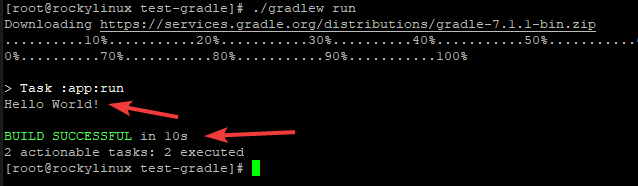
Now, let’s run our application. We can do this by running the command below. Thanks to the application plugin, Gradle will automatically build and run our application for us.
./gradlew run
The output in the terminal should show that the application was successfully deployed. You can see the Hello World! message printed in the console. Congrats, you have successfully installed Gradle on Rocky Linux 8.
Conclusion
You have successfully installed Gradle on your Rocky Linux 8 system. Now that you have Gradle installed, there are many things that you can do with it, including creating and building new projects, forking or downloading existing projects from the Gradle website, and using Gradle to execute tasks such as running unit tests.
Once you become more familiar with Gradle, you can also customize your builds by creating and using custom Gradle plugins. Happy building!