Apache Maven is a build automation tool for Java, developed by Apache and vigorously supported by a wide community of contributors. The project does not support other programming languages, but the Maven ecosystem is growing quickly to include more and more plug-ins that cover various tasks. The project is part of Apache’s umbrella of projects and is thus under the Apache Software Foundation.
The project takes in modular software and analyzes its dependencies for transitive closure. It then performs the required actions for building the project – compiling code, running tests, packaging artifacts – and generates reports about what it did in order to produce an executable JAR archive file or Ant build file.
Maven accepts a wide range of source-based site dependencies and its built-in classpath. This allows projects to be built incrementally using a range of external libraries. However, not all projects use external libraries. In fact, most (such as Spring and Hibernate) are production class libraries that are compiled from existing codebase in order to achieve high-quality results for end-users.
Maven Projects are created using the “Maven Project Object Model” (POM). This file is used to define metadata about the project, as well as build instructions. Other build tools and plug-ins can use this information. Dependencies for a project are managed in a “dependency management” section of the POM. The directory structure of these projects can be complex, but it is designed to be easily navigable with tools that Maven itself currently ships with, such as the mvn command line tool and Eclipse plugin.
You are a Java developer and you just got the Debian operating system and you could not get the Apache Maven Java build tool set installed . Well, don’t panic because here are the steps in this article that will lead you to install Apache Maven on Debian.
In this article, we are going to focus on the steps involved in installing and configuring Apache Maven for your Java project on Debian.
Prerequisites
To install Apache Maven, you need to have the following:
- A Debian 10 or Debian 11 PC with internet connection
- A non-root user with root privileges on the system. You can learn how to crate one here.
Updating Debian
It’s highly recommended that you update Debian 10 to the latest version of your package list before proceeding.
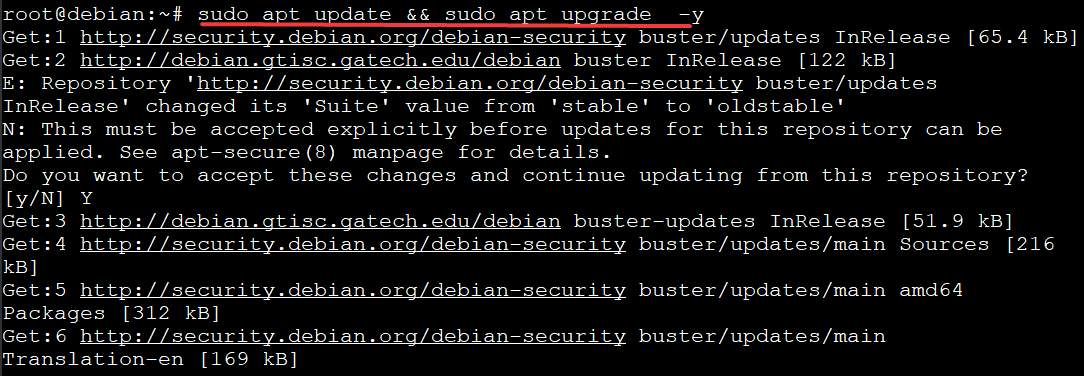
Open your terminal and run the following command to update your system.
sudo apt update && sudo apt upgrade -y
Install Apache Maven Using the APT
APT is a package management system. APT stands for “Advanced Packaging Tool.” This means that the user can easily download and install packages from different locations or repositories.
In other words, it is a framework for managing software/packages installed on your machine from one single place. To put it more simply, it helps you install new packages when needed. The APT is sponsored by the openSUSE Project and is distributed in all major Linux distributions (Ubuntu, Debian, Fedora etc).
Install Apache Maven using the APT is the easiest way to install Apache Maven. However, the version of Apache Maven bundled in the APT may be older. You will not get the latest version of Apache Maven on your system.
If you want the latest stable version of Maven, you will have to download it from the official website. You will learn this later in the later section.
Run the command below to install Apache Maven on your system.
sudo apt install maven -y
The above command will install the default Apache Maven on your Debian system. When the installation completes, you can test Maven on your Debian system, by checking its version from the command line with the mvn command with the -version flag.
mvn is the “shortcut” to execute Maven commands. This command has several options and switches that help you to run different Maven commands. You can also execute the options individually. However, this would be a difficult task and take much longer than using Maven commands. If you are working with Maven projects, the mvn command will be used frequently.
The version flag (-version) is used to check the version of Apache Maven. When you use the mvn command line, it will print the version of Apache Maven installed on your system.
sudo mvn -version
You will get the following output.

Install latest Apache Maven version from source
You can also install the latest stable release of Apache Maven on Debian 10 by downloading and installing the archive package. This way, you get the latest stable release of Apache Maven on your Debian system.
An archive file is a single file that contains several files or directory structures. The files can be compressed or uncompressed. The tar and zip formats are two of the most common archive file formats. The tar format is used very frequently.
The benefit of using archive files is that they are easy to package, transfer and share. The contents of an archive file can also be compressed for easy transfer through the network and the internet.
You get the latest stable release when you install Apache Maven using the archive file. You can easily install it on your system and update Maven using the archive file if there is a newer release.
First, you will need to install Java on your system. Run the following command to install Java on your system. OpenJDK is a free and open-source implementation of the Java Platform, Standard Edition (Java SE). It is a free version of Oracle’s Java Development Kit. OpenJDK is used by default on Debian and it is also available by default.
sudo apt install default-jdk -y

Once the installation completes, run the following command to check the version of JDK installed on your system.
JDK stands for Java Development Kit. It is a set of development tools needed to build applications in the java programming language. JDK includes a java compiler, javac, a text editor, javadoc and several other tools that are used to build java applications.
Apache Maven is a java-based program and it will not run without jdk on your system.
java -version
You will get the following output.

Now that OpenJDK has been installed on your system, you can proceed to download the latest stable release of Apache Maven. As of this tutorial, the latest stable release of Apache Maven is version 3.8.4. To download the latest stable release of Mavne, you need to visit its official download page. Here you will find a link to download the latest version of Apache Maven.

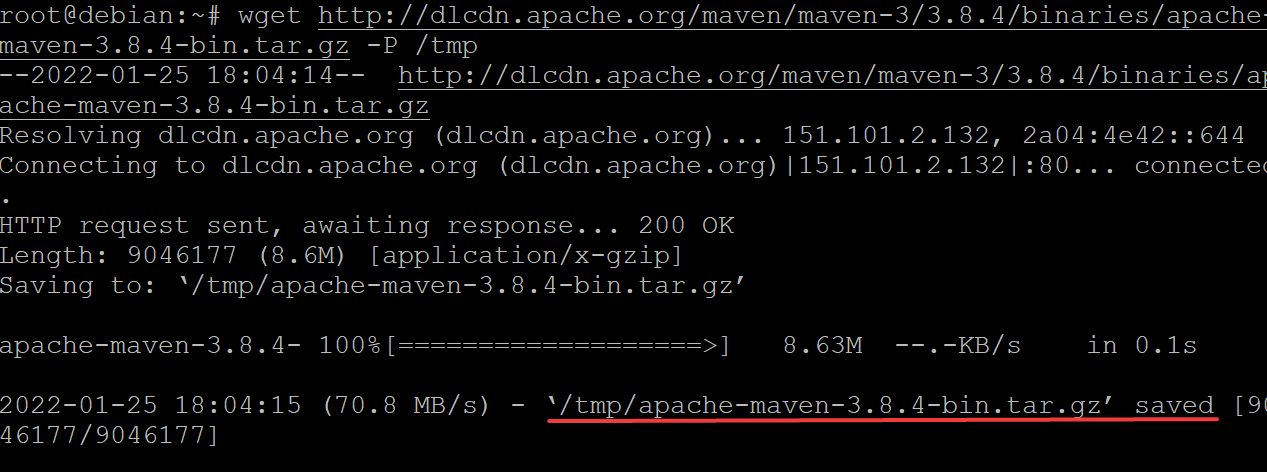
Run the following wget command to download the Apache Maven archive and save it to the /tmp directory. Replace 3.8.4 with the latest stable release of Apache Maven.
wget http://dlcdn.apache.org/maven/maven-3/3.8.4/binaries/apache-maven-3.8.4-bin.tar.gz -P /tmp
You will get a file named apache-maven-3.8.4-bin.tar with a size of 8.6MB in the /tmp directory after running the wget command above.
Next, you’ll need to set up environment variables for Apache Maven. An environment variable is a dynamic-named value that holds data for an application. The value of an environment variable belongs to the operating system and it is stored in the system memory. Each environment variable has a name and a value associated with it.
During the installation of Apache Maven, it is required to set up the environment variables to ensure that Maven can be run and executed properly.
You can set up the environment variables using the command below to create a new file named maven.sh in the /etc/profile.d directory.
sudo nano /etc/profile.d/maven.sh
Populate the maven.sh file with the following lines. Save and exit the file when you are done.
# indicates the location of Java on your system.
# When installing Apache Maven using the archive file,
# you will need to make sure that Java is installed and
# configured on your system.

export JAVA_HOME=/usr/lib/jvm/default-java

# Specifies the location of Apache Maven on your system.

export M2_HOME=/opt/maven

# Specifies the location of Apache Maven’s binary files for installation.

export MAVEN_HOME=/opt/maven

# Adds the bin directory of Maven to the PATH environment variable.
# This enables Maven’s command-line tools to be run
# from anywhere in the system.

export PATH=${M2_HOME}/bin:${PATH}
Run the sudo chmod +x /etc/profile.d/maven.sh command to set execute permissions on the /etc/profile.d/maven.sh script.
chmod is the system command to change file permissions. It can be used to change the access permissions on files and directories, like setting whether other people can read, write or execute a file. For more information on the chmod command and how to use it, you can read more here.
The +x flag is used to set the executable attribute, which makes it possible to execute your maven.sh script.
sudo chmod +x /etc/profile.d/maven.sh
Run the source /etc/profile.d/maven.sh command to source your maven.sh script and make all of the changes apparent in your current session.
source /etc/profile.d/maven.sh
8.At this point, you have finished installing Apache Maven on your system. You can verify the installation by re-running the mvn -version command in your terminal window.
mvn -version
If everything goes smoothly, you will be able to see the latest version of Apache Maven that has been installed on your system, as shown below.

Conclusion
In this tutorial, you learned how to install Apache Maven on Debian. You learned how to download and install the latest stable version of Apache Maven. You now know two different ways of installing Apache Maven on your Debian system. Now you can use it to manage your Java projects.
Thank you for reading this tutorial.