TensorFlow is an open-source and widely used Python library useful for solving machine-learning problems. Google develops this library, and can run on GPU and CPU-based devices. Many companies, including Intel, Paypal, Twitter, Airbus and Lenovo, use the TensorFlow library. You can install it as a Docker container in a Python virtual environment or with Anaconda. The Python virtual environment allows you to install a specific version of a module per project in an isolated environment on a single system without affecting other Python projects.
This article will explore how to install the machine learning-based Python library “TensorFlow” on the Ubuntu 20.04 system.
Installation of TensorFlow on Ubuntu
Follow the following number of steps to install the TensorFlow on the Ubuntu 20.04 system:
Step 1: Verify python installation
Python 3.8 version comes preinstalled on Ubuntu 20.04 system. So, verify it by running the below-mentioned command:
$ python3 -V
The installed python version displays on the terminal screen as follows:

Step 2: Create a python virtual environment
The most feasible and recommended method for creating the python virtual environment is to use “venv”
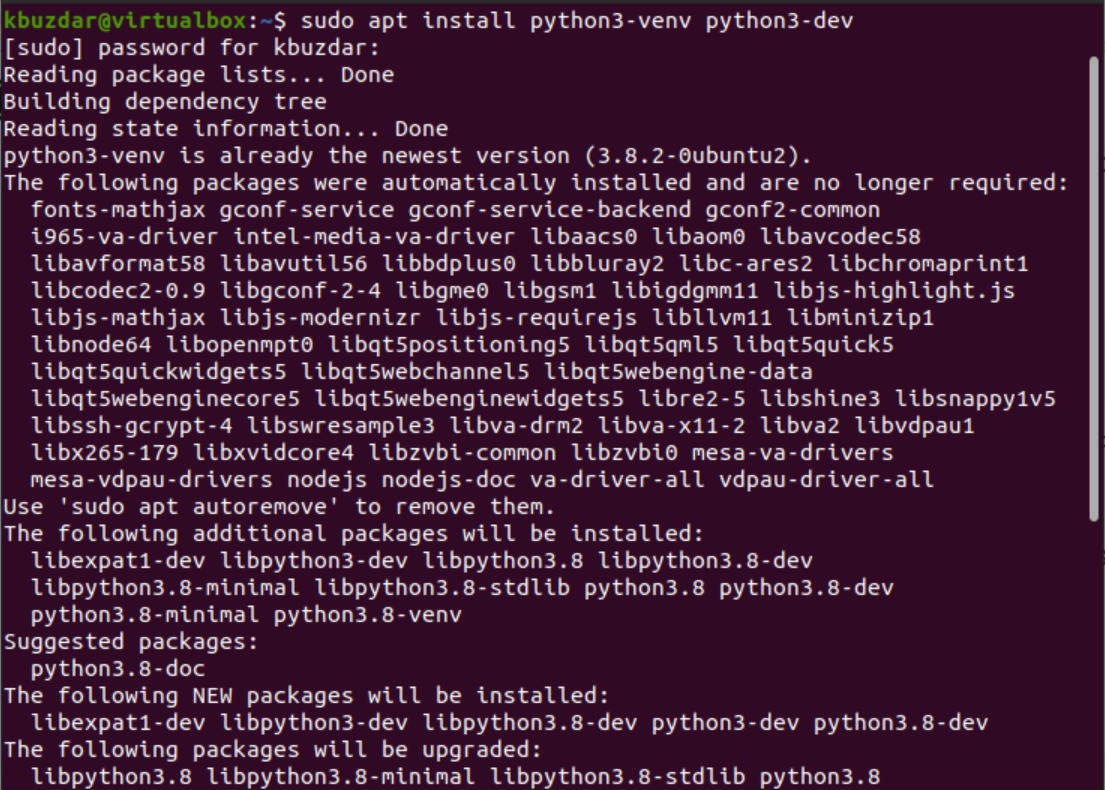
Module. This module comes built-in in the “python3-venv” package. So, install this package by executing the below-given command:
$ sudo apt install python3-venv python3-dev
After installing the “python3-venv” modules, you can now create a python virtual environment.
Create a new directory with any name that you want to assign to your project and navigate inside the directory:
$ mkdir my_tensorflow
$ cd my_tensorflow

Now, in this directory by running the following command create a virtual environment:
$ python3 -m venv venv

After executing the above command, a directory will be created with the name ‘venv’. This directory contains a copy of all python binaries, pip package manager, python standard libraries, and other python supporting files. Now, start and activate the virtual environment by running the below mentioned script:
$ source venv/bin/activate
After activating the virtual environment ‘venv’, you will notice that the ‘bin’ directory is included at the beginning of the $path variable and the virtual environment name will display on the terminal prompt as follows:

Step 3: Install upgraded python pip-tools
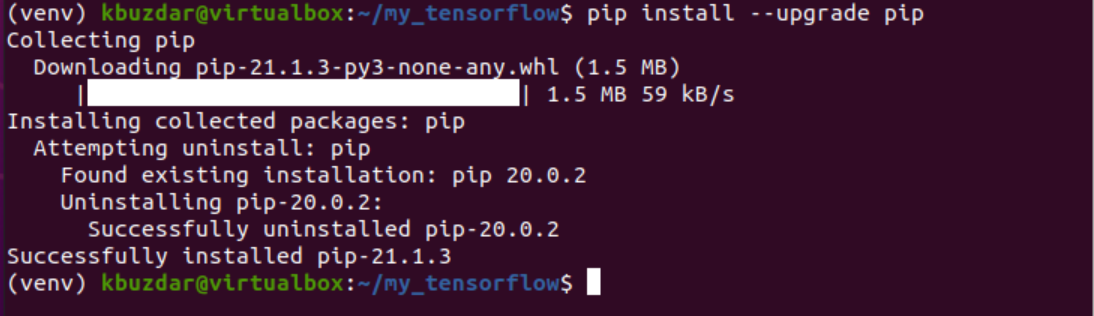
The upgraded pip-tools version is needed for the installation of TensorFlow. So, use the following command to upgrade the pip packages:
(venv) $ pip install --upgrade pip
Step 4: Install TensorFlow on Ubuntu
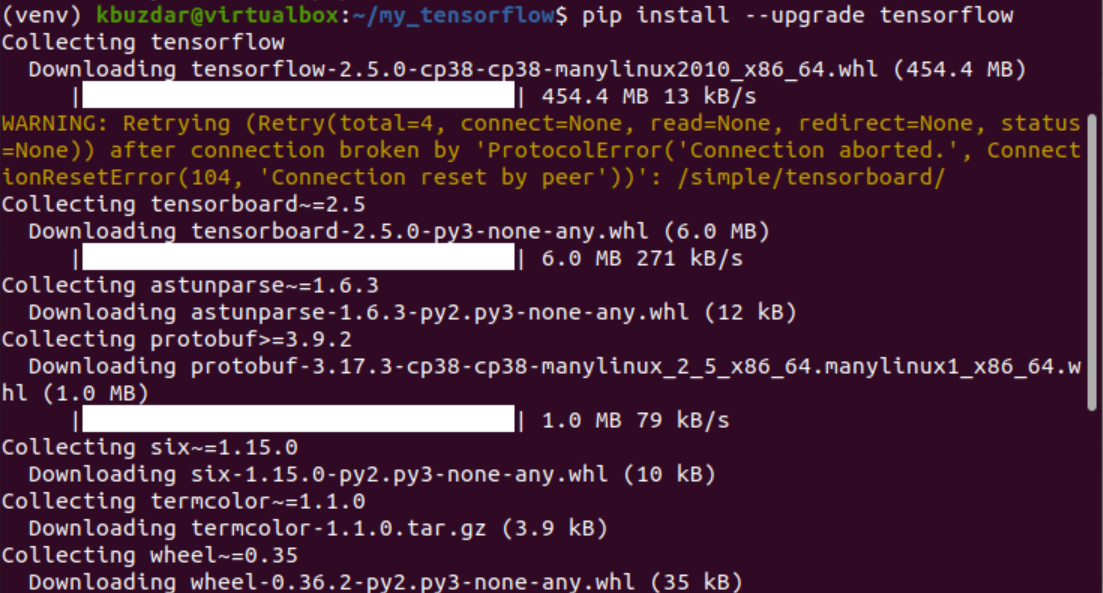
Start the Installation of TensorFlow by typing the below-given command:
(venv) $ pip install --upgrade TensorFlow
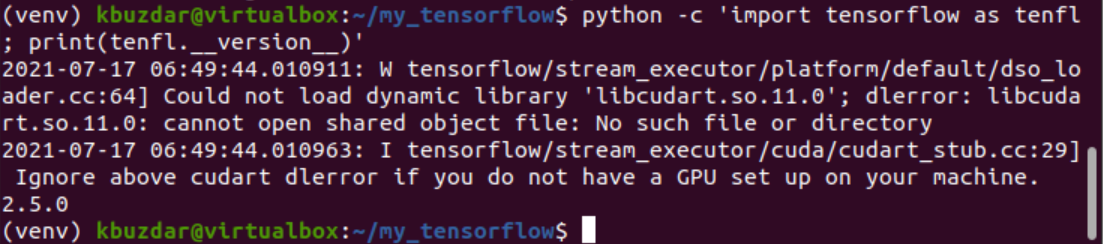
Congratulations! The installation of TensorFlow is now completed on the Ubuntu 20.04 system. Now, you can start and work on it. To check the TensorFlow installation, use the below-given command that will display the TensorFlow version on the terminal window:
(venv) $ python -c 'import tensorflow as tenfl; print(tenfl.__version__)'
The installed TensorFlow version will be displayed on the terminal.
Deactivate virtual environment
Once you have used this virtual environment, deactivate it by using the following command:
(venv) $ deactivate

You will notice the above command returns you to the normal terminal prompt.
Conclusion
We have installed the latest upgraded version of TensorFlow in this article on Ubuntu 20.04 system. Moreover, we have also learned how to easily create a python virtual environment using the venv module on your system. Therefore, to explore more about the use of TensorFlow, you can visit this URL.