Microweber is a drag-and-drop website builder and a powerful next-generation CMS. It is based on the PHP Laravel framework. You can create any type of website, online store and blog with Microweber. The drag-and-drop technology allows you to create your website without any technical knowledge.
The core idea of the software is that you can create your own website, online store or blog. From this moment of creation, your journey to success begins. Various modules, customizations and functions of the CMS support you along the way. Many of them are specifically tailored to e-commerce enthusiasts and bloggers.
The most important thing you need to know is that Microweber combines the latest drag-and-drop technology with a revolutionary feature for writing and editing text in real time. These two features provide an improved user experience, easier and faster content management, a visually appealing environment and flexibility.
This guide will show you how to install Microweber on a fresh Fedora 31 system with Nginx as the web server and MariaDB as the database engine.
Requirements
The following requirements are necessary for the installation and operation of Microweber:
- PHP version 5.4 or higher with the following PHP extensions: gd2, mcrypt, xml, dom, json
- Web server software such as Nginx or Apache.
- MySQL version 5.0 or higher or an equivalent version of MariaDB.
- Composer.
Requirements
- Fedora 31 as operating system.
- A non-root user with
sudorights.
First steps
Check your Fedora version:
cat /etc/fedora-release
# Fedora release 31
Set up the time zone:
timedatectl list-timezones
sudo timedatectl set-timezone 'Region/City'
Update your operating system packages (software). This is an important first step because it ensures that you have the latest updates and security fixes for your operating system’s standard software packages:
sudo dnf update -y
Install some important packages that are necessary for basic Fedora operating system management:
sudo dnf install -y curl wget vim git unzip socat bash-completion
Step 1 – Install PHP and the necessary PHP extensions
The Microweber web application requires PHP version 5.4 or higher. We can easily install newer PHP on Fedora 31 using the dnf package manager.
Install PHP and the required PHP extensions:
sudo dnf install -y php php-cli php-fpm php-common php-gd php-mbstring php-xml php-mysqlnd php-pgsql php-sqlite3 php-zip php-soap php-xmlrpc
To view PHP compiled in modules, you can run dnf:
php -m
ctype
curl
exif
fileinfo
. . .
. . .
Check the PHP version:
php --version
# PHP 7.3.9-1 (cli) (built: Apr 13 2019 19:05:48) ( NTS )
# Copyright (c) 1997-2018 The PHP Group
# Zend Engine v3.3.4, Copyright (c) 1998-2018 Zend Technologies
# with Zend OPcache v7.3.4-2, Copyright (c) 1999-2018, by Zend Technologies
Start and activate the PHP-FPM service:
sudo systemctl start php-fpm.service
sudo systemctl enable php-fpm.service
Step 2 – Install the acme.sh client and get a Let’s Encrypt certificate (optional)
It is not necessary to secure your website with HTTPS, but it is a good practice to protect your website traffic. To get a TLS certificate from Let’s Encrypt, we’ll use the acme.sh client. Acme.sh is a simple UNIX shell software that allows you to obtain TLS certificates from Let’s Encrypt without any dependencies.
Download and install acme.sh:
sudo su - root
git clone https://github.com/Neilpang/acme.sh.git
cd acme.sh
./acme.sh --install --accountemail your_email@example.com
source ~/.bashrc
cd ~
Check the version of acme.sh:
acme.sh --version
# v2.8.5
Obtain RSA and ECC/ECDSA certificates for your domain/hostname:
# RSA 2048
acme.sh --issue --standalone -d example.com --keylength 2048
# ECDSA
acme.sh --issue --standalone -d example.com --keylength ec-256
If you want fake certificates for testing, you can add the flag --staging to the above commands.
After you have executed the above commands, your certificates and keys will be located in:
- For RSA:
/home/username/example.comdirectory. - For ECC/ECDSA:
/home/username/example.com_eccdirectory.
To list your issued certificates, you can do the following:
acme.sh --list
Create a directory to store your certificates. We will use the /etc/letsencrypt directory.
mkdir -p /etc/letsecnrypt/example.comsudo mkdir -p /etc/letsencrypt/example.com_ecc
Install/copy the certificates to /etc/letsencrypt directory.
# RSA
acme.sh --install-cert -d example.com --cert-file /etc/letsencrypt/example.com/cert.pem --key-file /etc/letsencrypt/example.com/private.key --fullchain-file /etc/letsencrypt/example.com/fullchain.pem --reloadcmd "sudo systemctl reload nginx.service"
# ECC/ECDSA
acme.sh --install-cert -d example.com --ecc --cert-file /etc/letsencrypt/example.com_ecc/cert.pem --key-file /etc/letsencrypt/example.com_ecc/private.key --fullchain-file /etc/letsencrypt/example.com_ecc/fullchain.pem --reloadcmd "sudo systemctl reload nginx.service"
All certificates are automatically renewed every 60 days.
After you have received the certificates, leave the root user and return to the normal sudo user:
exit
Step 3 – Install MariaDB and create a database
Install MariaDB:
sudo dnf install -y mariadb-server
Check the MariaDB version:
mysql --version
# mysql  Ver 15.1 Distrib 10.3.17-MariaDB, for debian-linux-gnu (x86_64) using readline 5.2
Start and activate the MariaDB service:
sudo systemctl start mariadb.service
sudo systemctl enable mariadb.service
Run the script mysql_secure installation to improve the security of MariaDB and set the password for the user MariaDB root :
sudo mysql_secure_installation
Answer each of the questions:
Would you like to setup VALIDATE PASSWORD plugin? N
New password: your_secure_password
Re-enter new password: your_secure_password
Remove anonymous users? [Y/n] Y
Disallow root login remotely? [Y/n] Y
Remove test database and access to it? [Y/n] Y
Reload privilege tables now? [Y/n] Y
Connect to the MariaDB shell as the root user:
sudo mysql -u root -p
# Enter password
Create an empty MariaDB database and an empty user for Microweber and memorize the credentials:
mariadb> CREATE DATABASE dbname;
mariadb> GRANT ALL ON dbname.* TO 'username' IDENTIFIED BY 'mypassword';
mariadb> FLUSH PRIVILEGES;
Replace the word mypassword with a secure password of your choice. Exit MariaDB:
mariadb> exit
Replace dbname, username and mypassword with your own names.
Step 4 – Install and configure NGINX
Download NGINX from the Fedora repository and install it:
sudo dnf install -y nginx
Check the NGINX version:
sudo nginx -v
# nginx version: nginx/1.14.2
Run sudo vim /etc/nginx/conf.d/microweber.conf and fill the file with the following configuration:
server {

  listen [::]:443 ssl http2;
  listen 443 ssl http2;
  listen [::]:80;
  listen 80;
  server_name example.com;

  root /var/www/microweber;
  index index.php;

  client_max_body_size 100M;

  # RSA
  ssl_certificate /etc/letsencrypt/example.com/fullchain.pem;
  ssl_certificate_key /etc/letsencrypt/example.com/private.key;
  # ECC
  ssl_certificate /etc/letsencrypt/example.com_ecc/fullchain.pem;
  ssl_certificate_key /etc/letsencrypt/example.com_ecc/private.key;
  location / {
    try_files $uri $uri/ /index.php$is_args$args;
  }

  location ~ \.php$ {
    try_files $uri =404;
    include fastcgi_params;
    fastcgi_pass unix:/run/php-fpm/www.sock;
    fastcgi_index index.php;
    fastcgi_param SCRIPT_FILENAME $document_root$fastcgi_script_name;
  }

}
CheckNGINX configuration for syntax errors:
sudo nginx -t
Reload Nginx:
sudo systemctl reload nginx.service
Step 5 – Install Microweber
Create a document root directory where Microweber should be stored:
sudo mkdir -p /var/www/microweber
Navigate to the root directory for the documents:
cd /var/www/microweber
Download the latest version of Microweber CMS and unzip it:
sudo wget https://download.microweberapi.com/ready/core/microweber-latest.zip
sudo unzip microweber-latest.zip
sudo rm microweber-latest.zip
Change the ownership of the /var/www/microweber directory to nginx:
sudo chown -R nginx:nginx /var/www/microweber
Run sudo vim /etc/php-fpm.d/www.conf and set the user and group to nginx. Initially they are set to apache:
sudo vim /etc/php-fpm.d/www.conf
# user = nginx
# group = nginx
Restart the PHP-FPM service:
sudo systemctl restart php-fpm.service
Open your domain name (http://example.com/) in your web browser and follow the instructions. After the installation, the URL of your admin panel is http://example.com/admin.
Step 6 – Finish the installation of Microweber
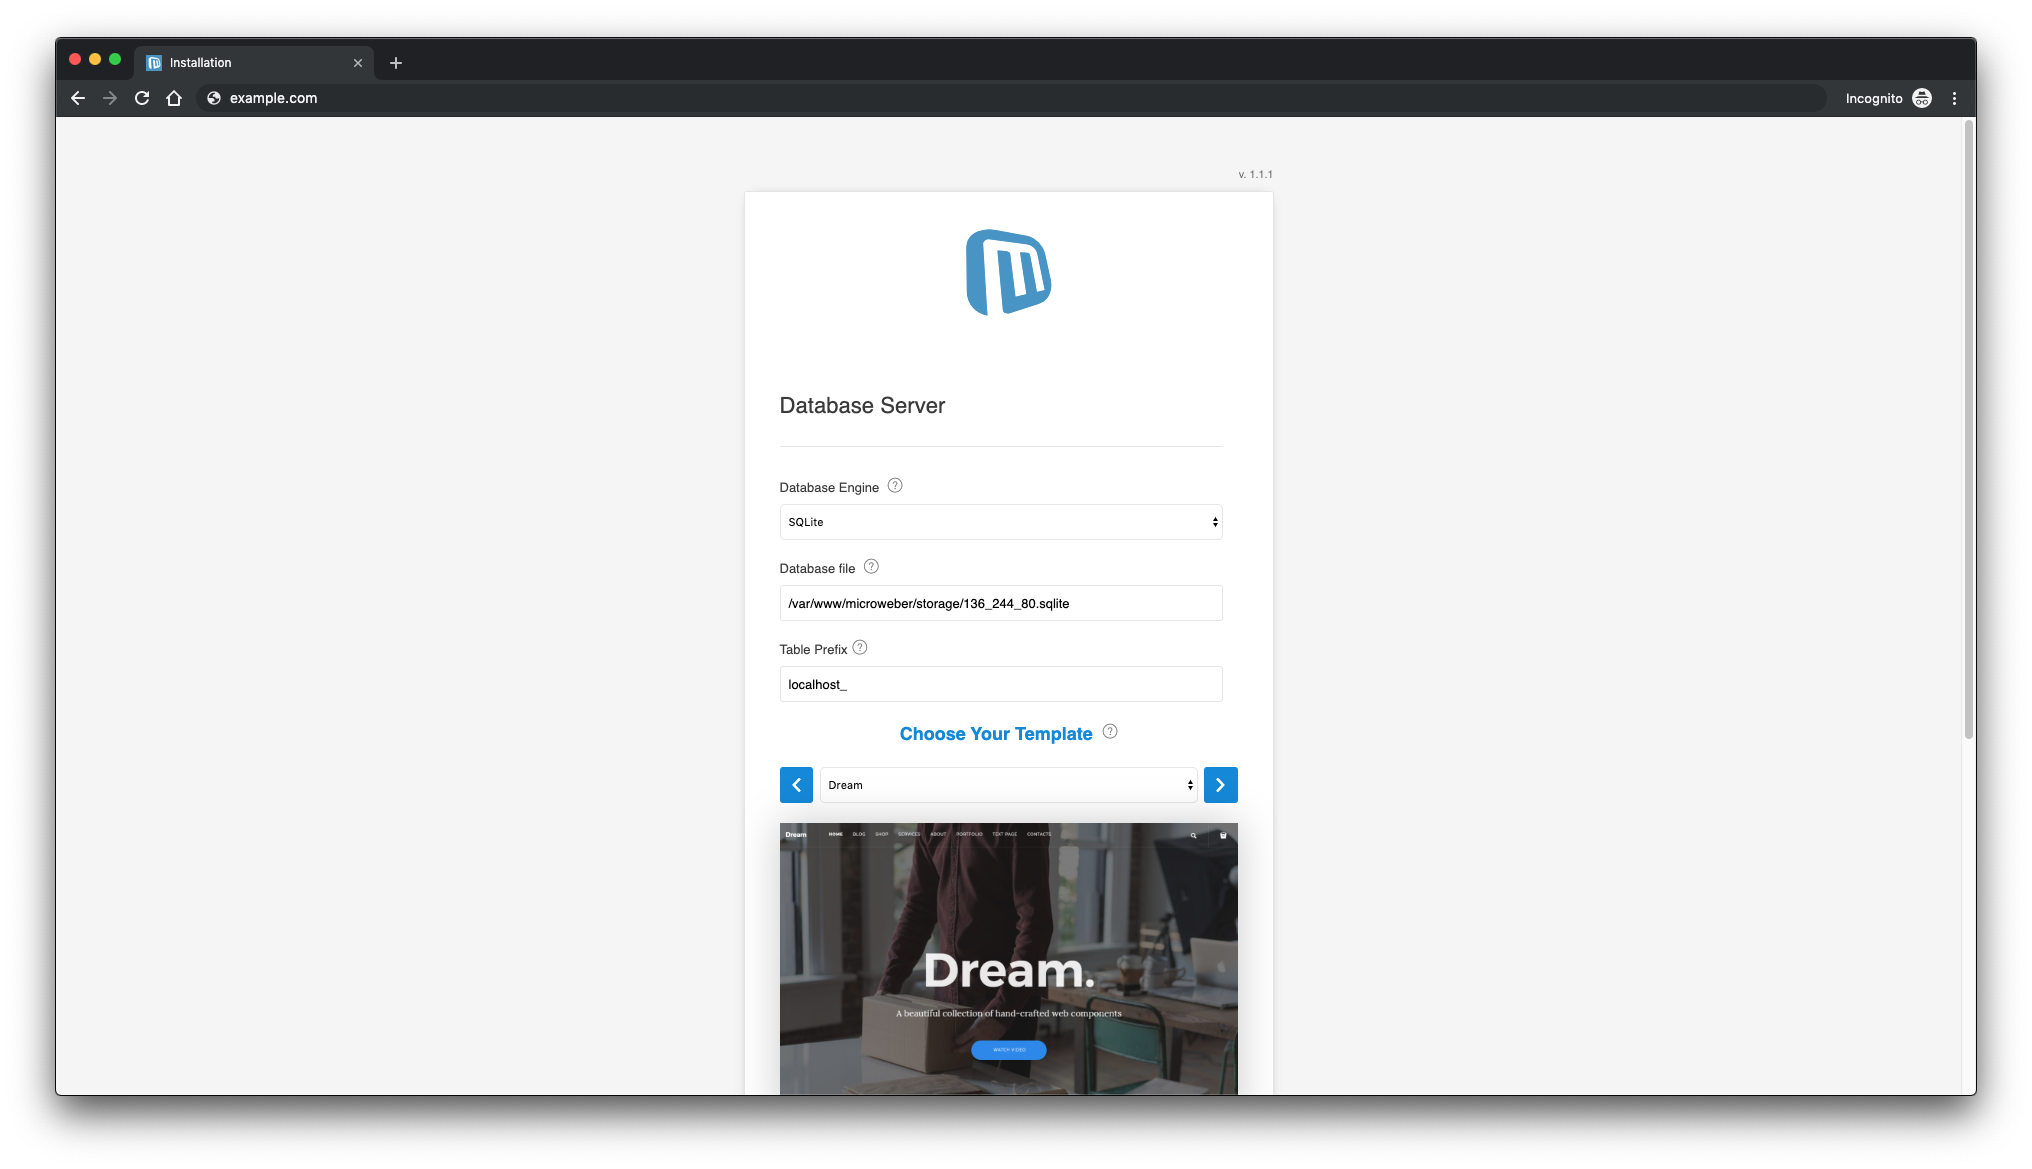
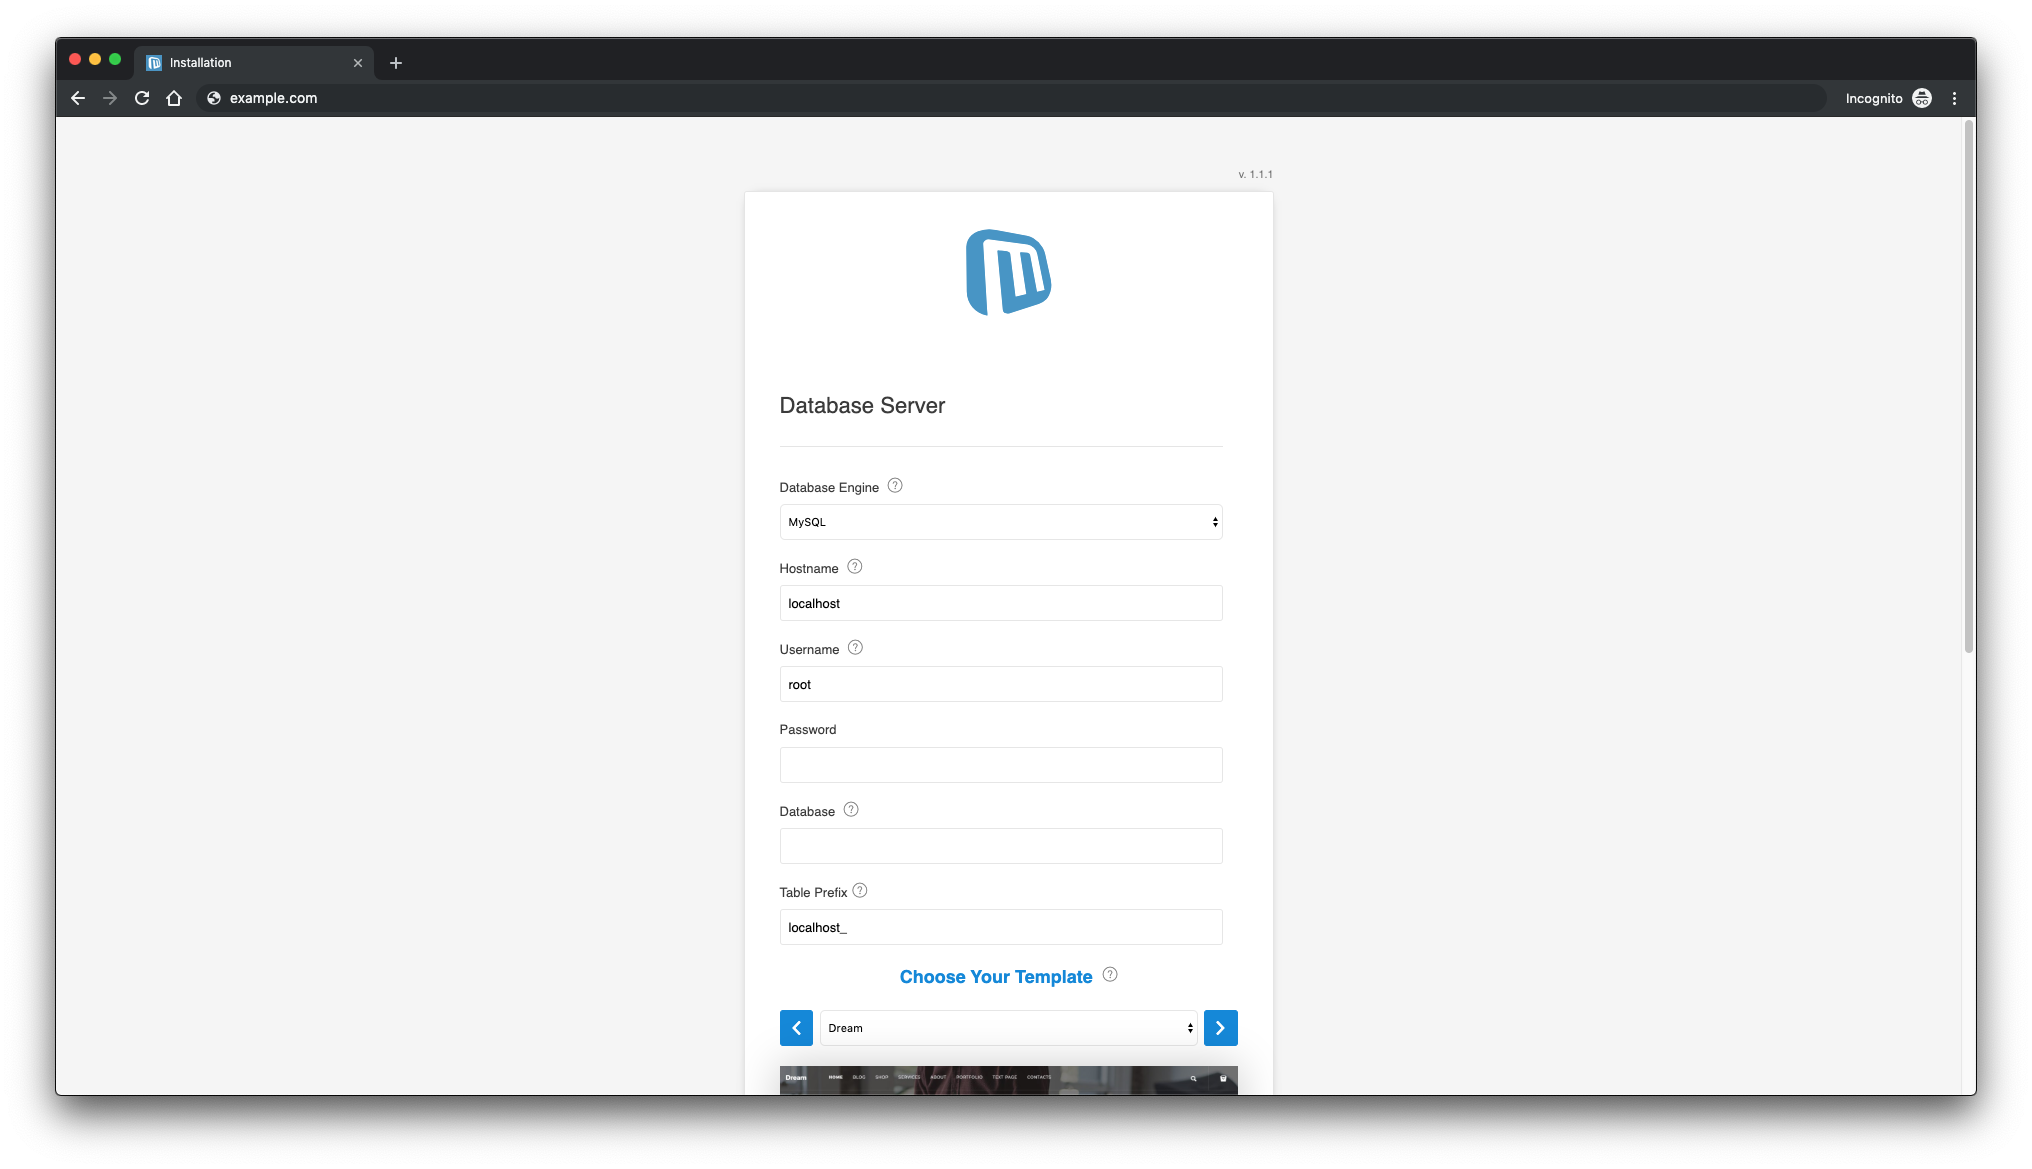
Open your web browser and enter the URL http://example.com. You will be redirected to the following page where you need to select the database engine of your choice. MySQL/MariaDB is used in this tutorial. You can also select SQLite as shown in the screenshot below:
You can select the MySQL database engine:
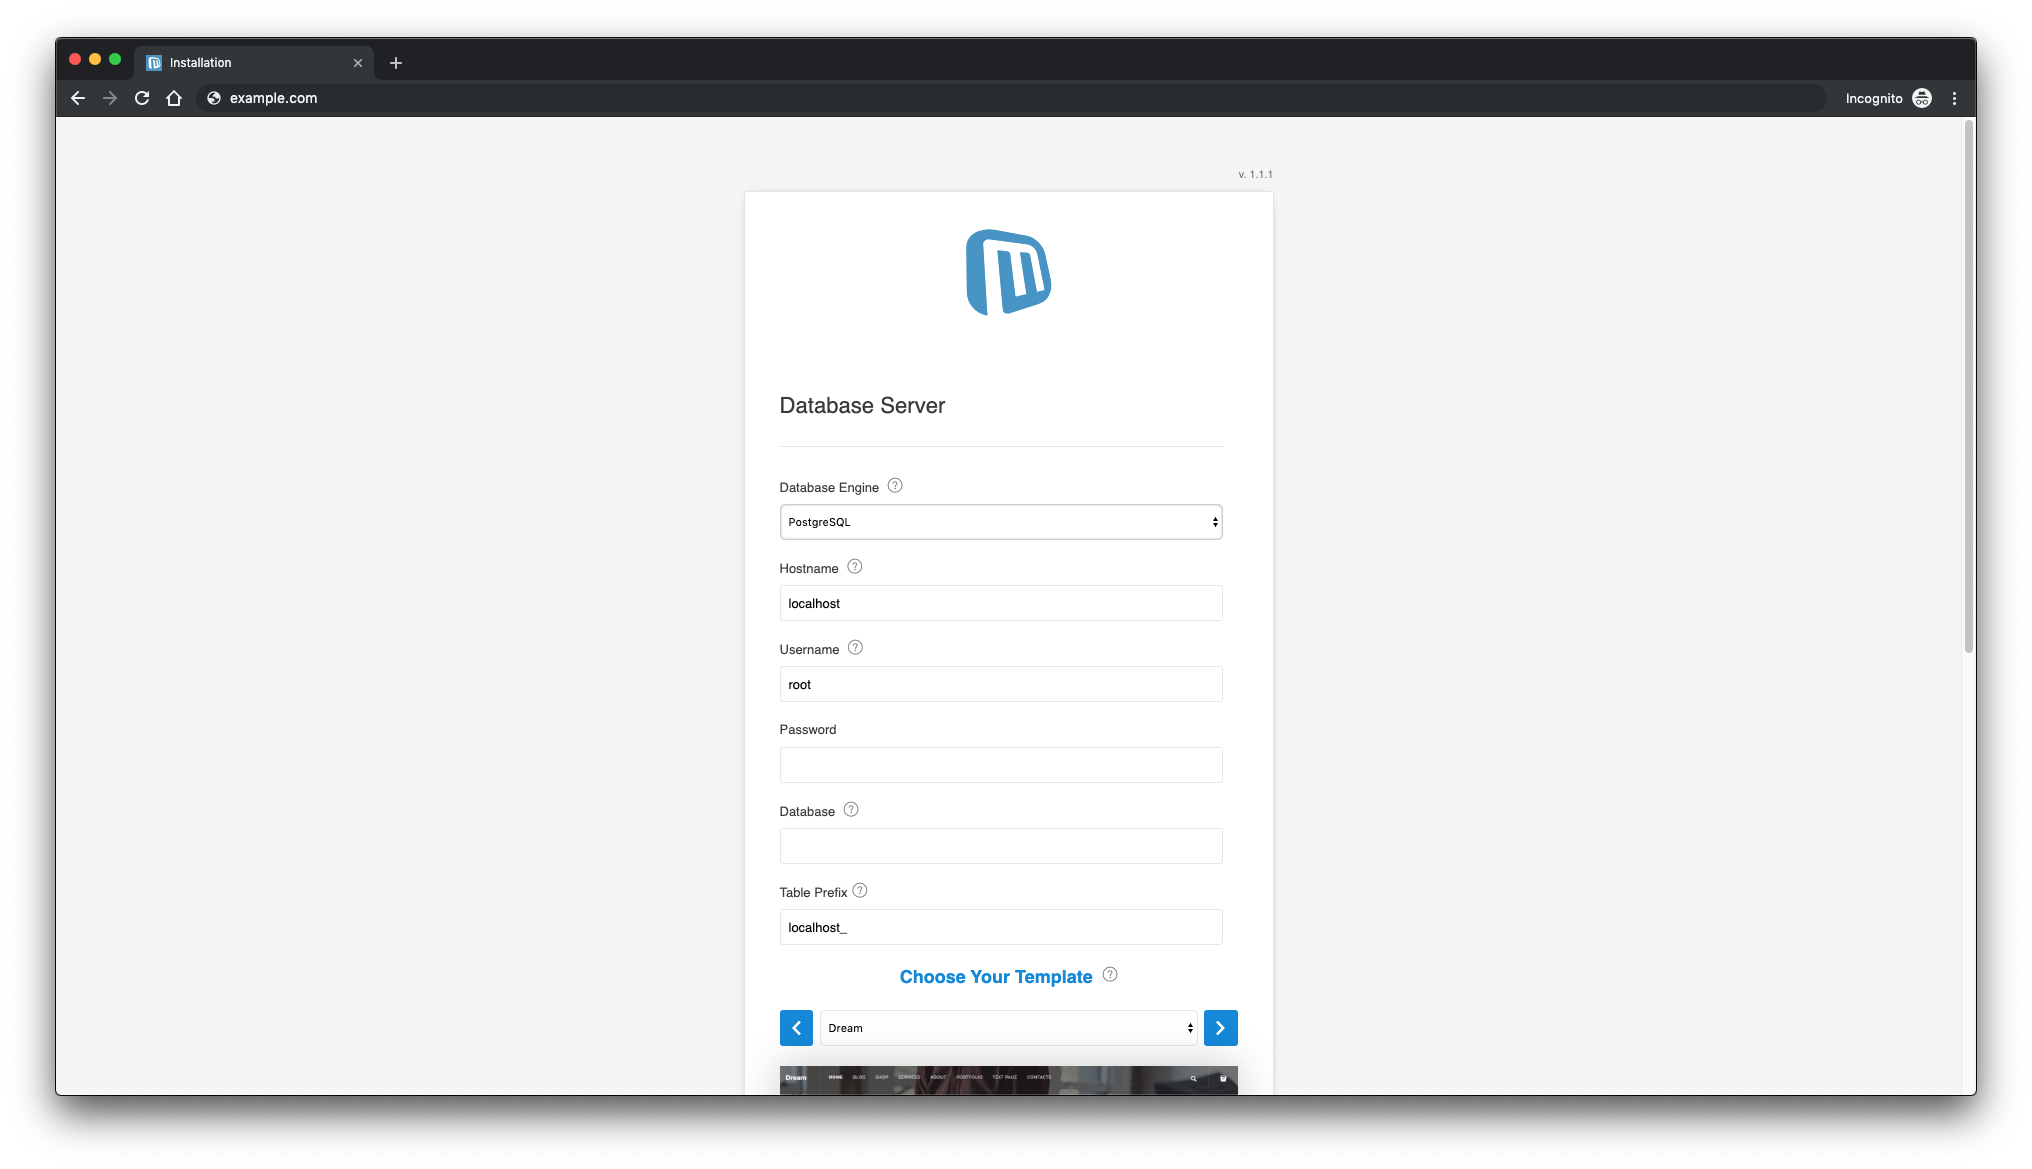
Or PostgreSQL if you prefer:
After entering the required data, the installation of Microweber is complete. To access the Microweber admin, append /admin to the URL of your website.
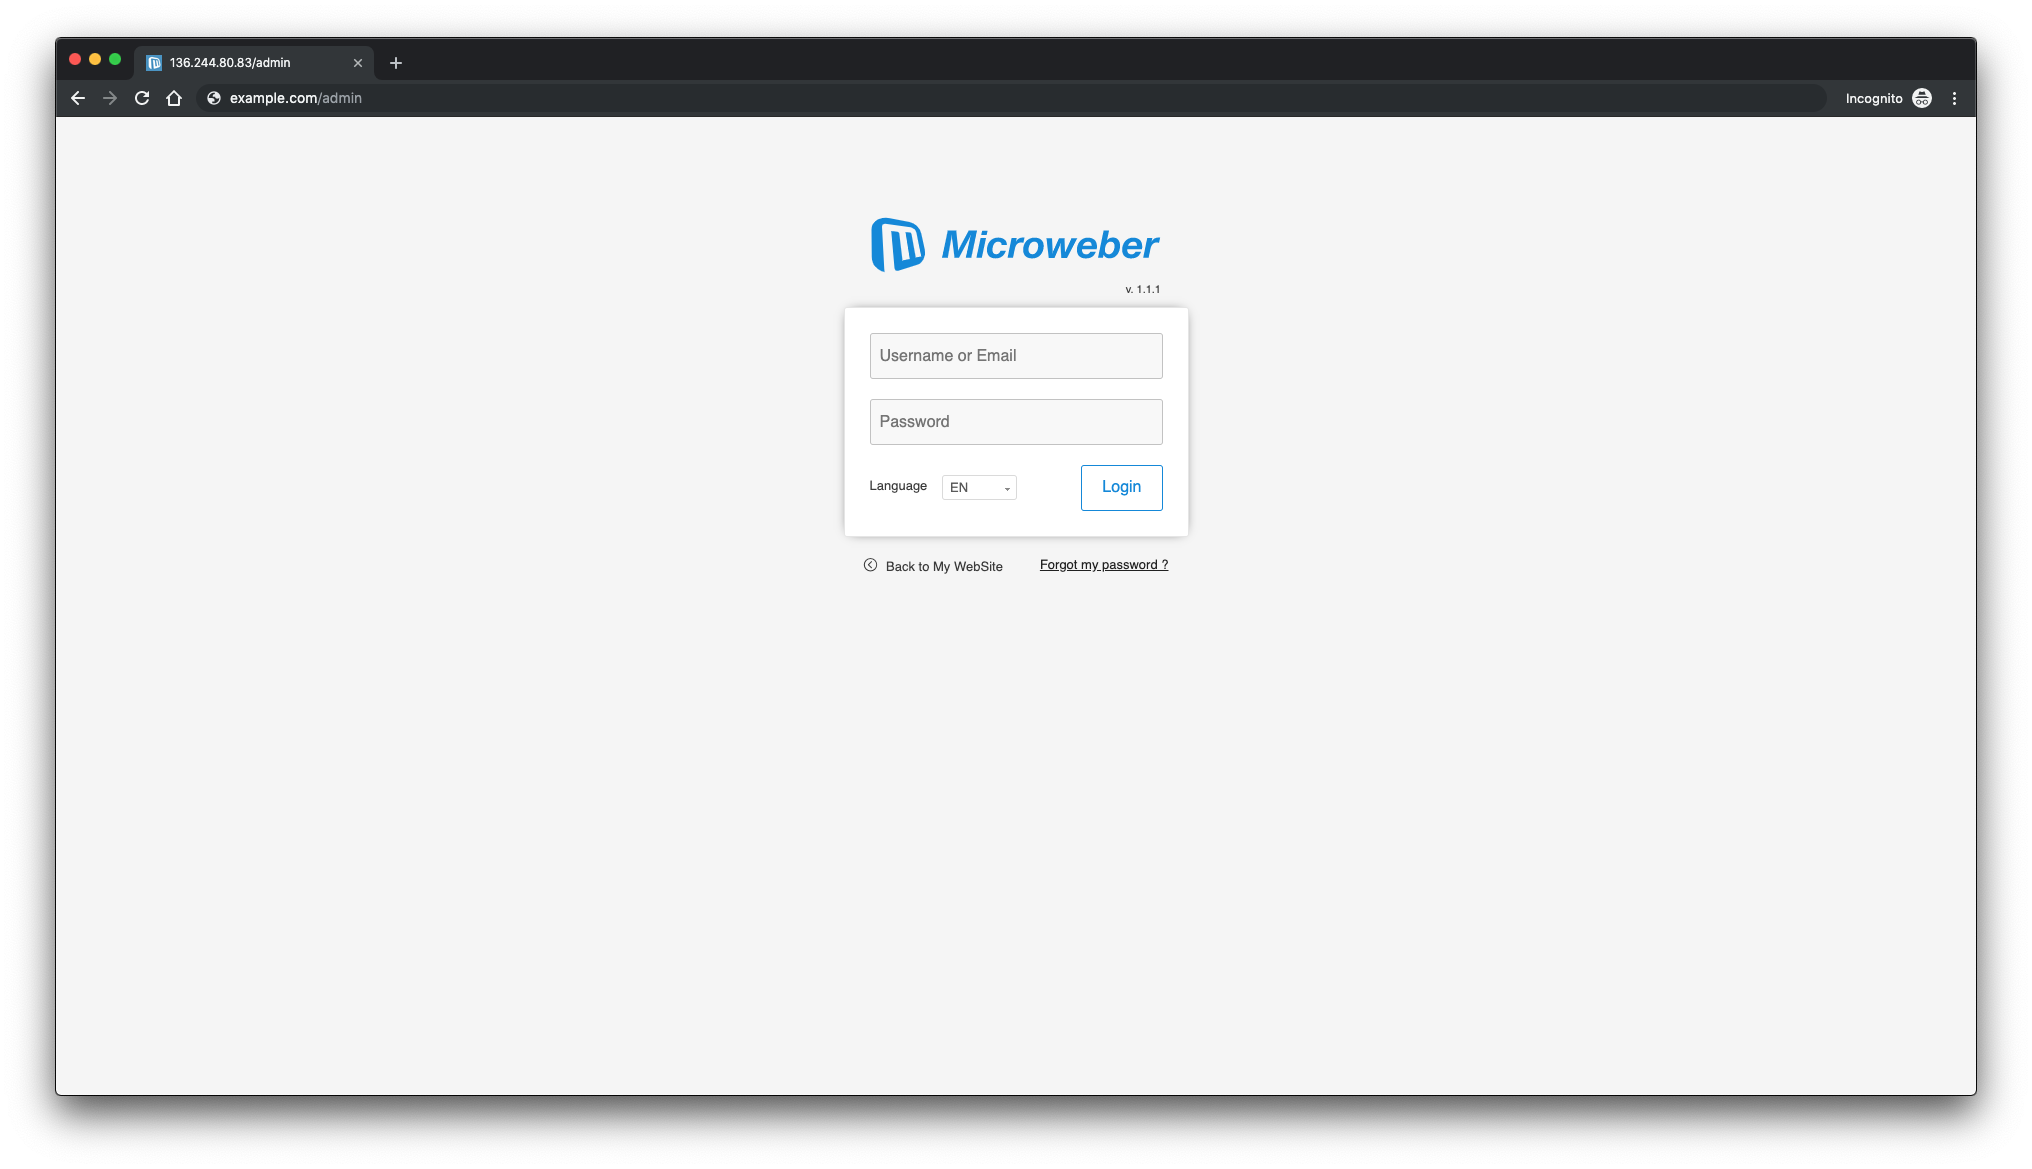
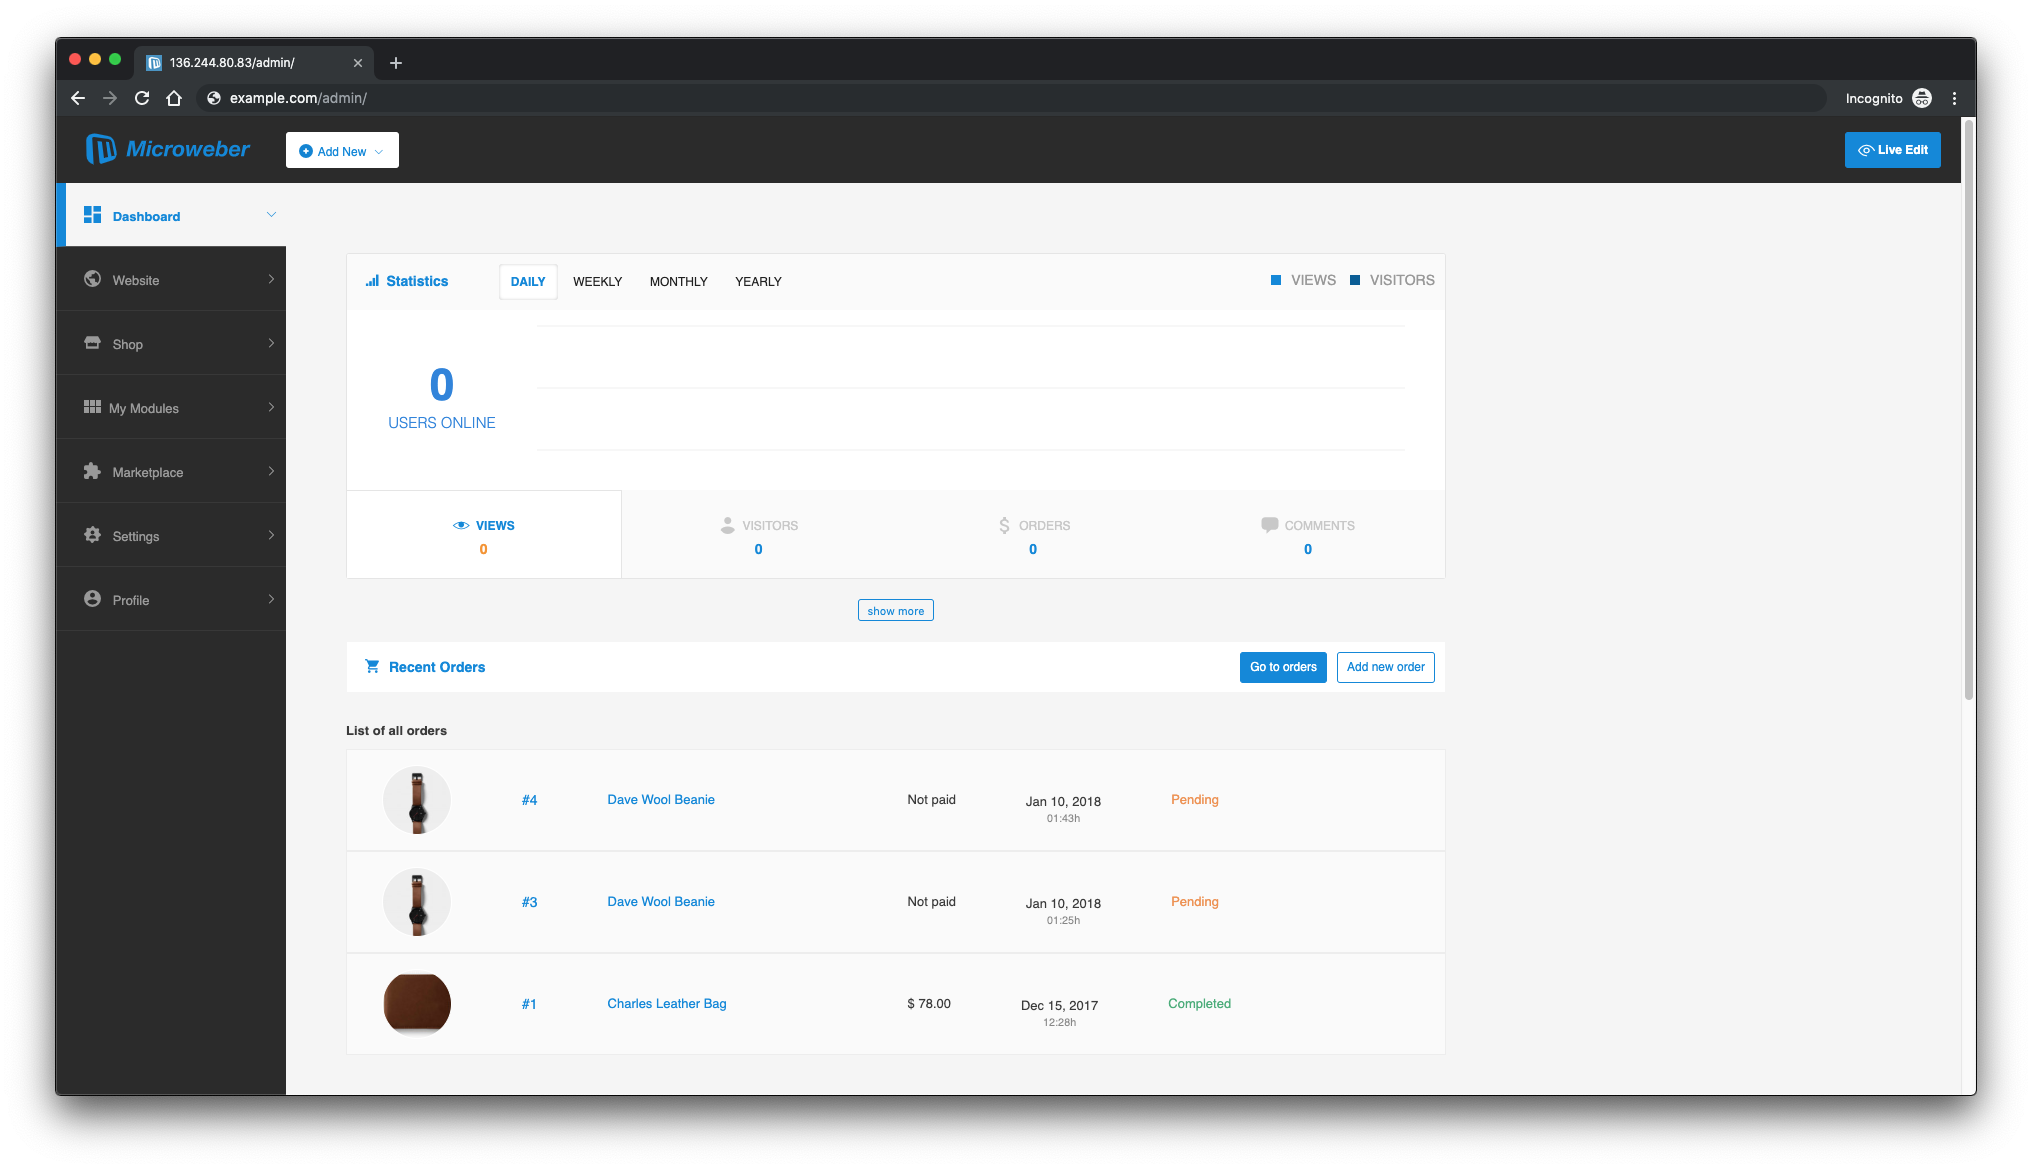
After logging in, the Microweber dashboard looks like this:
And here is the Microweber frontend:
