OpenCart is a free shopping cart system and is one of the most popular open-source carts. It is a complete website solution that provides not only an ecommerce platform, but also an administration system to control your online store, and secure it against hackers.
OpenCart includes all the features you would expect from a high-quality ecommerce system, including order management, real-time stock updates, full SEO support, shopping cart functionality – plus many others. OpenCart is backed by an enthusiastic team of developers who are always working on new bug fixes and solutions to keep the cart up-to-date with current technologies.
OpenCart online shopping cart system built upon Adobe’s ColdFusion framework, featuring a multitude of additional features over other carts such as: advanced product search engine; customizable templates; customer loyalty programs, and a whole lot more!
OpenCart makes it easy to get your site up and running within a few minutes – whether you are new to e-commerce or not. It’s also one of the most comprehensive solutions on the market today and has an excellent reputation.
OpenCart is open-source with a client-side script. It is therefore fully customizable, which means you can use it to create any kind of ecommerce website that you want.
If you are looking for a powerful, affordable, and easy-to-use shopping cart, then OpenCart should definitely be your first choice. Opencart has all the basic and advanced features you will find in other shopping carts, such as payment gateways, wish lists, and management tools. It offers many unique features such as different product versions, coupons, discounts, automated updates, and a great user-friendly interface.
You are not an expert on PHP, you’ve tried several times to install opencart on your web server but you couldn’t manage. You even went as far as hiring a developer, but it’s impossible for me to set up a site without spending hours on trial and error. You spent a lot of money and wasted a lot of time trying to figure out a way to get this thing installed.
Look no further! This how-to guide will take you by the hand and show you everything you need to know to install OpenCart on your web server. It will also tell you why other approaches don’t work, and how to make sure that your site is secure.
Prerequisites
In order to install OpenCart on your Ubuntu 20.04 server, you’ll need a few prerequisites.
- This guide is intended for people who have basic knowledge of computers and web servers. You should also have some familiarity with computer terminology such as FTP clients, file transfer protocol, security patches, web hosts, or domain names.
- A fully qualified domain name (FQDN) pointing to your server.
- A Ubuntu server with at least 4 of RAM.
- A non-root user with sudo access to your server. This account should be used for all the tasks.
Updating Your Server
To ensure that your server runs smoothly, it is important to keep it up-to-date. Before you start installing, it’s best to update your system using the following command.
sudo apt update && sudo apt upgrade -y
The above command will check the repositories and see if there are any new versions of your software available to install. If a new version is available, it will download the software and install all dependencies. Once this process is complete, you can move on to the next step.
Installing Apache
OpenCart requires the LAMP stack in order to run. The LAMP stack is a group of open-source software that is used to run dynamic websites. The acronym stands for Linux, Apache, MySQL(or MariaDB), and PHP. These are the required components of a basic opencart installation. In this section, we will be installing the Apache HTTP Server.
The Apache HTTP Server is a free and open-source cross-platform web server. It is used as a web server for about 50% of the web servers on the internet.
Apache is a high-performance web server that delivers speeds of up to 300% faster over other leading servers. Apache also includes many modules and features that enable us to personalize and control the behavior and appearance of our websites and also provides security against unauthorized access.
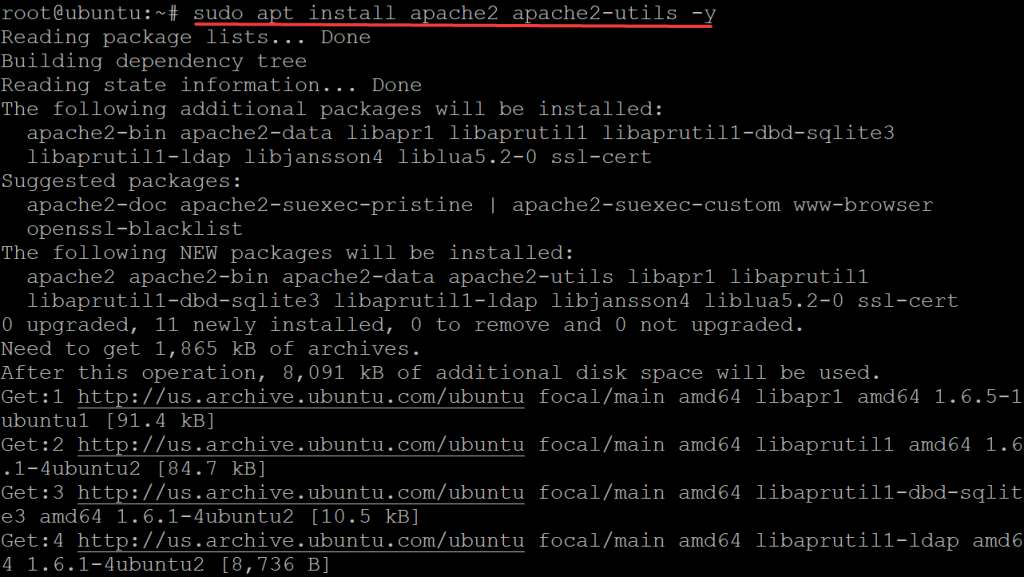
Run the sudo apt install apache2 apache2-utils to install Apache on your system. We will install an extra package named apache2-utils. This package provides a number of useful utilities for controlling and configuring the Apache HTTPD server. One of the most important tools is a2enmod, which enables the use of additional modules from the standard Apache httpd server package .
sudo apt install apache2 apache2-utils -y
Sample output:
Once the installation is complete, you need to start the Apache server by running the sudo systemctl start apache2 command.
sudo systemctl start apache2
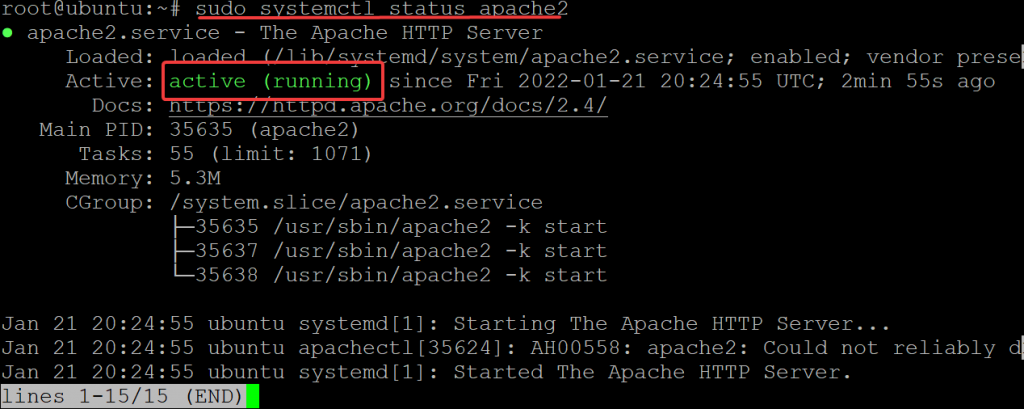
To test if Apache is properly installed, run the sudo systemctl status apache2 command to check the status of Apache.
sudo systemctl status apache2
You will see the following output:
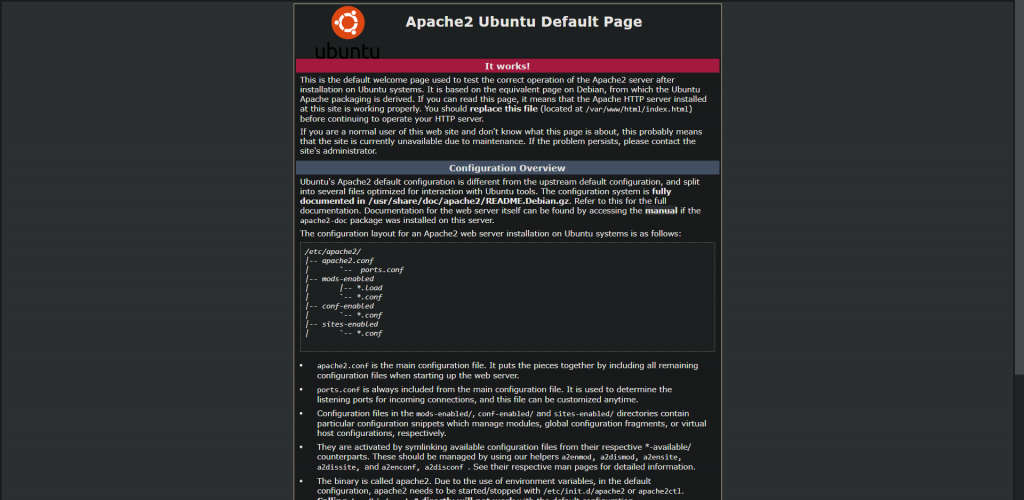
You can also request a web page from your web server to test it out. To do so, open your favorite browser, and type the http://server-ip in the address bar. Where server-ip is the IP address of your server. If you see a web page, then everything worked out well.
You should see a default Apache page, as shown below.
Installing MariaDB server using this guide
OpenCart uses MySQL as the default database engine. MariaDB is a community-developed fork of MySQL. It is fully compatible with MySQL and is very stable. MariaDB also provides extra features that do not exist in MySQL. MariaDB is mostly recommended as it’s the most stable and fastest database engine of all.
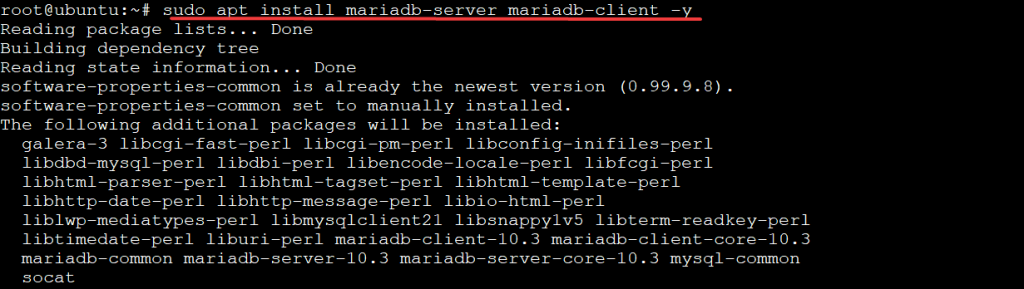
Run the following command to install MariaDB on your system. The MariaDB-server package creates a server instance of MariaDB. The mariadb-server package is the equivalent to the MySQL-server package , but for MariaDB. The mariadb-server package depends on the version of MariaDB that is specified by the mariadb-server-VERSION-bin package.
The MariaDB-client package provides a client for MariaDB. The mariadb-client package provides the MariaDB command-line client, also called ‘mysql’ or ‘MySQL shell’. Like MySQL, this is a database management system.
sudo apt install mariadb-server mariadb-client -y
Sample output:
Once the installation completes. Optimize your MariaDB server using this guide using this guide and secure your MariaDB server using this guide.
Run the following command to start the MariaDB service.
sudo systemctl start mariadb
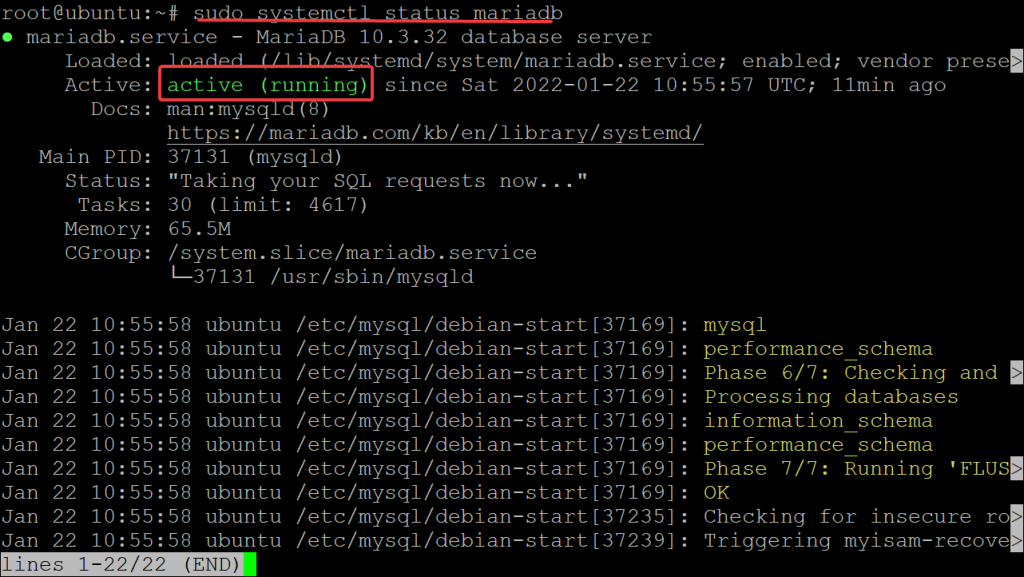
Finally, run the following command to check the MariaDB service status.
sudo systemctl status mariadb
You will get the following output. You can see that there is a service called “MariaDB” running from the init.d directory, which will start MariaDB when the system boots up. Active (running) means that the service is active and running on the server.
Installing PHP
PHP is a scripting language that was originally designed for the web. OpenCart has been around for over 10 years and uses PHP as its main programming language. The PHP framework works flawlessly with OpenCart, making it easy to support the system.
OpenCart requires PHP 5.3+ to function. You can use other PHP versions like PHP 6, PHP 7, but its’ recommended to install PHP 8+ when using OpenCart 2.3+. Since some OpenCart plugins and modules only support PHP 8 and higher, you should install PHP 8+ if possible.
Run the following command to add a third-party PPA to the Ubuntu system. ppa:ondraj/php is a PPA repository for PHP packages. It contains the latest versions of PHP and extensions with a focus on stability and security.
add-apt-repository with the help of software-properties-common, allows for an easier method to manage your PPAs from the command line. When you use PPA repositories, it is recommended to use the add-apt-repository to easily manage them. It will allow you to update the packages, search for new ones and install/remove them without manually editing your sources.
sudo apt -y install software-properties-common && sudo add-apt-repository ppa:ondrej/php
Sample output:

Rerun the sudo apt update command to update your package list.
sudo apt update
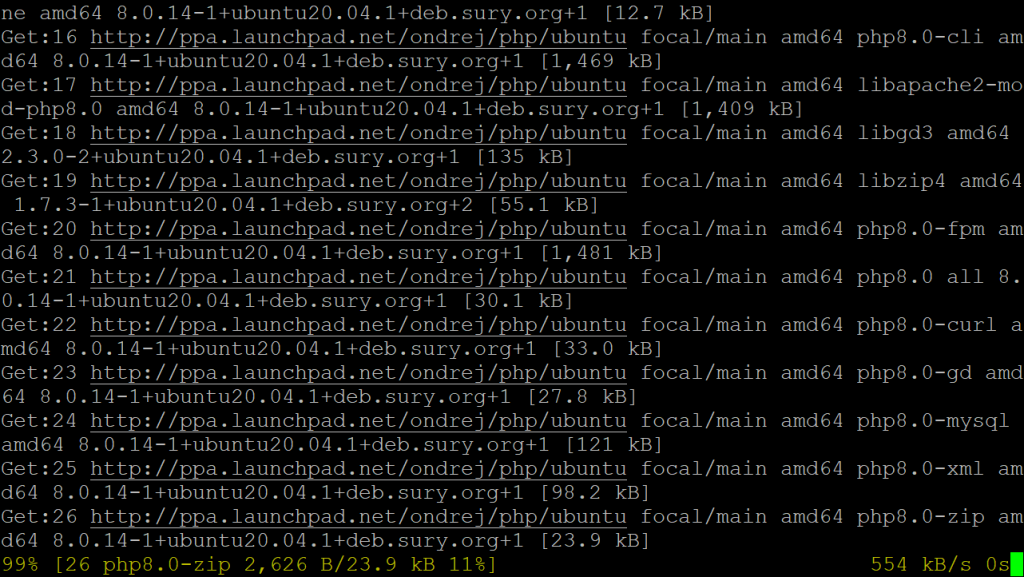
Finally, run the command below to install PHP * and its module to your system.
sudo apt install php8.0 libapache2-mod-php8.0 php8.0-mysql php8.0-curl -y
sudo apt install php8.0-xml php8.0-zip php8.0-gd php8.0-cli php8.0-fpm -y
sudo apt install libapache2-mod-fcgid wget unzip -y
Sample output:
Run the command below to check your PHP version.
php -v
You should see that PHP version 8+ is installed on your system.

Creating Database for OpenCart
Now that your server is working fine and your required packages are installed, let’s set up a database for OpenCart to use. When you enabled debug mode, or put OpenCart in production mode. OpenCart will collect information about your server and store it in this database. It will also store user information and preferences, as well as all the specific product data.
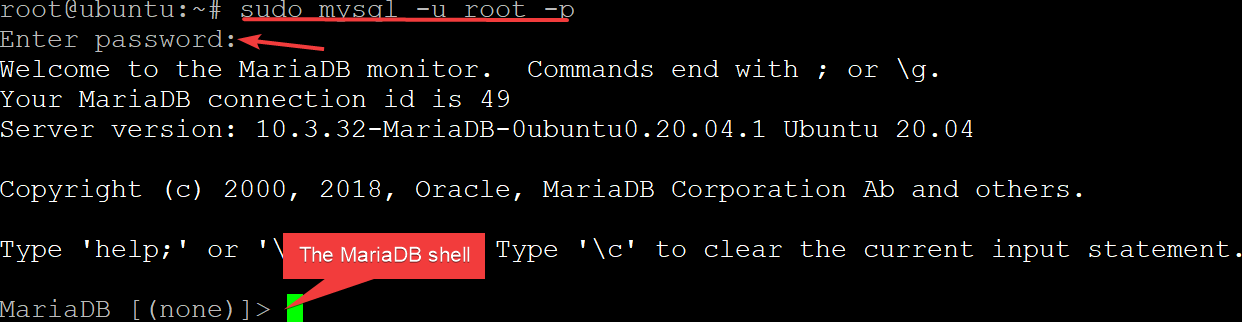
Run the command below to log in to the MariaDB shell. Provide your root password when prompted.
sudo mysql -u root -p
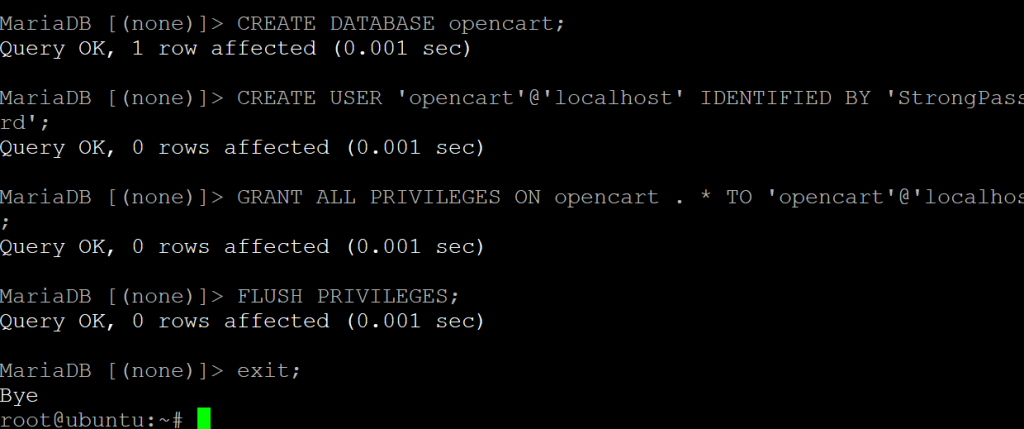
Run the command below to create a new database named opencart.
CREATE DATABASE opencart;
Run the command below to create a new user named opencart for your darabase. Replace Password with a secure password.
CREATE USER 'opencart'@'localhost' IDENTIFIED BY 'Password';
Run the command below to grant access to the opencart user on all databases and give this user all privileges on the system.
GRANT ALL PRIVILEGES ON opencart . * TO 'opencart'@'localhost';
Run the command below to tell the database to reload its privileges.
FLUSH PRIVILEGES;
6.Finally, exit the shell by runninf the command below.
exit;
Sample output:
Installing OpenCart
Now that you have a database available, you can now install OpenCart onto your server. There are many ways to do this, but the easiest way is using the GitHub repository.
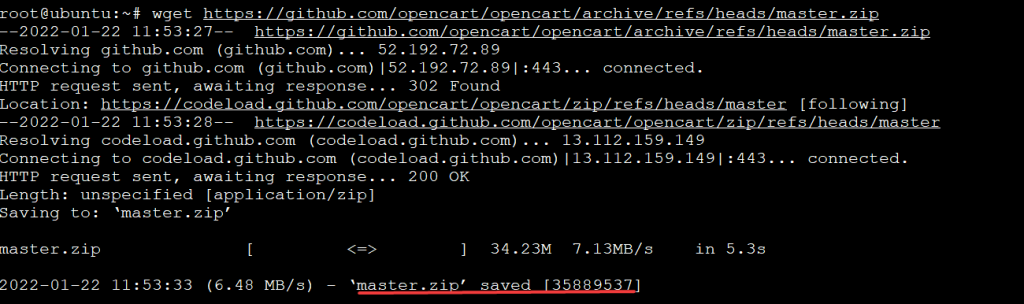
Run the command below to download the latest version of opencart from its GitHub repository
wget https://github.com/opencart/opencart/archive/refs/heads/master.zip
Run the command below to unzip the downloaded archive,
sudo unzip master.zip
Run the command below to create a new installation directory named opencart and move the extracted files to it.
sudo mkdir /var/www/html/opencart && sudo mv opencart-master/* /var/www/html/opencart
Finally, run the commands below to copy OpenCart configuration files and set the proper permissions for your installation directory.
sudo cp /var/www/html/opencart/upload/{config-dist.php,config.php} && sudo cp /var/www/html/opencart/upload/admin/{config-dist.php,config.php}sudo chown -R www-data:www-data /var/www/html/opencart && sudo chmod -R 755 /var/www/html/opencart
Configuring Apache Virtual Host
Apache Virtual Host is a feature that allows you to serve different content for different websites, but there is more to it than initially meets the eye. Virtual Hosts allow you to set up an entire website on a single web server, rather than having the web server have to use multiple IP addresses for every site on its server. Apache Virtual Host is also incredibly helpful if you have a large number of websites (100+).
Run the commands below to enable the proxy_fcgi module within apache.
sudo a2enmod proxy_fcgi setenvif
Run the commands below to enable the PHP-FPM module within apache. PHP FastCGI Process Manager is an alternative PHP FastCGI implementation with some additional features useful for sites of any size, especially busier sites. Like mod_php, it runs PHP as a separate process from the web server.
sudo a2enconf php8.0-fpm
Open a new Apache virtual host file named opencart.conf in your favorite editor.
sudo nano /etc/apache2/sites-available/opencart.conf
Copy and paste the lines below into the file. Save and close the file when you’re done. Replace all instances of “opencart” with a name that isn’t already taken by another website on your server. Also, replace all instances of “your-domain.com” with your domain name or IP address.
<VirtualHost *:80>

ServerAdmin admin@your-domain.com
DocumentRoot /var/www/html/opencart/upload/
ServerName your-domain.com
ServerAlias www.your-domain.com

<Directory /var/www/html/opencart/upload/>
Options FollowSymLinks
AllowOverride All
Order allow,deny
Allow from all
</Directory>

ErrorLog /var/log/apache2/your-domain.com-error_log
CustomLog /var/log/apache2/your-domain.com-access_log common

</VirtualHost>
Run the commands below to disable the Apache default configuration file. This command is going to disassociate the 000-default virtualhost from apache, effectively disabling it.
sudo a2dissite 000-default.conf
Run the commands below to enable your newly-created Apache configuration file This command is going to associate the ‘opencart.conf’ virtualhost with apache, effectively enabling it.
sudo a2ensite opencart.conf
Sample output:

Finally, run the command below to enable the Apache rewrite mode and restart your Apache service to load the new configuration.
sudo a2enmod rewrite && sudo systemctl restart apache2
Accessing OpenCart Web UI
Now that the Apache Virtual Host is configured, you can now access OpenCart Web UI.
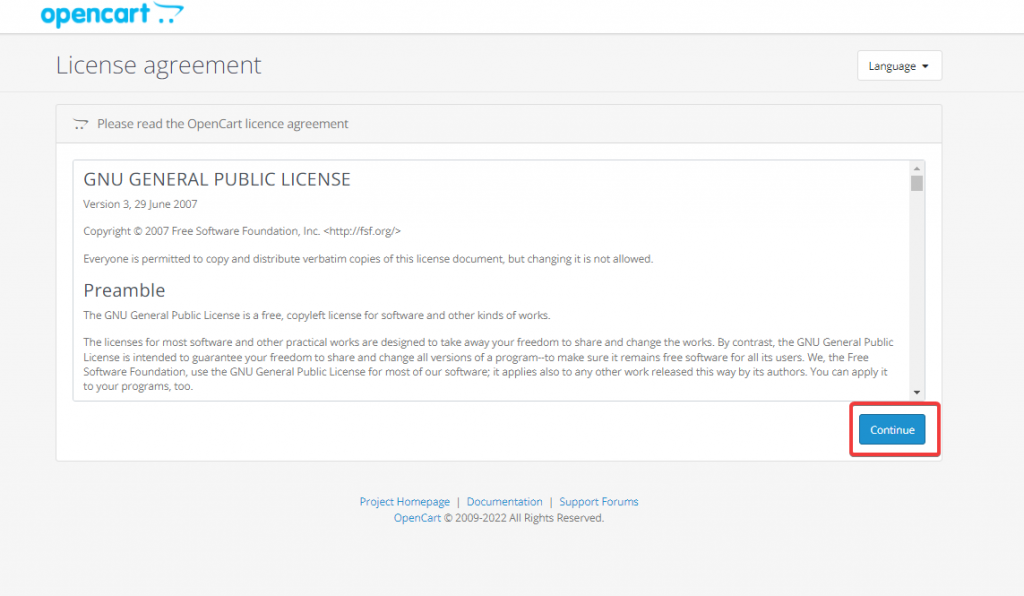
Open your favorite web browser, navigate to http://your-domain.com and you should see the following page. Click on Continue and follow the on-screen instructions to complete the installation.
Conclusion
Congratulations! You have successfully installed and configured OpenCart on Ubuntu 20.04 server with Apache and MariaDB. This tutorial also applies for installing OpenCart on any other Ubuntu version with Apache and MariaDB. If you have any questions, suggestions or encounter any problems, feel free to let us know in the comment section below.