ProcessWire is a free and open-source PHP content management system and framework that was created by Ryan Cramer in 2008, initially using the name Page CMS. In February 2011, it was publicly released as an open-source project under the MIT license.
ProcessWire provides options for user authentication and permission levels, workflow, e-commerce integration, templating, etc. It has a relatively small core codebase of around 7000 lines of code. Other than the core functionality – there are no prerequisites or specific requirements for an extension to be installed to use it; instead, developers can extend via hooks and custom data modules not hard-coded into ProcessWire.
One of the key benefits of ProcessWire is that, as it doesn’t rely on specific prerequisites, it can be installed on any web server that meets the minimum requirements. It also has a module development community that has created extensions for a wide range of functionality, including:
- User management
- Workflow management
- E-commerce integration
- Templating
- SEO optimization
- Media management
- And many more…
Overall, ProcessWire offers a very versatile and customizable platform with an active community of developers creating modules to extend its functionality. It is worth considering for larger projects where these features might be required. However, it is important to note that some knowledge of PHP and/or experience with CMSs is required to make full use of ProcessWire.
Our aim in this guide is to demonstrate how to set up and manage ProcessWire on a CentOS 7 server. For our web server, we will use Apache, and for our database server, we will use MariaDB.
Prerequisites
- You will need a CentOS 7 server with at least 2GB of RAM and 15GB of storage space.
- A root user account is required to execute the steps below.
Updating the System
Before we begin, make sure that your system is up-to-date with the latest security patches:
sudo yum check-update
sudo yum update -y
Installing Apache
Now that our system is up-to-date, we can install Apache. Apache is a open-source web server that is widely used in the Linux community. We use Apache because it is a very stable and versatile web server.
Using the following command, you can install Apache. httpd is the Apache service name.
sudo yum -y install httpd
To begin using Apache, run the following command once the installation is complete.
sudo systemctl start httpd
Using the following command, you can configure Apache to automatically start at boot.
sudo systemctl enable httpd
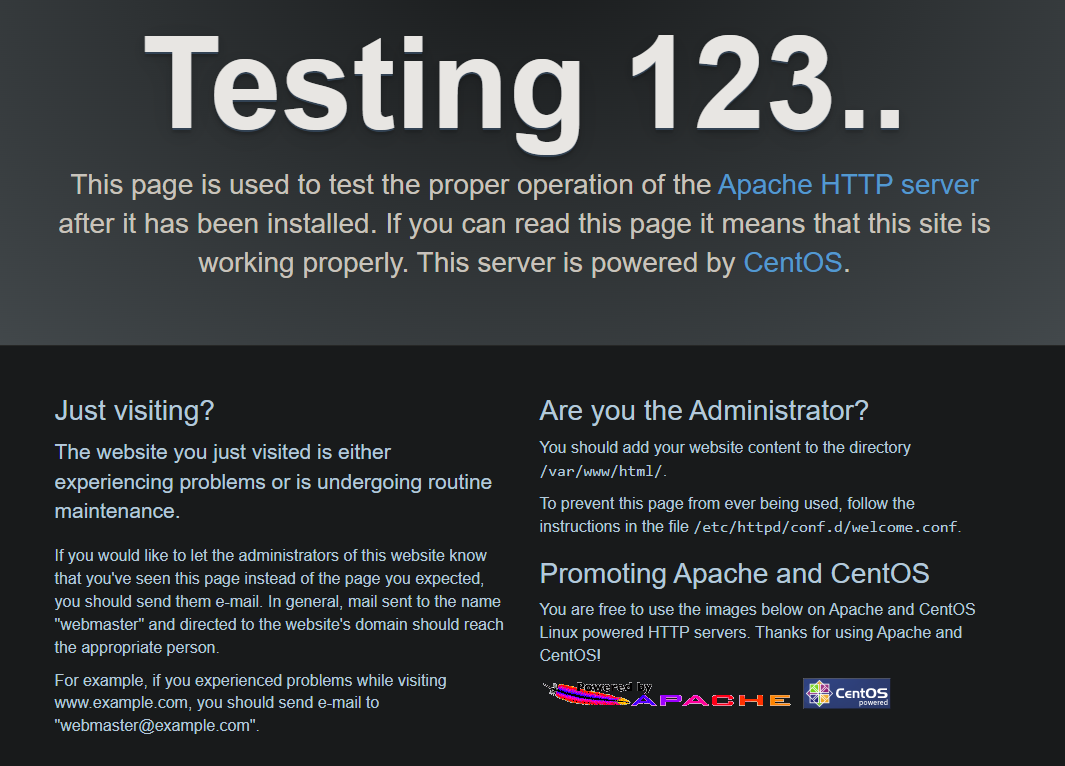
You can confirm that Apache is running by visiting your server’s domain name or public IP address in your web browser.
Installing MariaDB
CentOS 7 supports MariaDB, an open-source relational database management system. We use MariaDB as our database server because it’s a drop-in replacement for MySQL, and it has a number of features that are not available in MySQL.
Installing MariaDB can be accomplished by running the following command.
sudo yum install mariadb mariadb-server -y
Once the installation is done, run the the following command to start MariaDB .
sudo systemctl start mariadb
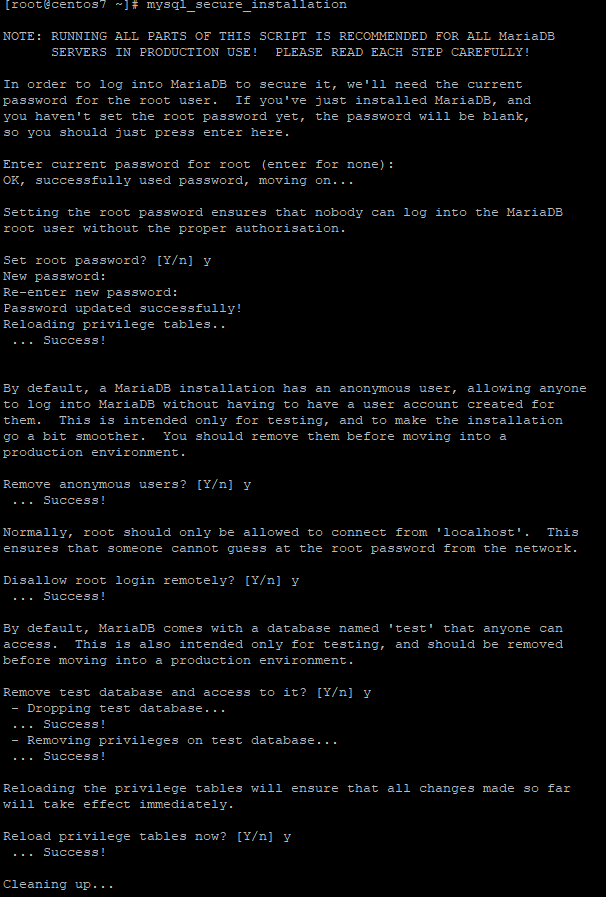
Run the mysql_secure_installation script to improve MariaDB security. Please note that this script will prompt you to set a root password, disable remote root login and remove the test database, and access to secure MySQL queries.
mysql_secure_installation
You will be asked the following questions.
Enter current password for root (enter for none): Just press the enter button.
Setting the root password ensures that nobody can log into MariaDB as an administrator without the proper authorisation. You should make sure you remember your password and store it in a safe place!
For the remaining questions, just press Y and Enter to accept the default values.
Sample output:
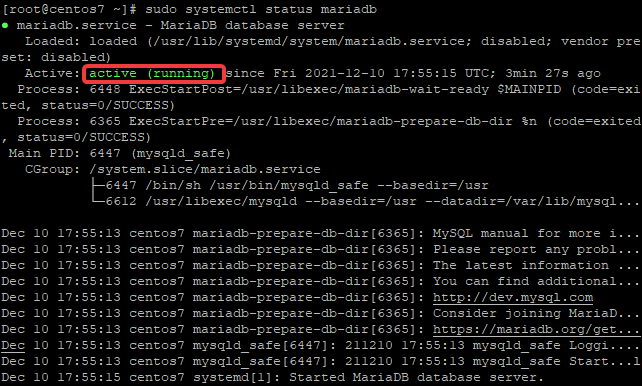
Run the following systemctl command the service status.
sudo systemctl status mariadb
The following output should be seen if everything is configured and installed correctly.
Installing PHP for ProcessWire CMS
PHP is a programming language and it is used to create dynamic web pages (websites), usually interact with a database and send responses back to the client.
Processwire CMS runs on PHP5.3+ and offers some additional security features for developers such as secure cookies, preventing access to sensitive files by making them read-only, etc.
This section will help you install PHP on your web server so that Processwire CMS can run properly.
There are a few different ways to install PHP, and the way you choose will depend on your web server and hosting company. If you are not sure how to install PHP, please contact your hosting company for assistance.
Some hosts provide a one-click installation of PHP, while others may require that you install it manually.
In this example, the epel-release repository will be used to install PHP.
The epel-release repository is a collection of packages that are not included in the base CentOS repositories, but are available as add-ons.
Open a terminal and execute the following command to enable the epel-release repository.
sudo yum install epel-release -y
Run the command below to ensure that all the packages in the epel-release repository are installed:
sudo yum update -y
Run the commands to install Webtatic repository and PHP from the Webtatic repository:
sudo rpm -Uvh https://mirror.webtatic.com/yum/el7/webtatic-release.rpm
sudo yum install php71w php71w-mysqli php71w-gd php71w-cli ImageMagick -y
Once you have finished installing PHP, run the commands below to check what version of PHP you have installed.
php -v
Sample output:

You will need to configure a few configurations in the php.ini file to make sure that Processwire CMS works fine.
Run the command below to edit PHP’s configuration file using nano text editor.
sudo yum -y install nano
sudo nano /etc/php.ini
Find the [Date] section, and uncomment the date.timezone setting and change the time zone to your local time zone. You can find a list of PHP time zones here.
Before:

After:

Save the file and exit nano by pressing Ctrl+X, Y, and Enter.
Now, run the following command to create a text file named info.php. This file is a test file and you can remove it if you wish to.
echo "<?php phpinfo(); ?>" | sudo tee /var/www/html/info.php
Open the info.php file in a web browser and confirm that PHP and all required modules were installed correctly (make sure your internal IP Address is displayed at the bottom of the screen).
http://YourAddress/info.php
Creating Database User
Now, you will need to create your database user and password for Processwire.
Run the commands below to log in to the MariaDB shell. Provide the password when prompted.
mysql -u root -p
Create a new database named processwire_data by typing the following command. You can choose whatever name you like.
CREATE DATABASE processwire_data;
Using the following commands, you can create a new database user named processwire. Replace the password text in the quotes with your own.
CREATE USER 'processwire'@'localhost' IDENTIFIED BY 'B94rPh32GJZLwHm';
Run the command below to ensure that the new database user has access to the database.
GRANT ALL PRIVILEGES ON processwire_data.* TO 'processwire'@'localhost';
Run the command below to ensure that the changes are applied.
FLUSH PRIVILEGES;
Exit the MariaDB shell by typing exit and pressing Enter.
Installing ProcessWire
Now that you have a working installation of PHP and MariaDB, you can proceed to install Processwire.
First, you will need to download the latest version of ProcessWire CMS from their homepage here.
Run the commands below to download the latest release of ProcessWire to the web root directory.
cd /var/www/ && wget https://github.com/processwire/processwire/archive/master.zip
Next, run the commands below to unzip the ProcessWire zip file.
sudo unzip master.zip
Rename the extracted folder from processwire-master to processwire.
sudo mv processwire-master processwire
Next, you will need to configure the ownership of the /var/www/html directory and its contents. Run the commands below to configure ownership of ProcessWire CMS files and directories.
sudo chown -R apache:apache /var/www/processwire
Next, you will need to disable your SELinux protection. Why? Because Processwire CMS requires the mod_rewrite Apache module to be enabled, but if it is disabled, you will get an error during installation. Run the commands below to disable SELinux protection temporarily.
setenforce 0
Next, you will need to create a virtual host for Processwire. A virtual host allows you to run multiple websites on a single server by using different IP addresses or hostnames.
Run the commands below to create a new virtual host file with nano text editor.
sudo nano /etc/httpd/conf.d/cms.yourdomain.com.conf
Add the following lines to the newly created virtual host file. Replace yourdomain.com with your actual domain name.
<VirtualHost *:80>
  ServerAdmin admin@yourdomain.com
  DocumentRoot "/var/www/processwire"
  ServerName cms.yourdomain.com
  ServerAlias www.cms.yourdomain.com
  <Directory "/var/www/processwire">
    Options Indexes FollowSymLinks
    AllowOverride All
    Require all granted
  </Directory>
  ErrorLog "/var/log/httpd/cms.yourdomain.com-error_log"
  CustomLog "/var/log/httpd/cms.yourdomain.com-access_log" combined
</VirtualHost>
Now, restart your Apache web server so that the changes take effect.
sudo systemctl restart httpd
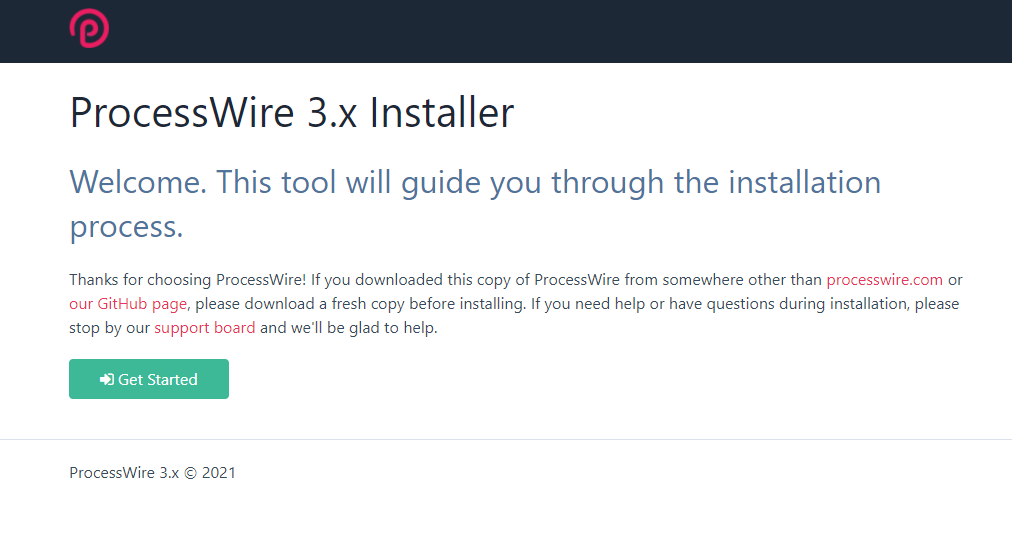
You can now access the Processwire CMS installation wizard at the following URL.
http://cms.yourdomain.com/installation-wizard/
Follow the on-screen instructions to complete the installation process.