
Keeping backup regularly on the live server is a very challenging task for a system administrator. It helps the user or an administrator to recover the data in case of system failure and even data loss. For that purpose, various free backup tools are available to maintain the backup of your system regularly. UrBackup is one of the most commonly used client/server backup tools that support various file formats images as well as system file backups. Users can install this tool on both Windows and Linux operating systems. The adaptable feature of the UrBackup tool is that it does not interrupt the current working of a system while the target system is running and creates a backup in a parallel way.
We will learn in this guide how to install the UrBackup server on an Ubuntu 22.04 and Ubuntu 20.04 system.
Prerequisites
You need sudo privileges or can access the root account on Ubuntu system.
Installation of UrBackup Server
To install the Urbackup tool, follow the below-mentioned steps:
Step 1: Install Dependencies
Some packages are required to install the Urbackup tool Ubuntu. So, install the required packages by running the below-mentioned command:
$ sudo apt install curl gnupg2 software-properties-common

Press ‘y’ and then ‘Enter’ to complete the installation of all the necessary packages on your system.
Step 2: Add Urbackup PPA repository
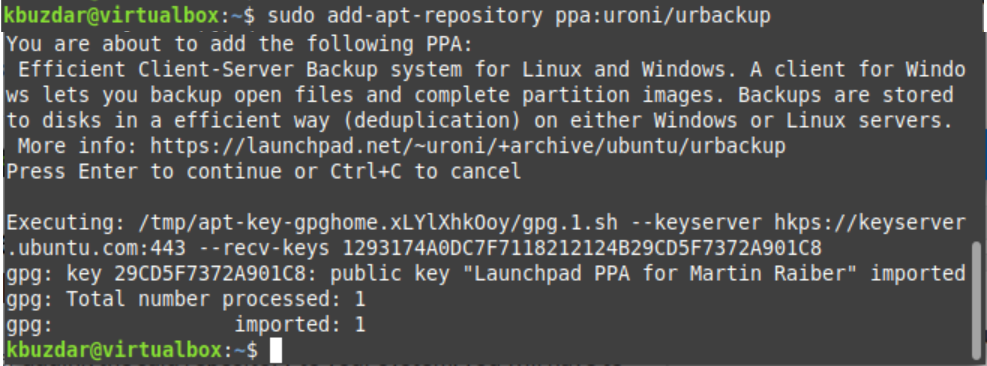
The Urbackup tool is not available in the default official Ubuntu repository. Therefore, add the Urbackup PPA apt repository to your system by executing the below-mentioned command:
$ sudo add-apt-repository ppa:uroni/urbackup
Step 3: Installing Urbackup Server
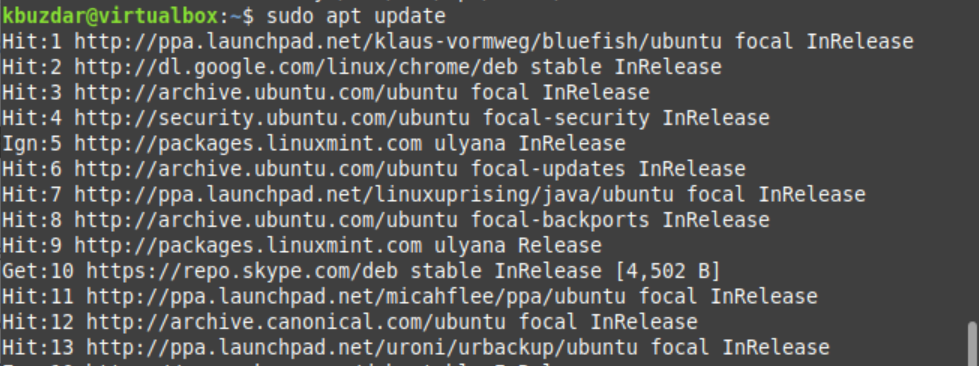
Once the Urbackup tool PPA apt repository is added, update the system apt packages index by running the below-given command:
$ sudo apt update
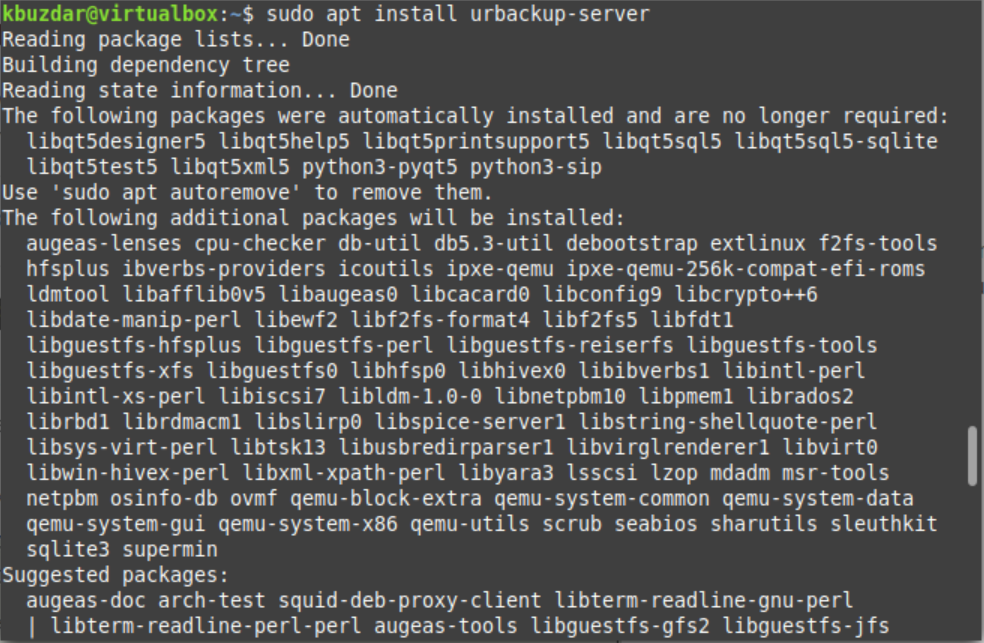
After updating the apt system repository, install the Urbackup server on the target system by executing the below-given command:
$ sudo apt install urbackup-server
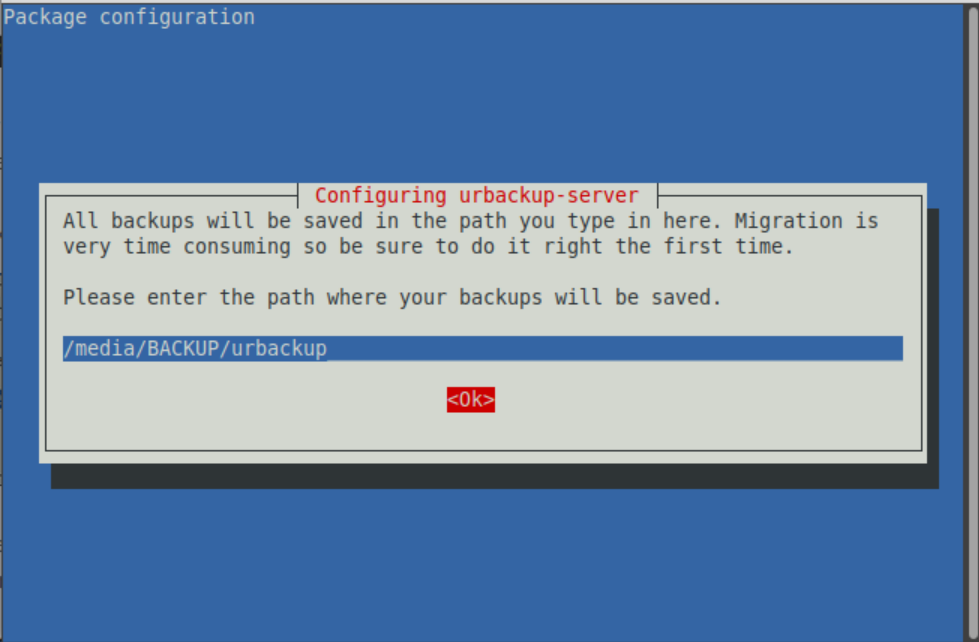
During the installation of the Urbackup server, the graphical text-based interface is prompted on the window that will ask you to select the path where you want to save the backup. Click ‘ok’ the select the default location to save your system backup as follows:
Step 4: Enable and start Urbackup Service
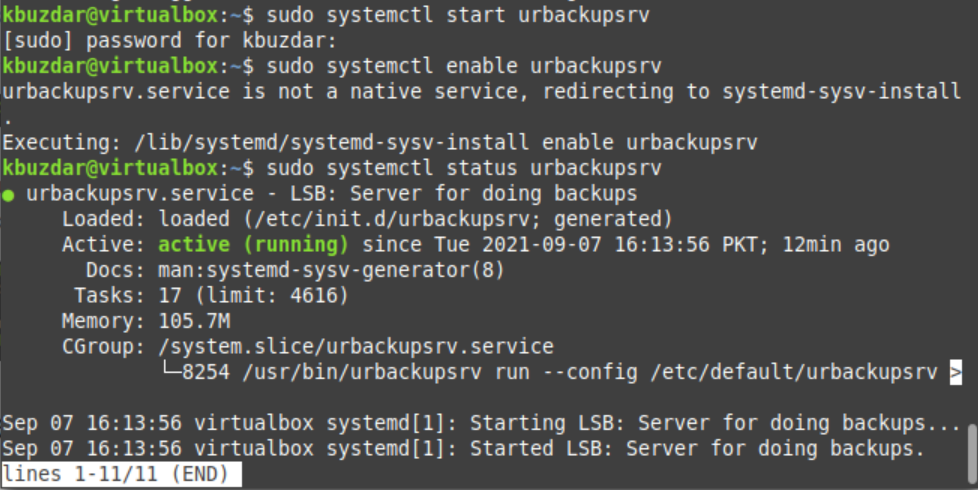
Once the installation of the Urbackup server is completed, enable and start the systemd Urbackup service by executing the below-mentioned commands:
$ sudo systemctl start urbackupsrv
$ sudo systemctl enable urbackupsrv
To check the running status of the Urbackup tool service use the command, which is given below:
$ sudo systemctl status urbackupsrv
Step 5: Access web interface of UrBackup server
To access the services of the Urbackup server, launch the web interface of the Urbackup server using the web browser. Type your system IP address followed by the colon and then enter the port number on which it listens in the URL address bar.
server-IP-address:55414
The following web interface of the Urbackup server will display in your web browser:
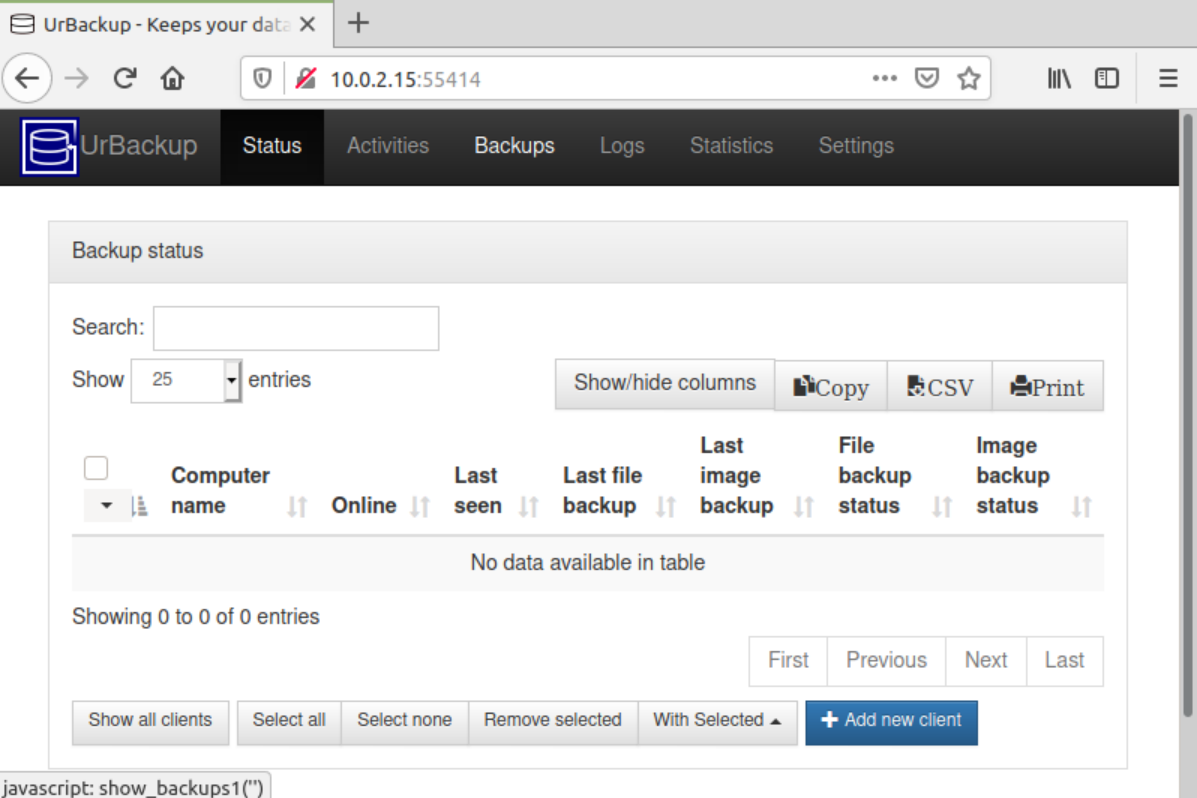
UrBackup has been successfully installed now.