Cockpit is a free, open-source web-based admin GUI. It’s modular and extensible to meet your specific needs, with many customization options.
Cockpit is released under the MIT license and is free to use on any project. There are no limitations to how many projects you can host, but note that your ISP may limit the number of open ports you can run to handle high traffic volumes, which could cause performance issues. If you’re unsure about hosting Cockpit on your website, chat with your host provider or support for more information. If you want to host Cockpit yourself, we recommend using Haproxy or a similar in-memory load balancer, which can handle many simultaneous client requests without affecting your server’s performance.
Cockpit was born out of the necessity for an admin interface for Redis that could be used as a central point for the configuration, support, and migration of Redis clusters. It allows administrators to make changes from a familiar GUI environment.
With numerous configuration options, it behaves like the administrator is creating it from scratch with any combination of modules they choose.
You have tried to install Cockpit on a CentOS machine but getting some errors. You have tried everything to install it, and still, you have errors on the screen. You’ve seen a couple of guides out there, but no one has presented you with a working solution for CentOS. In this tutorial, you will find out how to install Cockpit on CentOS and the steps you need to follow to install Cockpit successfully on your machine.
This article will explain how to install Cockpit on RHEL-based Linux distributions like AlmaLinux, CentOS, and Rocky Linux. In addition to installation, we will be covering a number of pre- and post-installation tasks like setting up your firewall, updating the machinery, and configuring Cockpit.
Prerequisites
To successfully install and use this software, you need to complete the following tasks:
- You will need a 64-bit CentOS/RHEL/AlmaLinux/Rocky Linux server with at least 2 GB of RAM
- You will need root access for this installation process.
Supported OS
This tutorial can be used for the following operating systems:
- CentOS 7
- CentOS 8
- Rocky Linux 8
- AlmaLinux 8
Updating Your System
First, you must update your server and ensure all the machinery is up to date.
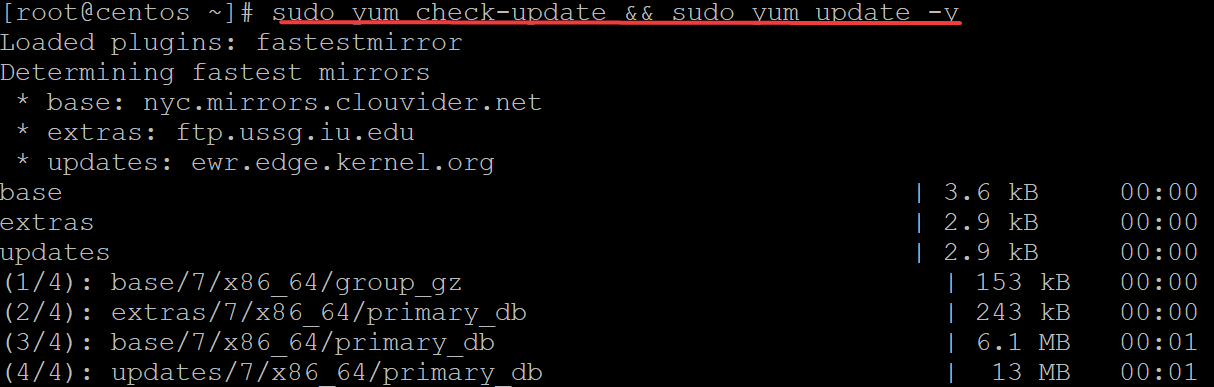
To update your CentOS machine, use the following command.
sudo yum check-update && sudo yum update -y
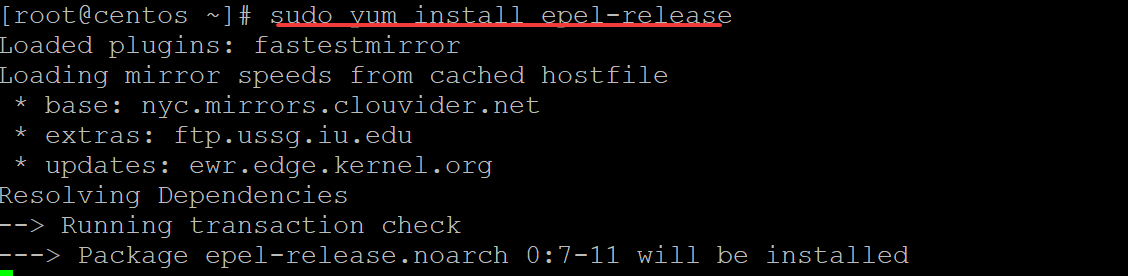
Once the update process is complete, run the following command to install the epel-release package. epel-release is a utility for installing and upgrading packages from the Fedora Extra Packages for Enterprise Linux (EPEL) repository. This repository provides extra packages not provided by the default repositories.
By default, the Centos default repositories come with many helpful packages and tools. But some of these packages are not available for Cockpit, thus we will need to install them from the EPEL repository using the following command.
sudo yum install epel-release
Installing Cockpit on Centos
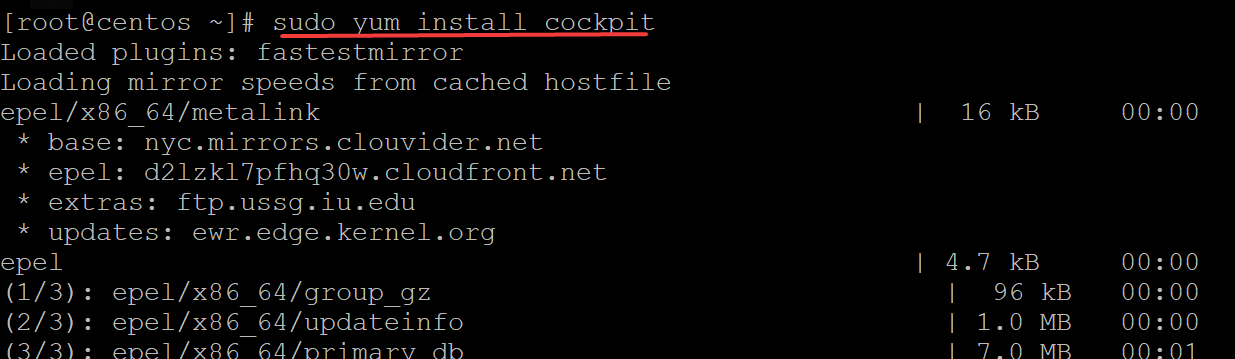
Now that all the dependencies are installed, it’s time to install the main Cockpit server.
Run the following command to install Cockpit on your Centos system.
sudo yum install cockpit
Once the installation is complete, run the following command to start the Cockpit service.
sudo systemctl start cockpit.socket
Now, in order to make sure that Cockpit starts automatically whenever your server is restarted, run the following command.
sudo systemctl enable --now cockpit.socket
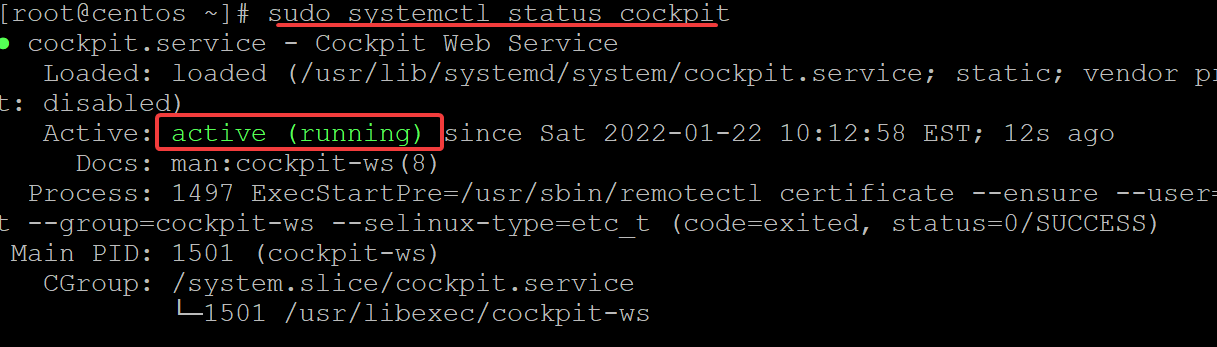
Finally, run the following command check to ensure that Cockpit is running correctly.
You will get the following output.
Configuring Your Firewall
A firewall is an application of computer software that acts as a barrier or filter between a computer network and the untrusted networks outside, protecting the network from threats from the Internet. It can also be used to implement different security policies for a computer network. A firewall manages what traffic is allowed in or out of a computer’s TCP/IP stack.
In Linux, you will want to use a firewall to protect your system against malicious attacks, such as viruses, worms, and rootkits. As with any system security measure, it is a good idea to set up and test your firewall’s setup thoroughly before using it in a production environment.
Firewalld is the default firewall management tool in Centos. It is a reimplementation of the previous firewall systems, with support for network zones. If your system is behind Firewalld. You will need to open the firewall port for Cockpit.
The default port where Cockpit listens is 9090, you can run the following command to check which port Cockpit is using.
sudo ss -tunlp | grep cockpit

Run the following command to open the 909 port.
sudo firewall-cmd --zone=public --add-port=9090/tcp --permanent && sudo firewall-cmd --reload

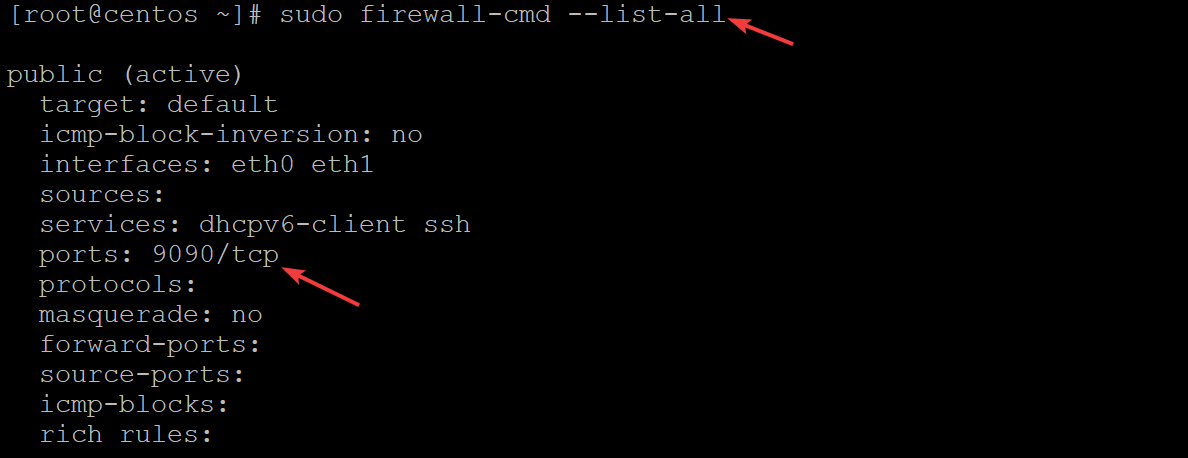
Finally, run the following command to list all the open ports.
sudo firewall-cmd --list-all
You will get the following output.
Accessing the Cockpit Web UI
Now that Cockpit is up and running on your server, you can access Cockpit from your web browser.
Open your favorite browser. Navigate to the following URL http://Server_IP:9090 where Server_IP is the actual IP address of your server. For example, if your server is located at 192.168.1.150, then the URL will be http://192.168.1.150:9090.
You should see a login page. Enter root as the username and the root password as the password. Click on Log In.
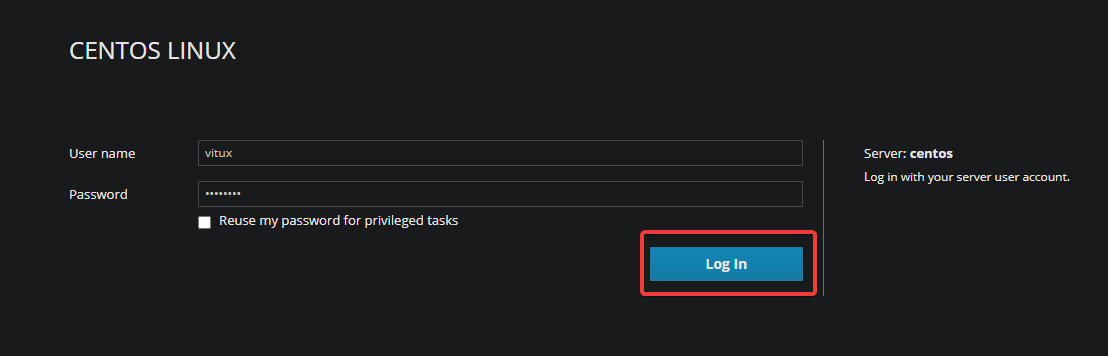
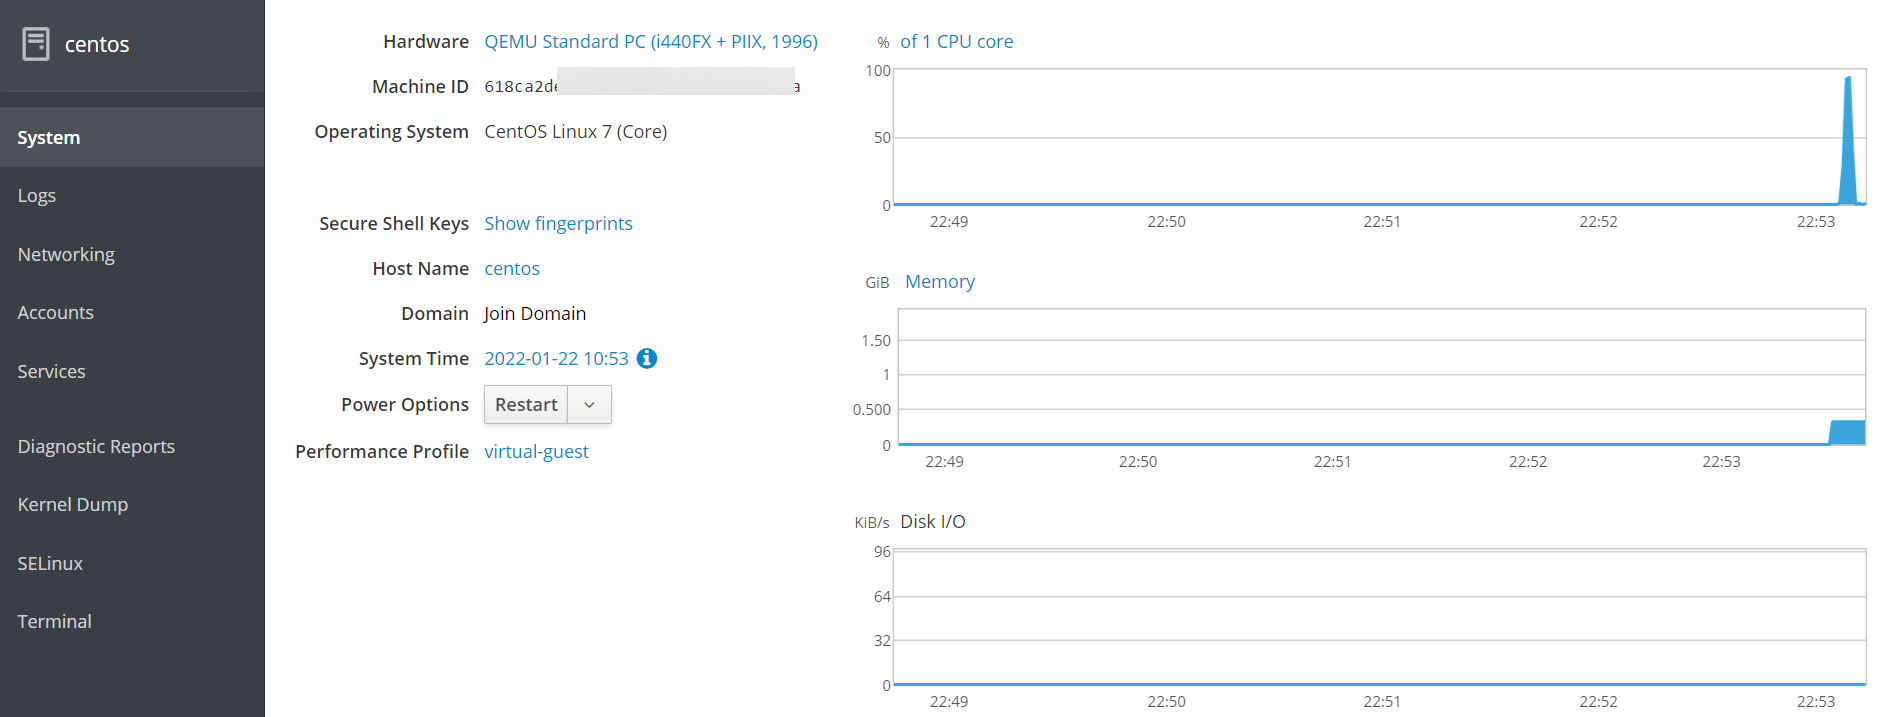
Once you enter the credentials and click on login, you will be brought to the Cockpit dashboard. At first, it might seem overwhelming but don’t worry! Cockpit is a very simple to use and easy-to-understand GUI.
Conclusion
Congratulations! You have successfully installed and launched Cockpit on your CentOS system. Leave a comment below if you have any issues or questions about the installation process and let us know in the comments section below.