Webmin is a web-based configuration tool for any Linux system that lets you manage your server through a web interface. You can use Webmin to set up users, disk quotas, services or configuration files, Apache, DNS, and more. With Webmin, we can manage and control multiple systems from one central location. Webmin comes with many modules that can be used to extend Webmin’s features easily.
In this tutorial, we will learn how to install Webmin on an Ubuntu server.
Requirements
- A server running Ubuntu Linux.
- A non-root user with sudo privileges.
First steps
First, update your system with the latest version by running the following command:
sudo apt update -y
sudo apt upgrade -y
Once your system is updated, reboot your system to apply the changes.
Then install some prerequisites:
apt install software-properties-common apt-transport-https wget
Install Webmin
By default, Webmin is not available in the default repository of Ubuntu. Therefore, you need to add the repository. You can add the repository by editing the /etc/apt/sources.list file:
sudo nano /etc/apt/sources.list
Add the following lines:
deb http://download.webmin.com/download/repository sarge contrib
Save and close the file. Then download and add the Webmin GPG key:
wget http://www.webmin.com/jcameron-key.asc
sudo apt-key add jcameron-key.asc
Next, update the repository and install Webmin with the following command:
sudo apt update -y
sudo apt install webmin -y
Once Webmin is installed, you should see the following output:
Webmin install complete. You can now login to https://my.ubuntuserver.tld:10000/
as root with your root password, or as any user who can use sudo
to run commands as root.
Processing triggers for systemd (237-3ubuntu10) ...
Processing triggers for man-db (2.8.3-2) ...
Processing triggers for ureadahead (0.100.0-20) ...
You can also check the status of Webmin with the following command:
sudo systemctl status webmin
Output:
? webmin.service - LSB: web-based administration interface for Unix systems
   Loaded: loaded (/etc/init.d/webmin; generated)
   Active: active (running) since Sat 2023-07-30 14:16:36 UTC; 17s ago
     Docs: man:systemd-sysv-generator(8)
    Tasks: 1 (limit: 1114)
   CGroup: /system.slice/webmin.service
           ??4563 /usr/bin/perl /usr/share/webmin/miniserv.pl /etc/webmin/miniserv.conf

Oct 20 14:16:30 ubuntu2204 systemd[1]: Starting LSB: web-based administration interface for Unix systems...
Oct 20 14:16:32 ubuntu2204 perl[4536]: pam_unix(webmin:auth): authentication failure; logname= uid=0 euid=0 tty= ruser= rhost=  user=root
Oct 20 14:16:34 ubuntu2204 webmin[4536]: Webmin starting
Oct 20 14:16:36 ubuntu2204 systemd[1]: Started LSB: web-based administration interface for Unix systems.
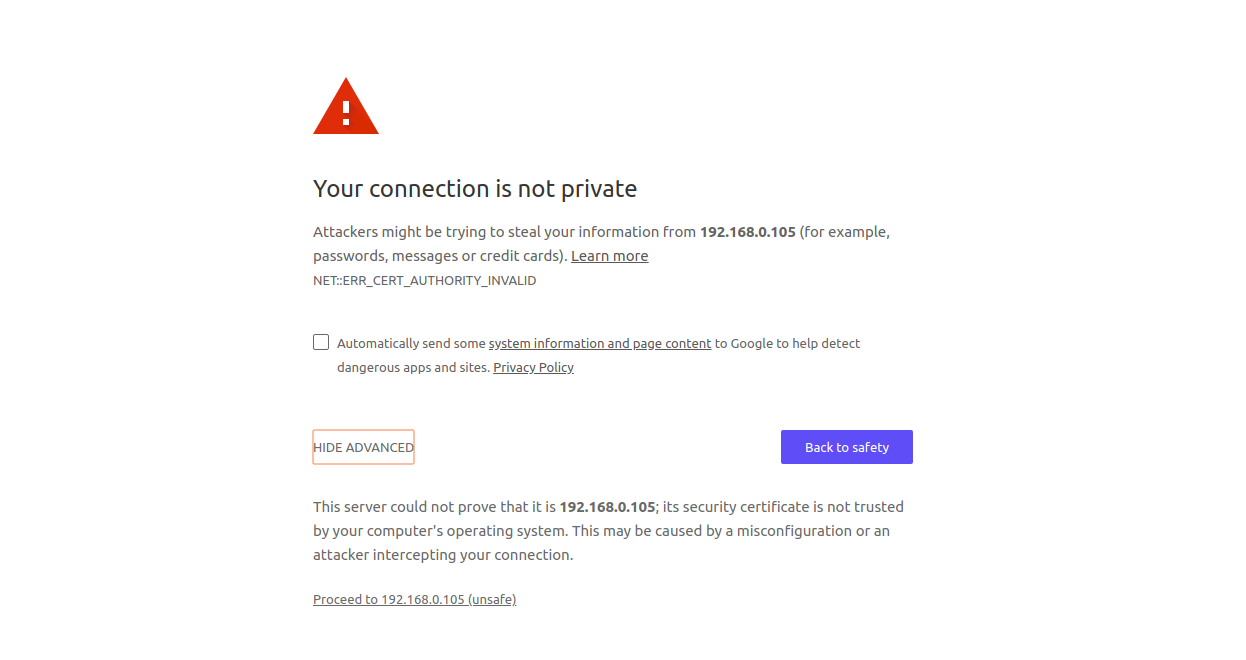
Now open your web browser and enter the URL https://your-server-ip:10000. You will be redirected to the following page:
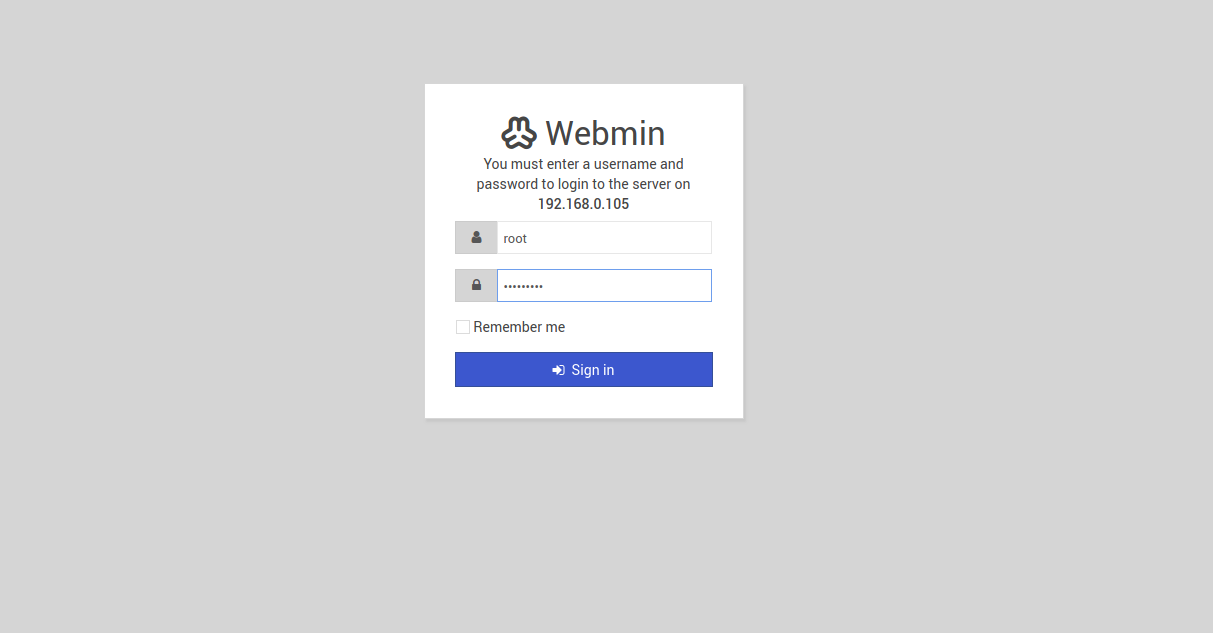
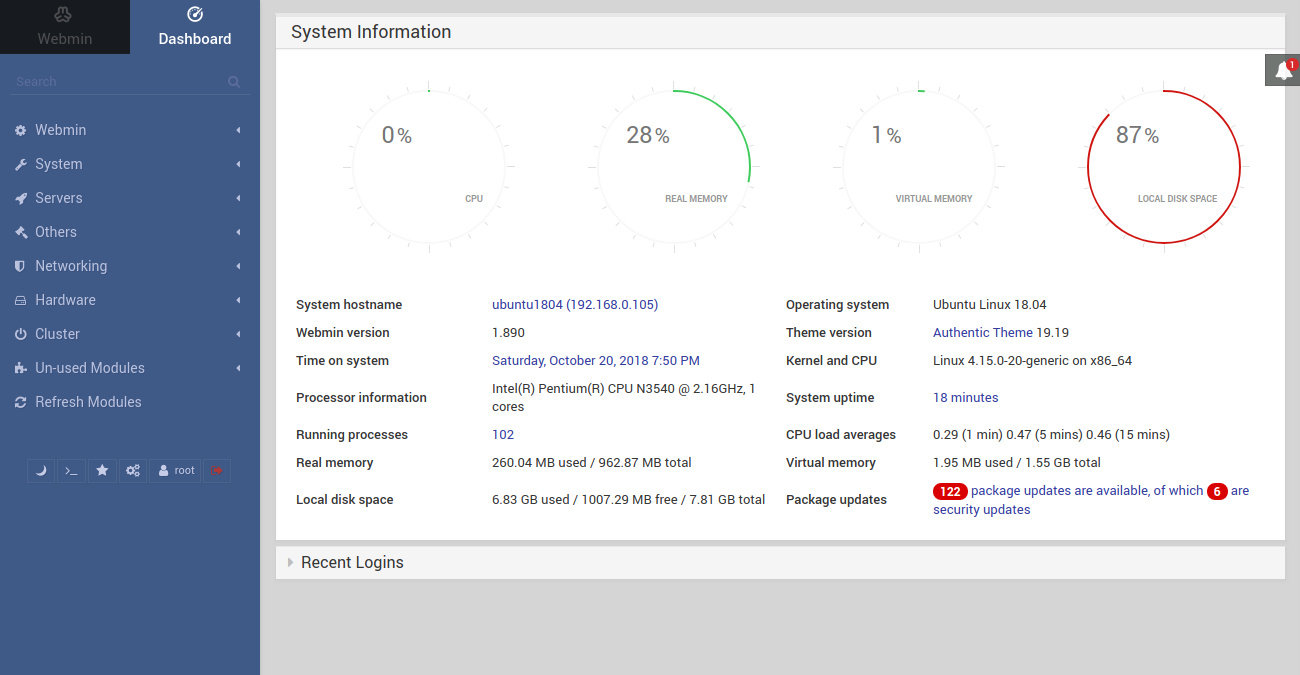
Now enter your root username and password. Then click on the Login button. On the following page, you should see the Webmin dashboard:
Securing Webmin with Apache Reverse Proxy.
By default, Webmin runs on port 10000, and you need to specify it with a URL. Therefore, an Apache virtual host is recommended to redirect requests to Webmin. You can do this by creating an Apache Virtual Host directive:
sudo nano /etc/apache2/sites-available/webmin.conf
Add the following lines:
<VirtualHost *:80>
        ServerAdmin admin@example.com
        ServerName example.com
        ProxyPass / http://localhost:10000/
        ProxyPassReverse / http://localhost:10000/
</VirtualHost>
Save and close the file. Then enable the virtual host with the following command:
sudo a2ensite webmin
Next, configure Webmin to stop using TLS/SSL.
sudo nano /etc/webmin/miniserv.conf
Make the following changes:
ssl=0
Save and close the file. Then add your domain to the list of allowed domains.
sudo nano /etc/webmin/config
Add the following line:
referers=example.com
Save and close the file. Then enable Apache’s proxy_http module with the following command:
sudo a2enmod proxy_http
Finally, restart Webmin and Apache to apply all changes:
sudo systemctl restart webmin
sudo systemctl restart apache2
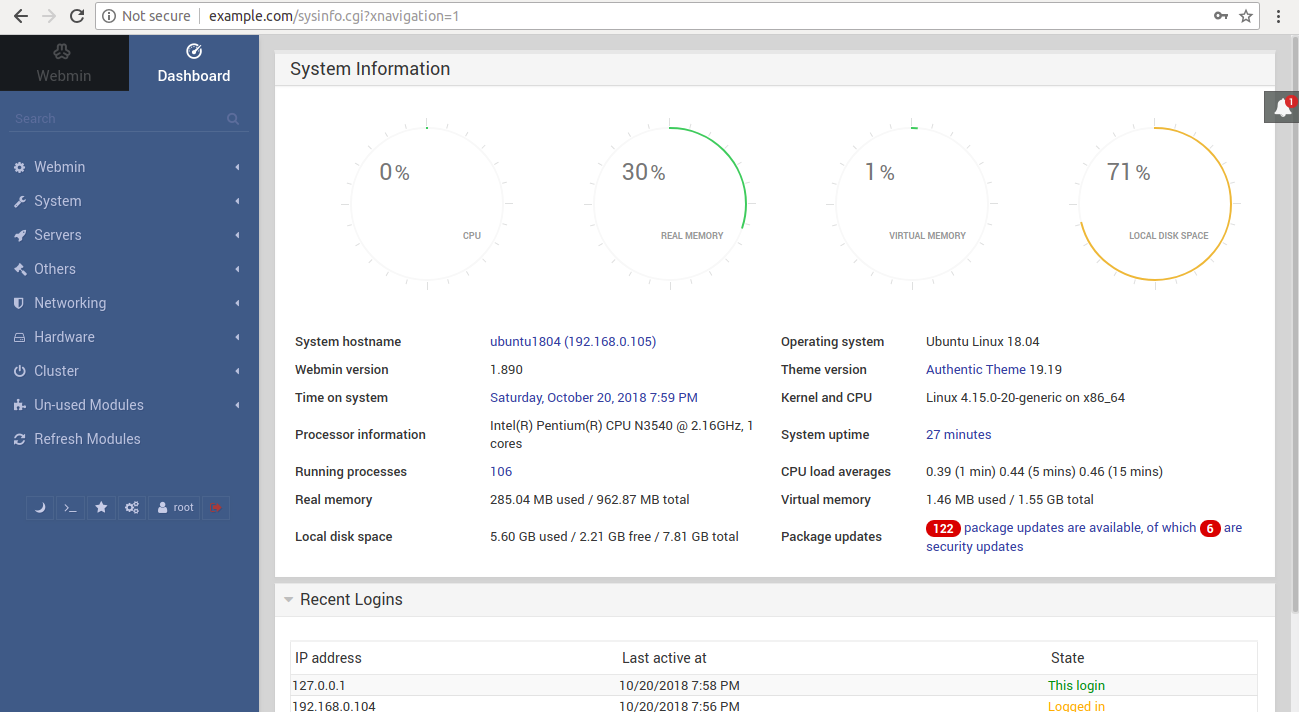
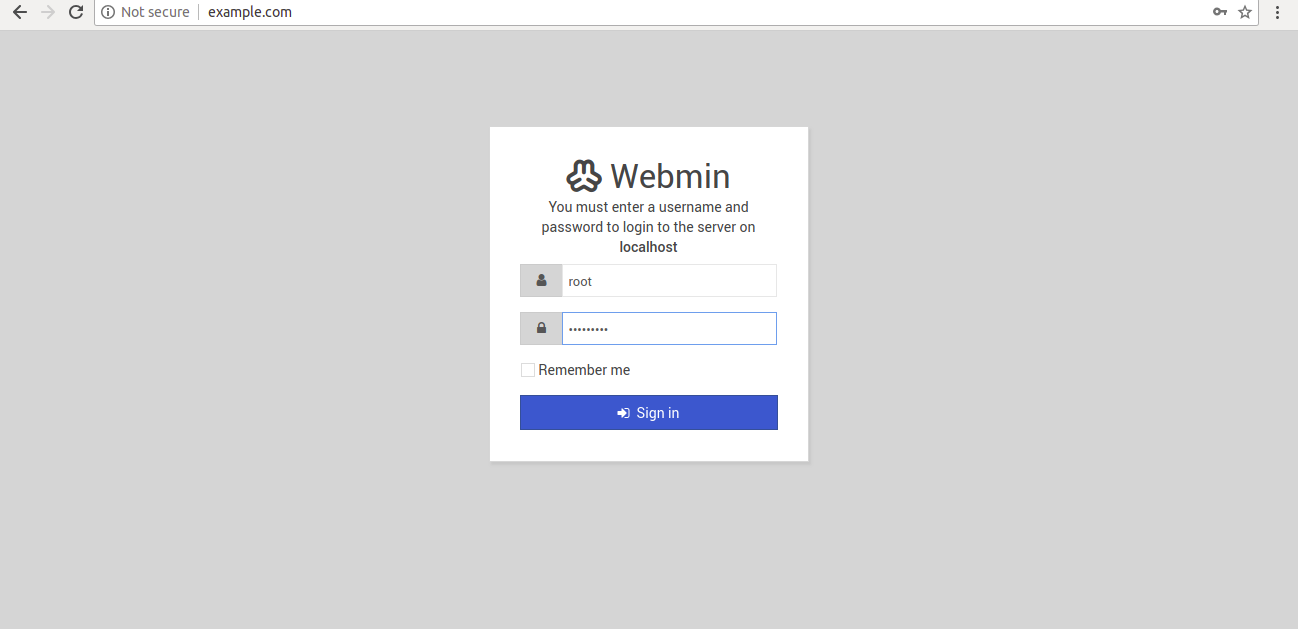
Now open your web browser and enter the URL http://example.com. You will be redirected to the Webmin login page:
Enter your root username and password. Then click on the login button. On the following page, you will be redirected to the Webmin Dashboard: