This document describes how to install and configure WordPress on Ubuntu. WordPress began in 2003 with a single code to improve the typography of everyday texts. Since then, it has become the world’s largest self-hosted CMS and blog tool, used on millions of websites. This guide explains how to install WordPress on Ubuntu with Apache as the web server and MySQL as the database.
1 Preliminary note
This guide is based on an empty Ubuntu server. Before proceeding with this tutorial, you must set up a basic Ubuntu 22.04 server installation, or use a server or virtual server with Ubuntu 22.04 installed. The system should have a static IP address. In this tutorial, I use 192.168.1.100 as the IP address and server1.example.com as the hostname.
All further steps will be done as root user, so we don’t have to prepend sudo to every command. To become root user on your server, execute :
sudo -s
and enter your sudo password.
2 Install Apache web server and PHP
Before we start installing the first packages, you should make sure that your package database is up to date and that the latest updates are installed. To do this, run this command:
apt-get update
apt-get upgrade
Next, install Apache and PHP:
apt-get -y install apache2 php8.1 libapache2-mod-php8.1 php8.1-mysqli php8.1-curl php8.2-gd php8.1-intl php-pear php-imagick php-memcache php8.1-pspell php8.1-recode php8.1-sqlite3 php8.1-tidy php8.1-xmlrpc php8.1-xsl php8.1-mbstring php-gettext3 Install MariaDB database
Install MariaDB with the following command:
sudo apt install mariadb-server mariadb-client
3.1 Initializing the WordPress database
I will create the database for WordPress as follows. Log in to the MySQL or MariaDB database as the root user:
mysql -u root -p
And create a database named wordpressdb, a user named wordpressuser and password wordpresspassword. Please use a different and secure password for your installation, the password used here is just an example!
CREATE DATABASE wordpressdb;
CREATE USER wordpressuser@localhost IDENTIFIED BY 'wordpresspassword';
GRANT ALL PRIVILEGES ON wordpressdb.* TO wordpressuser@localhost;
Then exit the MySQL shell:
FLUSH PRIVILEGES;
exit
Restart services
service apache2 restart
service mysql restart
3 Installation of WordPress
Go to the /tmp directory, where we will download the latest version of WordPress as follows:
cd /tmp
wget http://wordpress.org/latest.zip
We need to install unzip to unpack the WordPress archive:
apt-get install unzip
Unzip the WordPress zip archive to the /var/www/html folder:
unzip -q latest.zip -d /var/www/html/
Now set the appropriate permissions for the WordPress directory.
chown -R www-data:www-data /var/www/html/wordpress
chmod -R 755 /var/www/html/wordpress
Also, we need to create the uploads directory below the wp-content directory in our document root. This will be the parent directory for our content:
mkdir -p /var/www/html/wordpress/wp-content/uploads
We need to allow the web server itself to write to this directory. We assign the web server www-data user and group permissions to this directory to do this. This will allow the webserver to create files and directories in this directory so that we can upload content to the server. Proceed as follows:
chown -R www-data:www-data /var/www/html/wordpress/wp-content/uploads
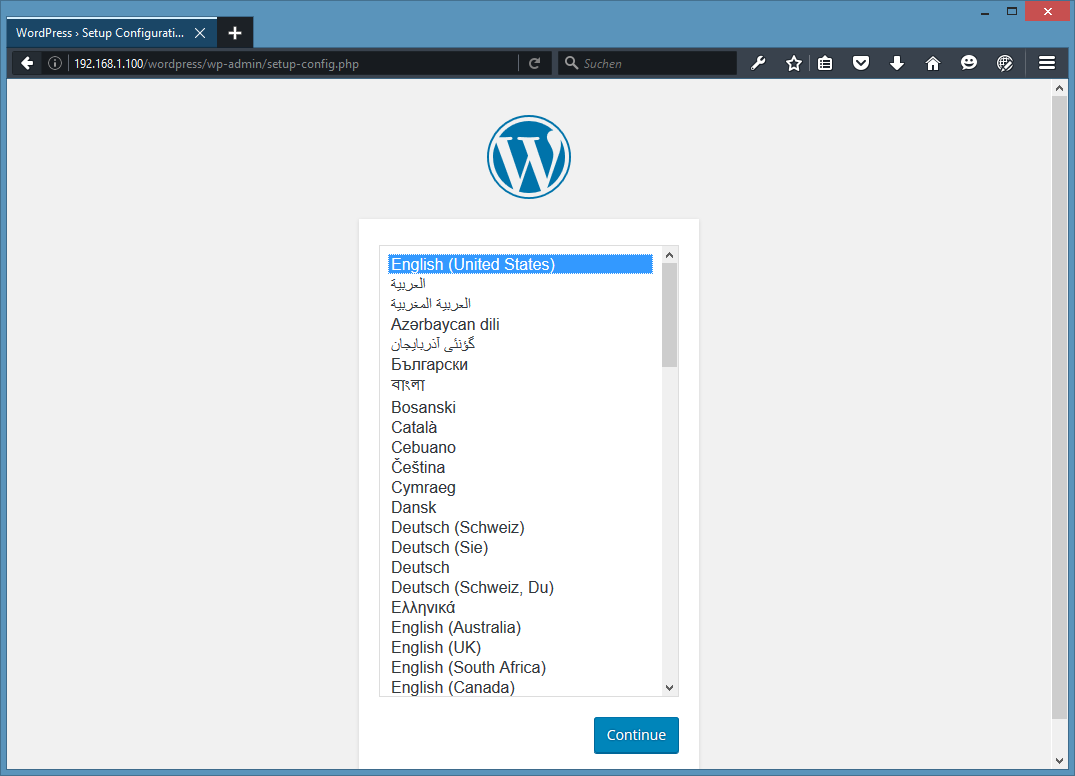
Now go to the web installation of WordPress. Go to the URL http://192.168.1.100/wordpress/ in your web browser. The WordPress installer will appear.
Select a language and press Next:
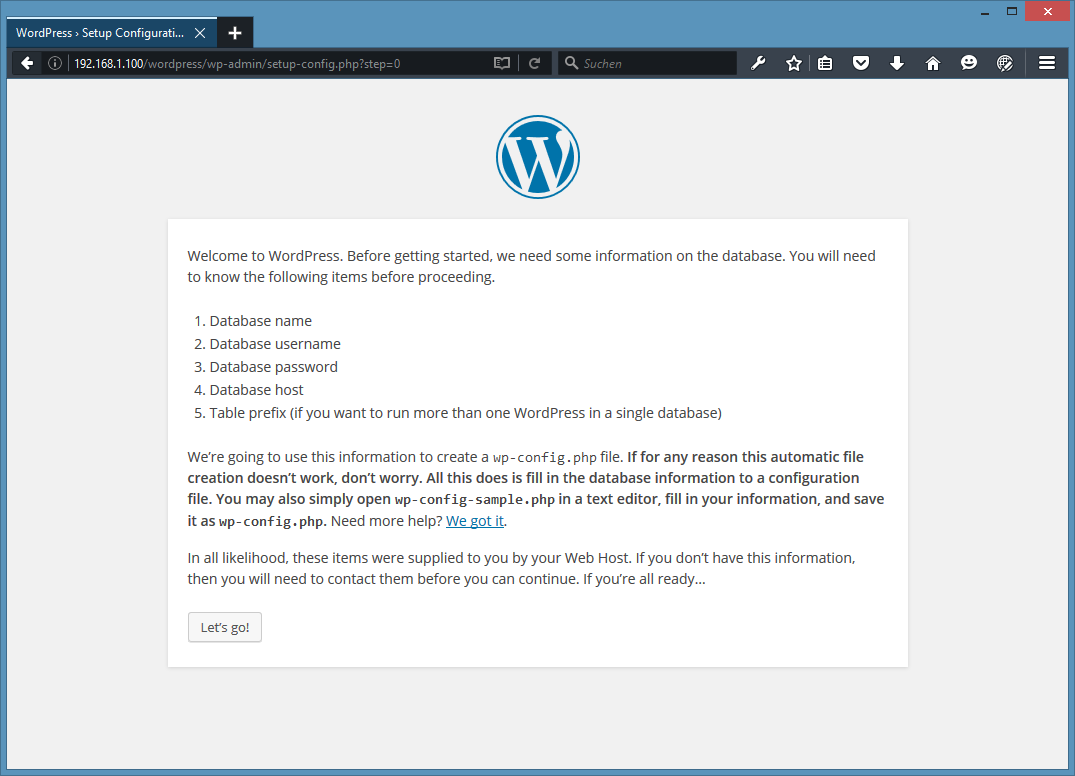
The welcome screen will be displayed in the selected language. Click Go.
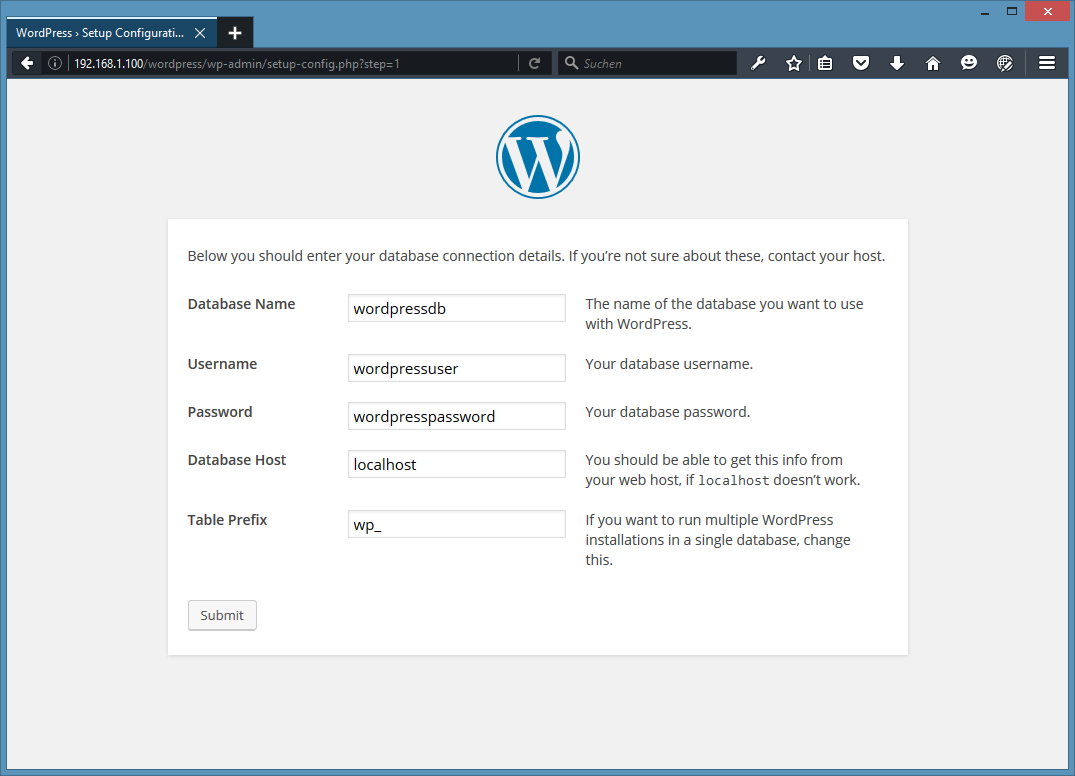
Enter the login details of the WordPress database we created in step 2. The database host is “localhost,” and the prefix can be left at the default value. Then click on the “Submit” button.
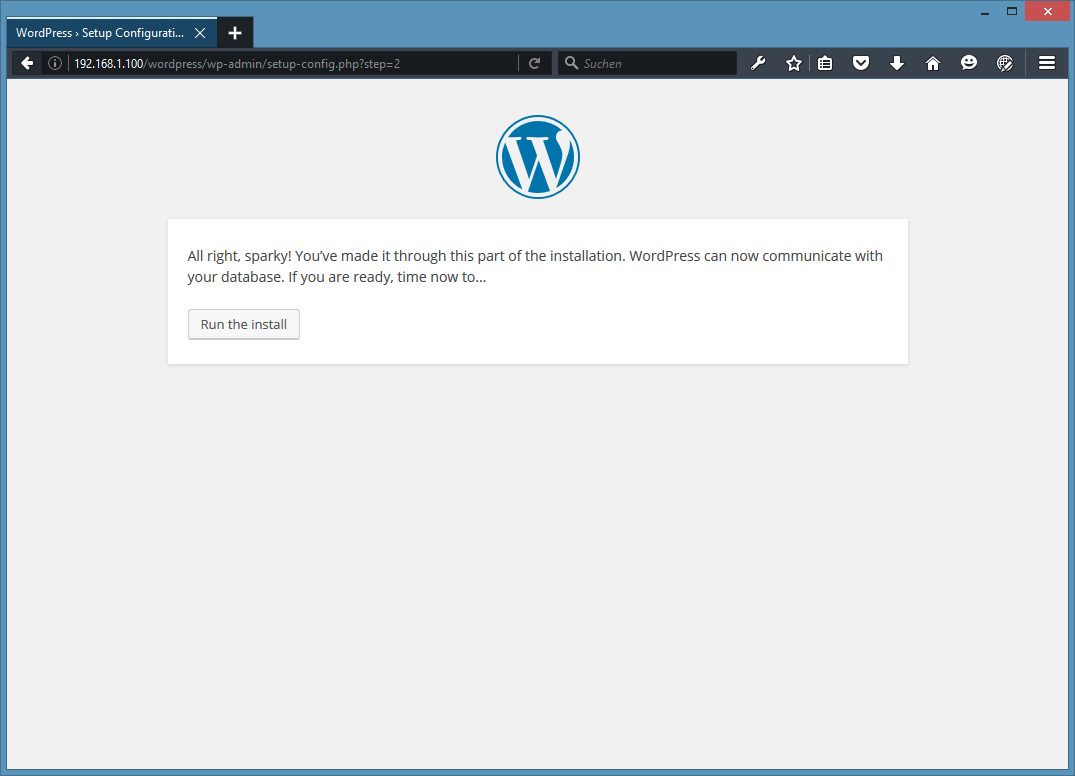
WordPress will save the database configuration details in the file /var/www/html/wordpress/wp-config.php. Click on “Run the install” to go to the next part of the installer.
Now enter some details for the blog, such as the site title, administrator username, password, and email address. I have used these values:
Site Title = My WordPress Blog
Admin Email = admin@example.com
Username = admin
Admin password = howtoforge
The above values are just examples; you should use the real title and email address here. Using admin as the administrator name is fine for an internal website, but you should use a non-standard name or your name instead.
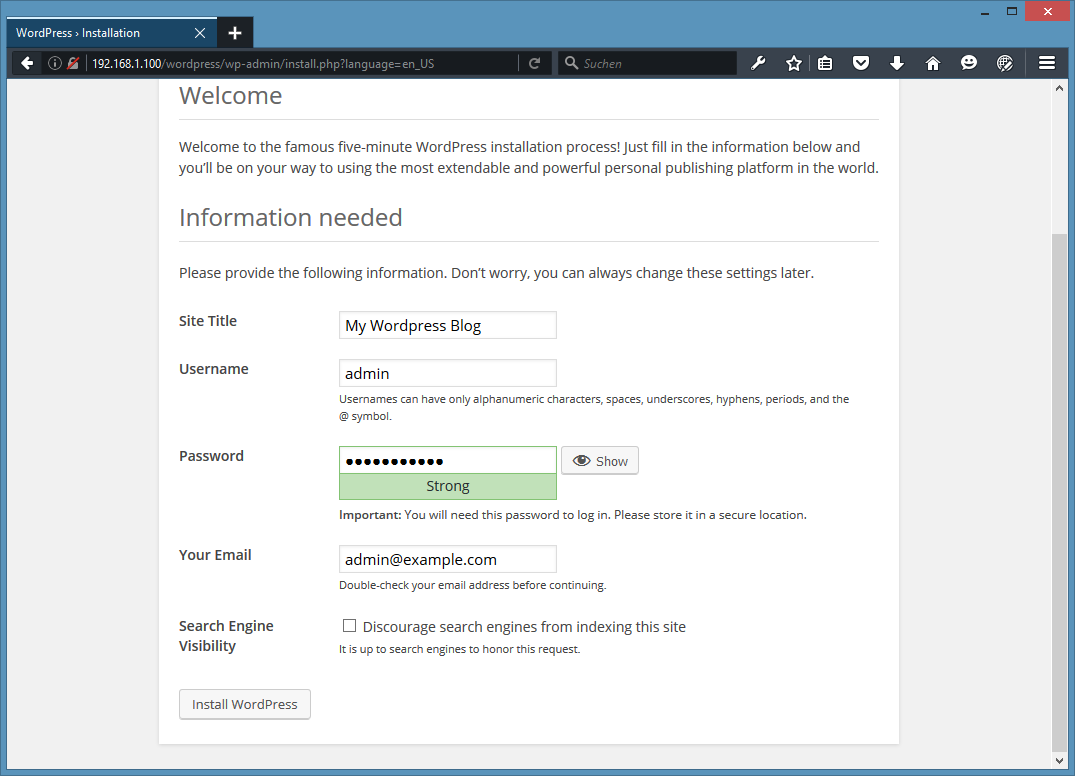
Press Install WordPress to complete the installation:
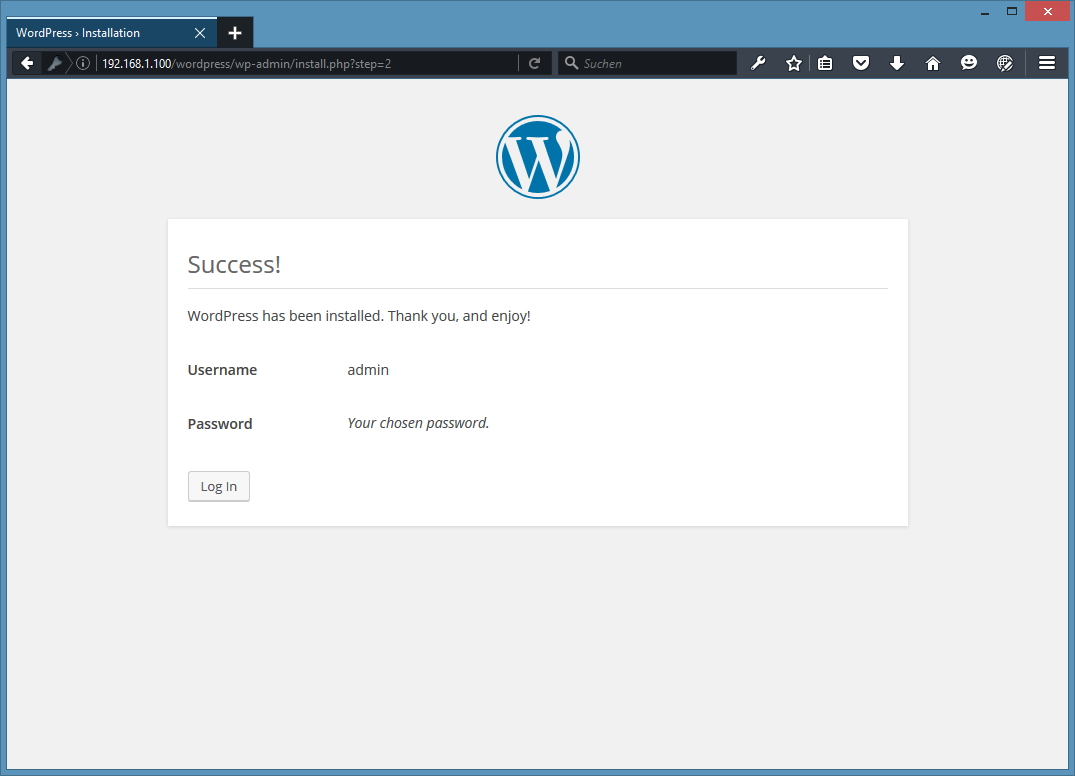
Now let’s go to the login page by clicking LogIn:
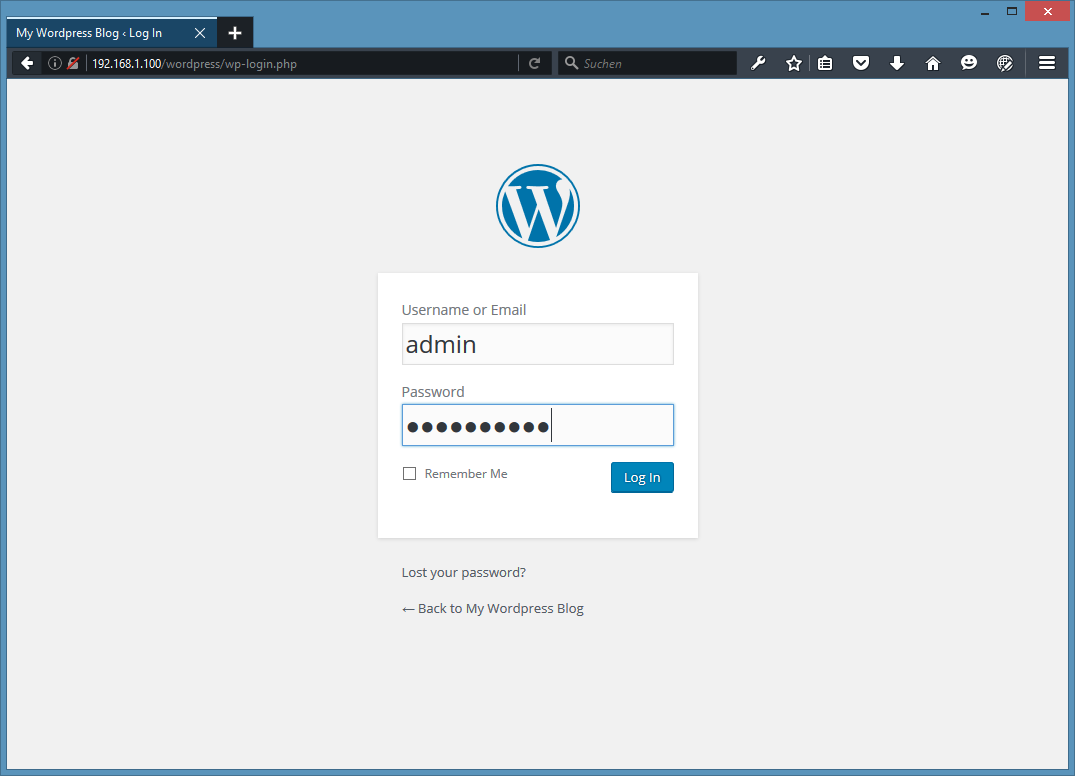
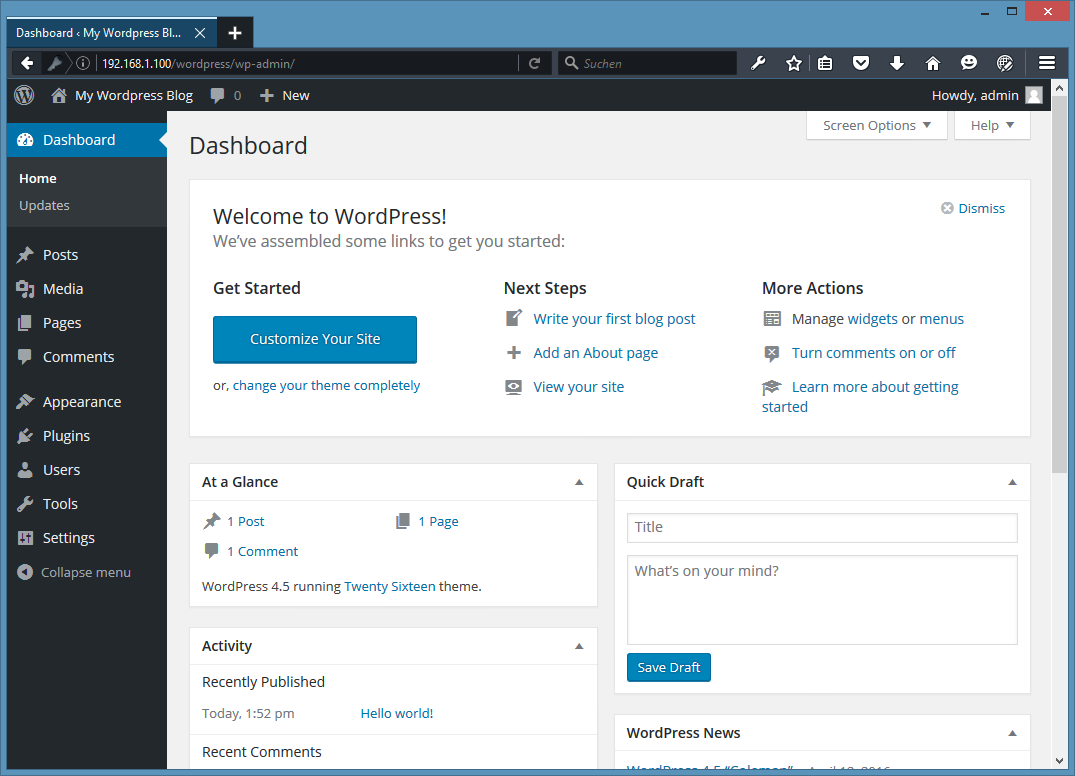
Enter the login credentials you selected during the WordPress installation. The WordPress Dashboard will be displayed.
6 Configure Pretty Permalinks for WordPress
This part is optional.
By default, WordPress dynamically creates URLs that look something like this: http: //server_domain_name_or_IP/?p=1. This is not the most useful interface for visitors or search engines, so most users will want to change this. WordPress has the ability to create “pretty” permalinks that convert the URL to a more human-friendly format. The following steps will show you how to set up pretty permalinks on your WordPress blog.
6.1 Apache Rewrite
We will modify the Apache virtual host file for WordPress to allow .htaccess rewrites. Add the following (red) lines to the 000-default.conf file:
nano /etc/apache2/sites-available/000-default.conf
[...]
 ServerAdmin webmaster@localhost
        DocumentRoot /var/www/html
        ServerName server1.example.com
        <Directory /var/www/html/>
        AllowOverride All
        </Directory>
[...]
Next, we need to enable the Apache Rewrite module. Execute:
a2enmod rewrite
service apache2 restart
6.2 Permalink settings in WordPress
Now we can easily customize the permalink settings using the WordPress admin interface. Go to Settings–>Permalinks:
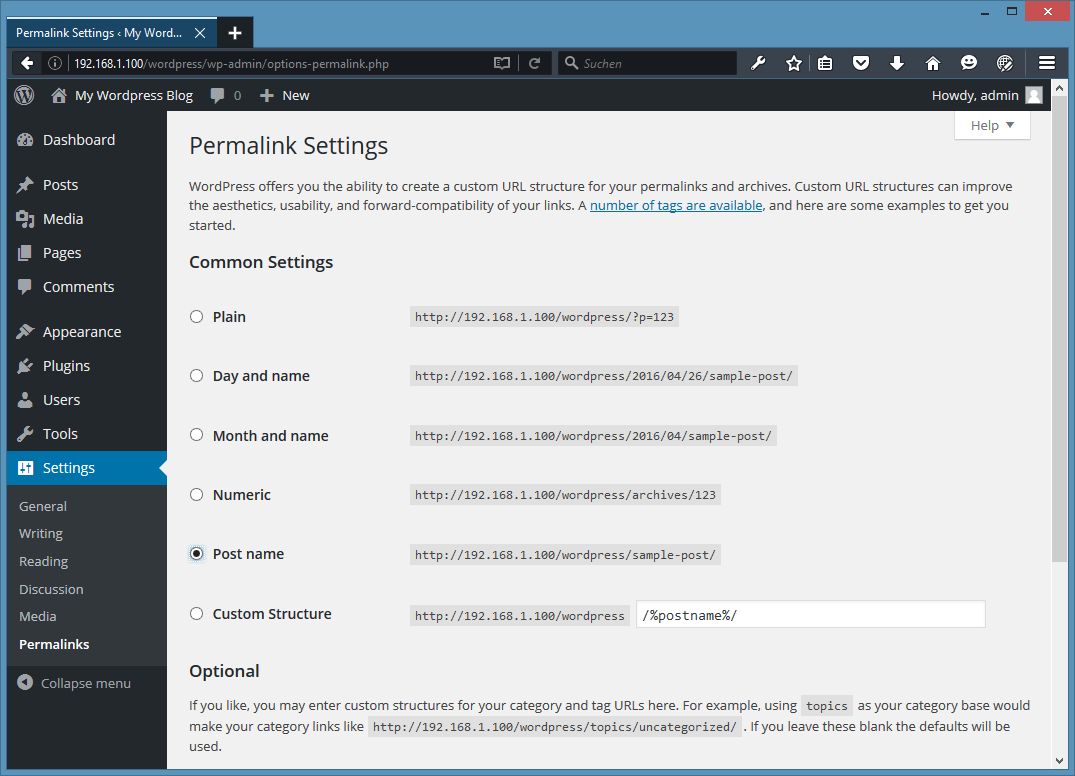
I chose “Post Name” as the pretty link format for my blog so that the post title is used in the URL.
Once you’ve selected, click “Save Changes” to create the rewrite rules.
Congratulations! You now have a fully functional WordPress instance on your Ubuntu 🙂
7 links
- WordPress : http://wordpress.org/
- Ubuntu : http://www.ubuntu.com/