
XWiki is an easy, compact, and efficient wiki platform that enables you to tailor the wiki to fit unique requirements. It is implemented in Java & operates on JBoss or Tomcat-based servlet containers. XWiki is an easy and intuitive online frontend that allows you to generate and organize data from every gadget or search engine. WYSIWYG edit, OpenDocument-based file import/export, tagging, version control, sophisticated wiki syntax, comprehensive search capability, and much more are just a few of the tools included. We’ll demonstrate how to set up XWiki on Ubuntu 20.04 throughout this guide.
Install XWiki on Ubuntu
At the very start, you need to update your system. For that purpose, log in from the Ubuntu 20.04 system and launch the command terminal using Ctrl+Alt+T. After that, execute the below command, followed by the Enter key. You have to add your sudo password to update your system. Add your password and sit back until the updates get completed.
$ sudo apt update

Install Java
As you know, XWiki cannot be used without java, hence you need to set up java in your system first. You can use the below-cited command in the shell to install it.
$ sudo apt-get install default-jdk gnupg2 -y

After the configuration of java, you can check its installed version on your system via the below version query.
$ java --version

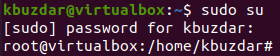
You need to log in as a root to do further operations. Hence, use the below command to do so. Add your password upon request.
$ sudo su
Install Xwiki
Now, we need to add the XWiki repository to our system. But, firstly we have to add the GPG key by using the below query. It will output “OK”.
# wget –q https://maven.xwiki.org/public.gpg -O- | apt-key add -

Now, add the XWiki repository in your system, using the below instructions in the shell.
# sudo wget https://maven.xwiki.org/stable/xwiki-stable.list -P /etc/apt/sources.list.d/
![]()
![]()
You can see the XWiki repository has been added successfully.

Update your system once again.
# sudo apt update
![]()
![]()
Search for the available XWiki packages:
# apt-cache search xwiki

We have been installing the XWiki-tomcat9-common package and xwiki-tomcat9-mariadb package using the below-stated apt query.
# sudo apt install xwiki-tomcat9-common xwiki-tomcat9-mariadb -y

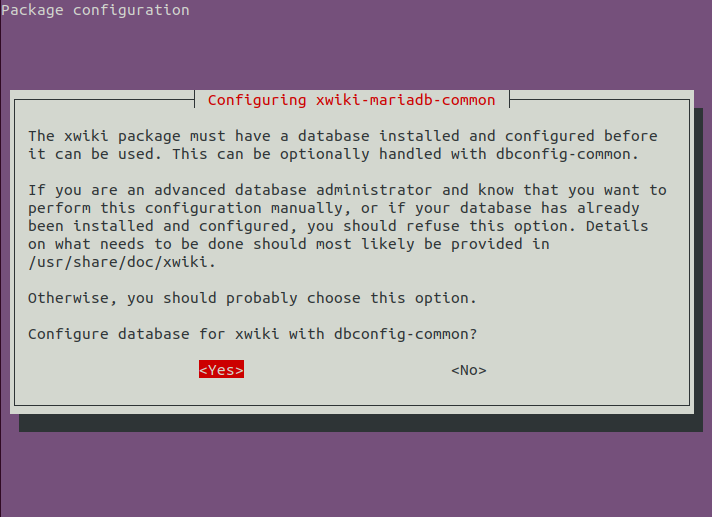
After a long time of execution, the configuration screen for the XWiki database will be popped up as below. It may ask you if you want to configure the database or not. Select “Yes” and press Enter to continue configuring XWiki mariadb-common.
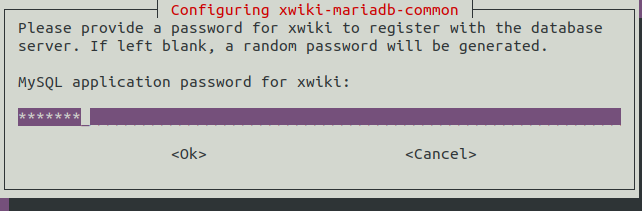
It requires you to add a new password for your new database server. Add your password, and select “OK” followed by the Enter key.
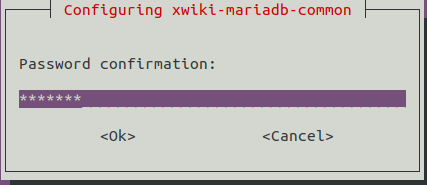
Enter your password again, select “OK”, and press Enter button to continue.
After the successful configuration, we can check the status of the tomcat service if it’s active or not. Hence, try out the below systemctl command to do so. You can view the output that shows the tomcat has been active and running perfectly.
# systemctl status tomcat9.service

We can check that the tomcat has been working on a port 8080, using the below instruction:
# ss –antpl | grep 8080
The output below is showing the output of tomcat listening to port 8080.

Now, we have to install the Nginx proxy server, using the below query in our shell.
# apt-get install nginx -y

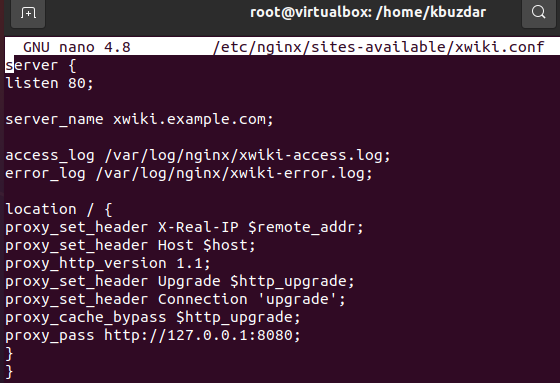
After the installation of the proxy server, we need to update the xwiki configuration file, by opening it using the below command.
# nano /etc/nginx/sites-available/xwiki.conf
![]()
![]()
Add the following lines of configuration in the nano file. Save the updated file with Ctrl+S and quit via Ctrl+X.
Use the below instruction to activate Nginx.
# ln –s /etc/nginx/sites-available/xwiki.conf /etc/nginx/sites-enabled/
![]()
![]()
Open the configuration file for Nginx:
# sudo vim /etc/nginx/nginx.conf
![]()
![]()
Change the bucket size as below.
![]()
![]()
Restart the Nginx service.
# systemctl restart nginx
![]()
![]()
Conclusion
You can launch the Xwiki web interface using your web browser e.g. Mozilla, and using the URL of XWiki e.g. http://127.0.0.1:8080/xwiki.