Jupyter Notebook is a powerful and open-source tool for the documentation of data and scientific analysis. Python, R, Julia, and Scala are just a few of the languages supported by Jupyter Notebook. It has a kernel for each language, an editor for writing and running code, and real-time output cells.
Jupyter Notebook is an interactive computing environment. Users may create and share documents with live code, mathematics, graphics, and narrative prose. The Jupyter Notebook is a next-generation interactive computing and computational storytelling interface that is widely used in the Python, R, Quantitative Finance, and Julia communities.
In this article, you will learn how to install Jupyter Notebook on your Ubuntu 20.04 operating system.
Prerequisites
- Ubuntu or any other Linux-based distributions
- Terminal access
- A user account with root or sudo privileges.
Internet access
Note: The commands and methods used in this tutorial are also applicable to all other Ubuntu-based Linux-based distributions like Linux Mint, Kubuntu and Xubuntu.
Update and Upgrade Your System
It is recommended to Keep your system up-to-date to ensure that the system is updated and upgraded before any new installation. So that the package list is updated and the newest versions of applications are available at the time of installation.
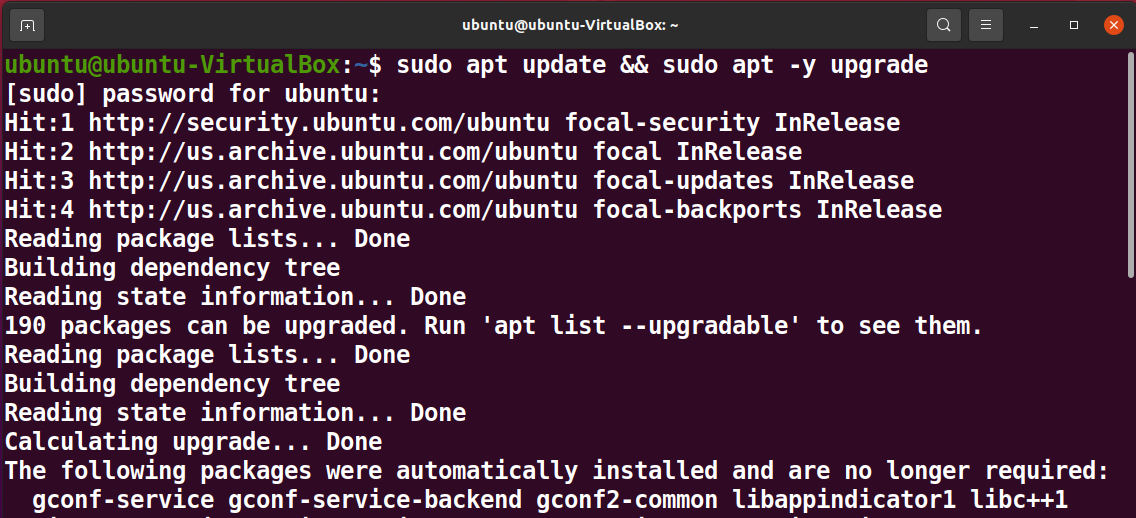
Update and upgrade your system with the following apt command.
sudo apt update && sudo apt -y upgrade
Install Python on Your System
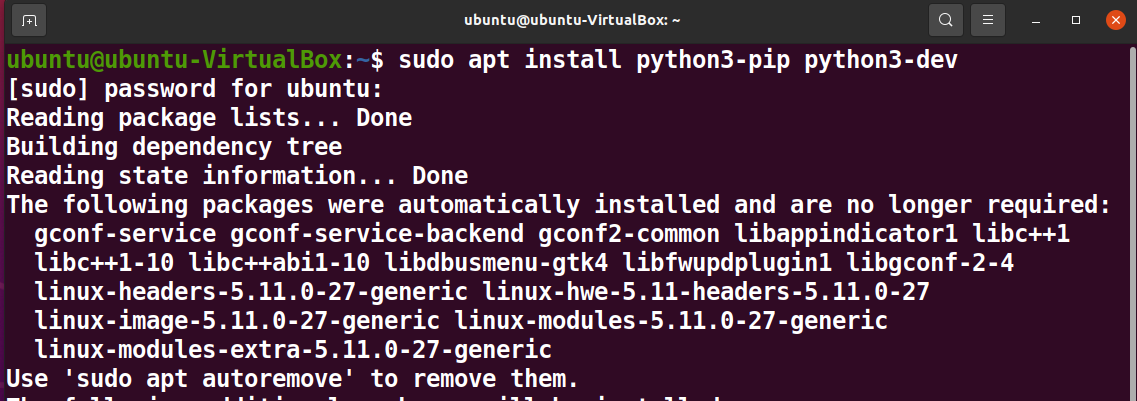
Run the following pip command to install Python 3 and any other required dependency packages.
sudo apt install python3-pip python3-dev
Install the Python Virtual Environment on Your System
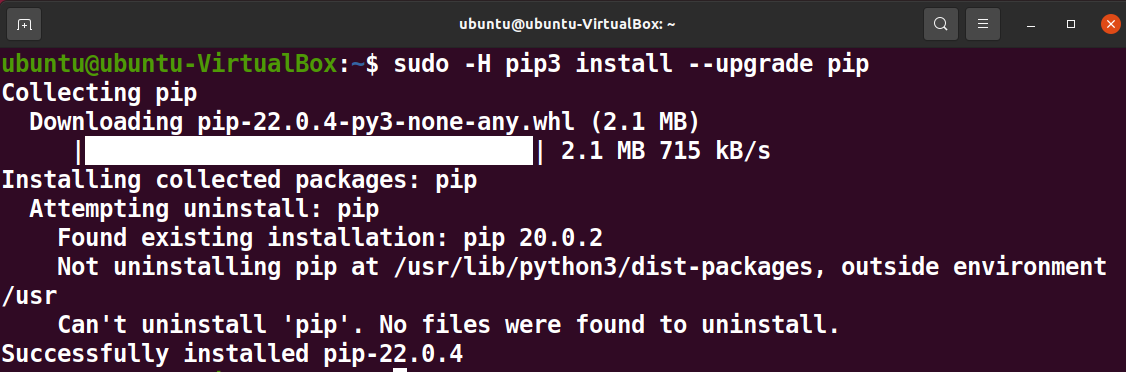
Upgrade the pip version.
sudo - pip3 install --upgrade pip
Install a Python package for setting a virtual python environment called virtualenv with the following command:
sudo - pip3 install virtualenv
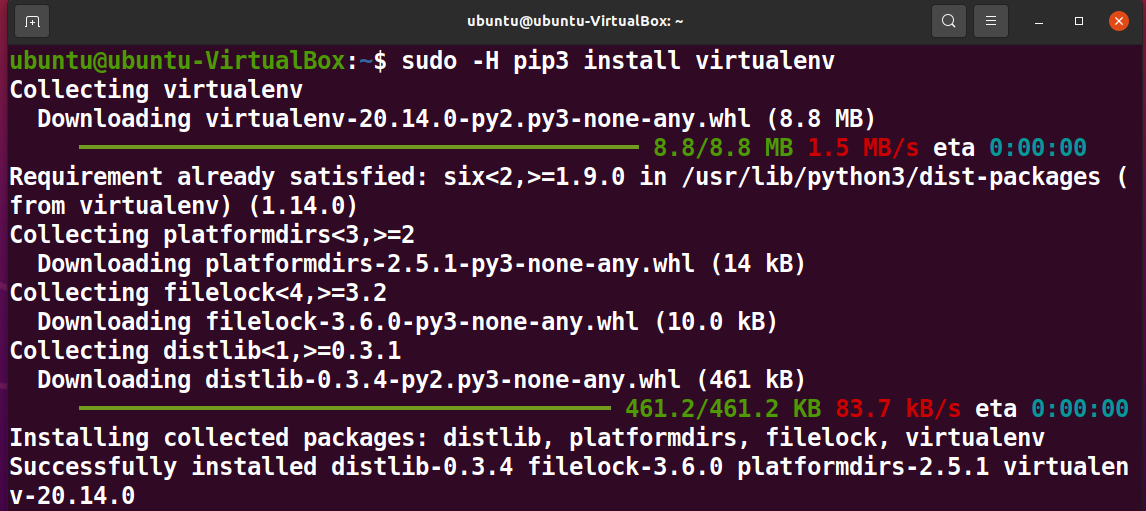
The -H in the above command is for setting the home environment variable.
Build the Python Virtual Environment
Create and navigate to a new directory for the Jupyter Notebook.
mkdir notebook
cd notebook

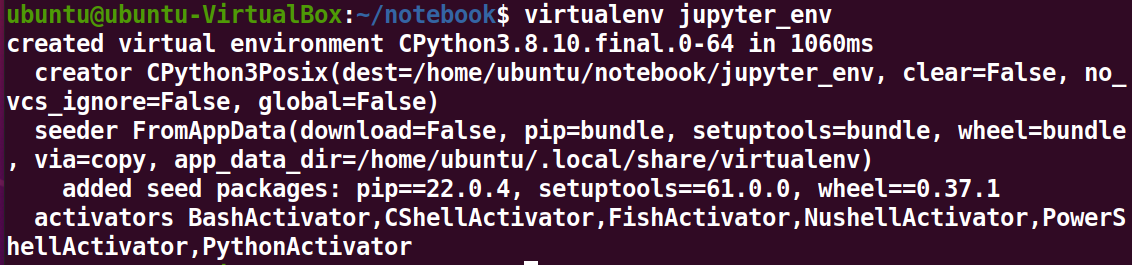
Run the following command to create a Python virtual environment called “jupyter_env”.
virtualenv jupyter_env
Run the following command to activate this virtual environment.
source jupyter_env/bin/activate

Install the Jupyter Notebook on Your System
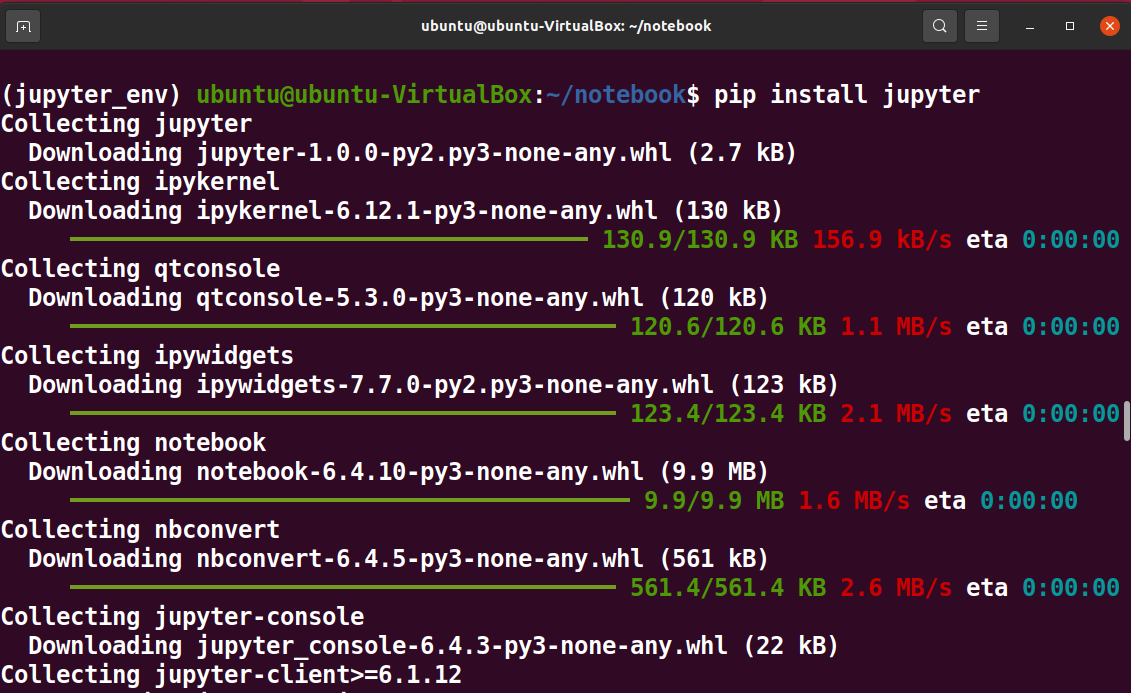
Install the Jupyter Notebook on your system using the command given below.
pip install jupyter
Run Jupyter Notebook on Your System
Now, you can run Jupyter Notebook with the following command.
jupyter notebook
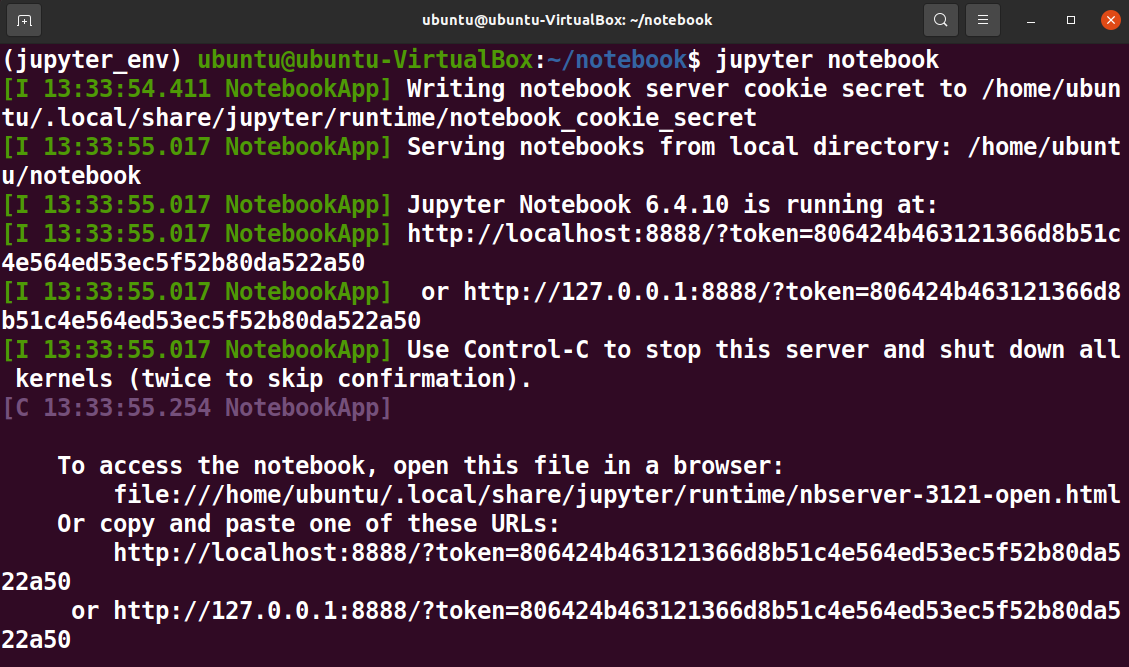
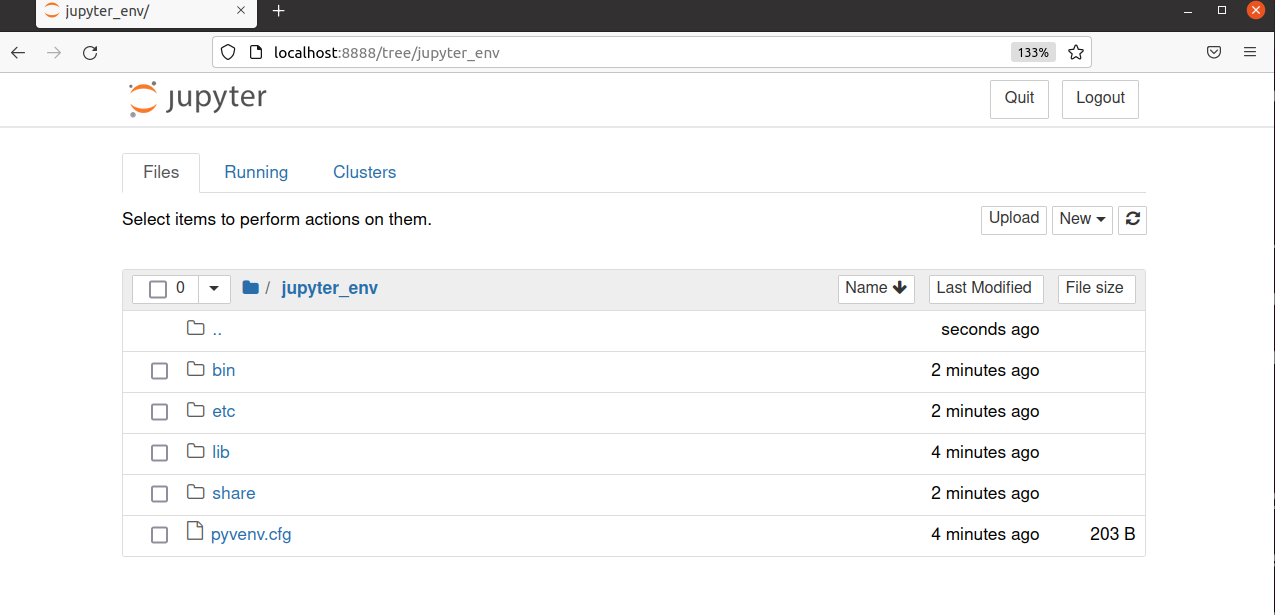
After executing the command, the browser will open to the home screen of Jupyter Notebook. You can see your virtual environment on the home screen.
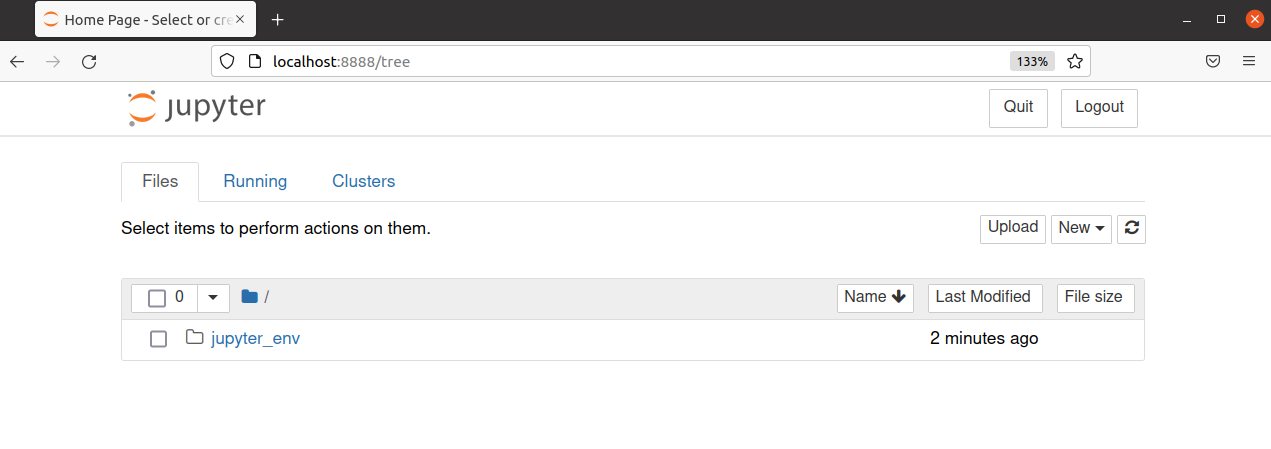
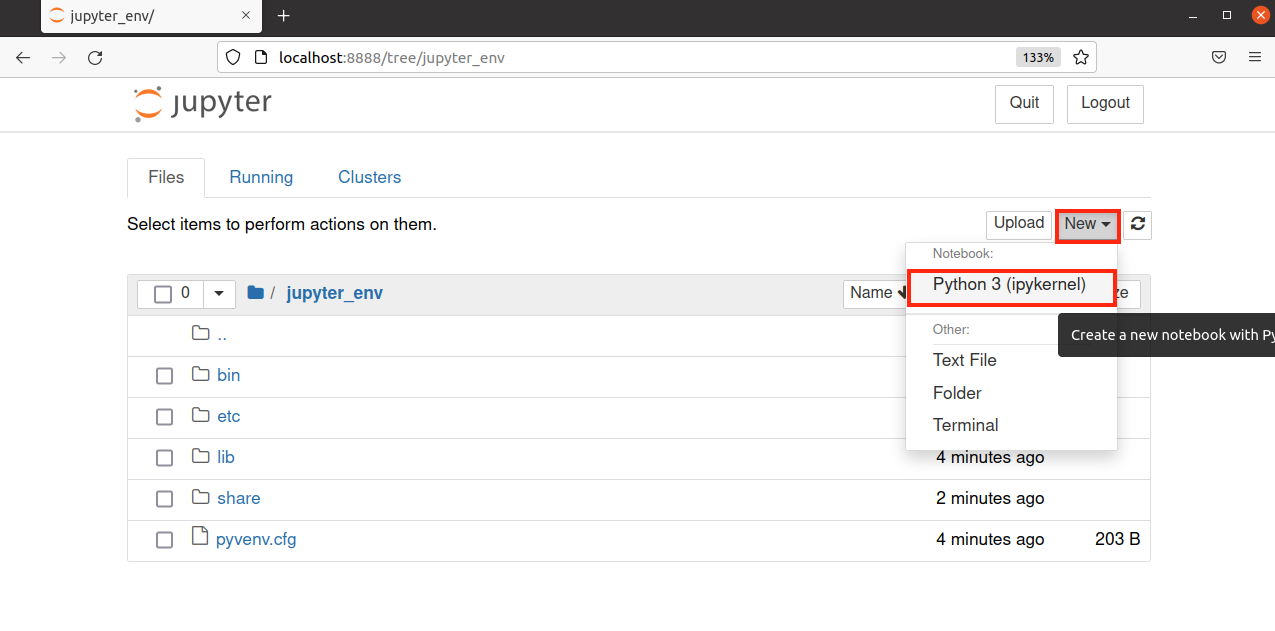
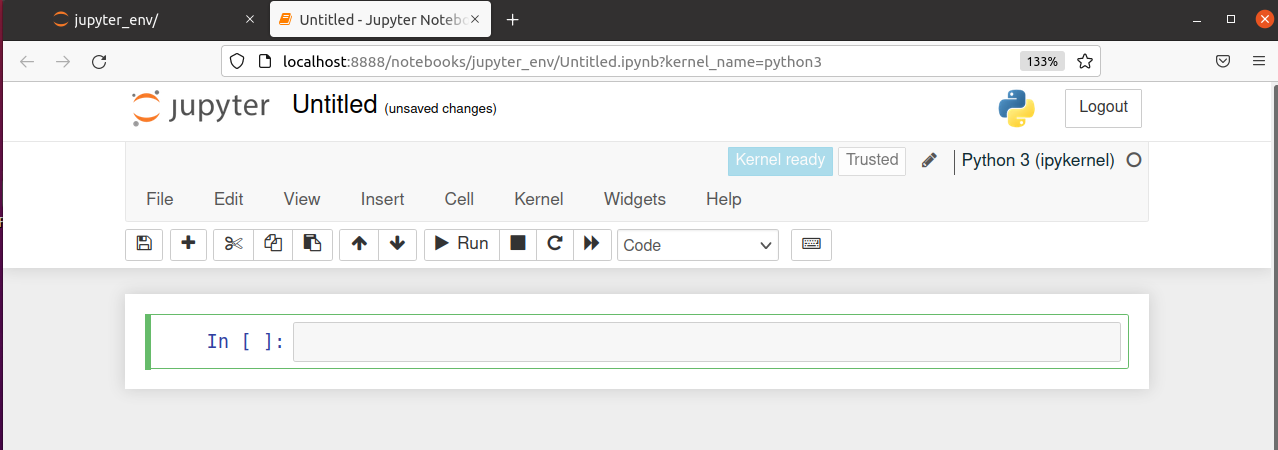
Create a New Notebook in Jupyter Notebook
Go to the New>Python3 to create a new notebook.
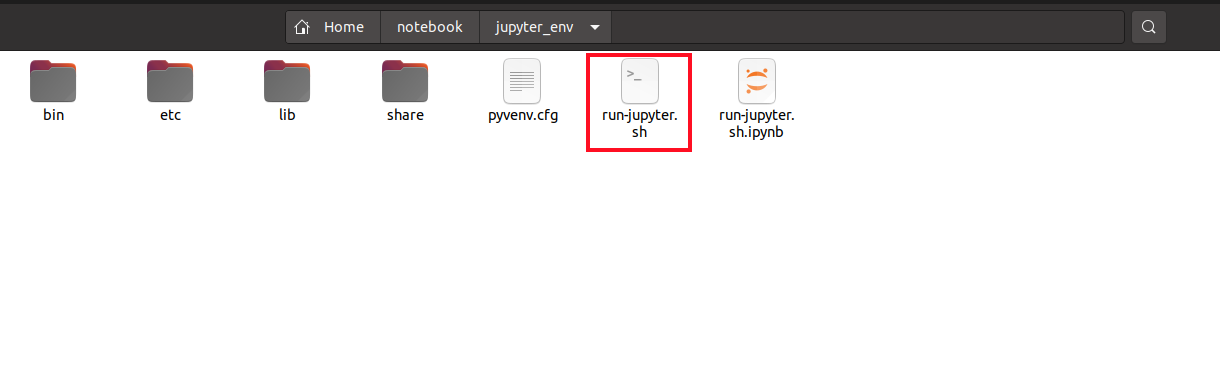
Create Jupyter Application Menu
Create a new file in the notebook directory and name it run-jupyter.sh and copy the following code into it.
#!/bin/bash
source /home/username/jupyterenvironment/bin/activate
jupyter notebook
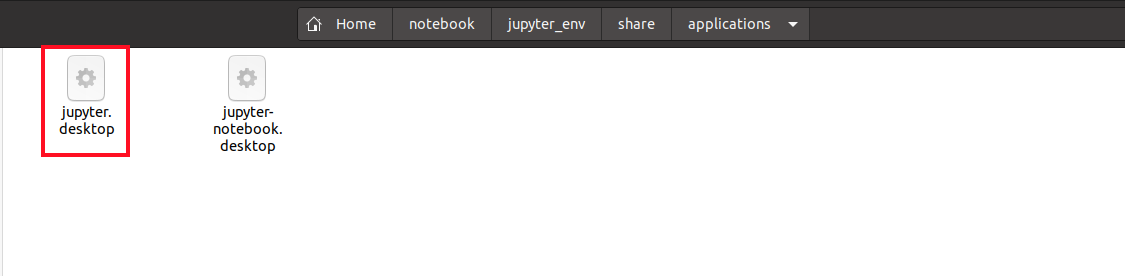
Now go to the /usr/share/applications directory and create a file named jupyter.desktop with the following code to create an application menu item.
[Desktop Entry]

Name=Jupyter Notebook
Exec=/home/username/notebook/run-jupyter.sh
Type=Application
Terminal=true
Conclusion
This article goes through the method of installing Jupyter Notebook on your Ubuntu 20.04 system.
Jupyter Notebook is a cutting-edge web application that allows you to create and collaborate on live interactive computation documents. The Jupyter notebook combines the advantages of a wiki with the functionality of a standard document or presentation editor.
The code and output are interleaved in the notebook document, allowing users to copy, change, and run scripts in the same document. The notebook can also include LaTeX code for equations, as well as the equation’s typographical output. HTML built-in supports inline charting.