Connection security is the most important criteria when setting up a remote connection between a client and a server . SSH protocol is the best way for Ubuntu users to remotely access and manage servers.
SSH encrypts all data sent between machines, ensuring that no sensitive data is leaked. SSH encryption protects against threats such as eavesdropping and hijacking while also providing various authentication and configuration options.
Due to its excellent capabilities, SSH has become the standard for accessing a remote Linux server nowadays.
In this tutorial, you will learn to install and configure SSH in Ubuntu. In addition, you will also learn how to connect to the SSH server and handle the SSH service in the Ubuntu system.
Prerequisites
- Ubuntu or any other Debian Linux-based system
- The terminal access
- Internet Access
A user account with root or sudo privileges.
Note: Although the commands used in this tutorial are specifically for the Ubuntu system, All the methods are valid for any other Linux-based system.
Check For SSH Instance in Your System
The SSH server does not come by default in Ubuntu. See if you have already installed the ssh server or not using the following command.
ssh localhost

You can see the “connection refused” message in the output. It means that the SSH server is not installed on your system.
Install SSH Server on Ubuntu
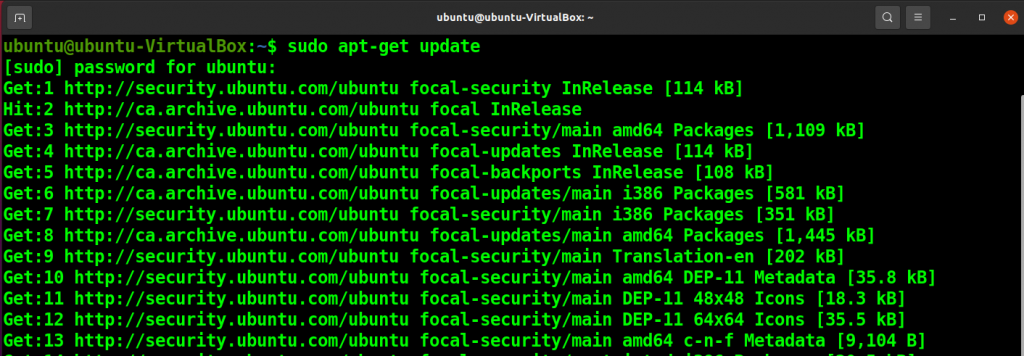
Before installation, update system repositories.
sudo apt update
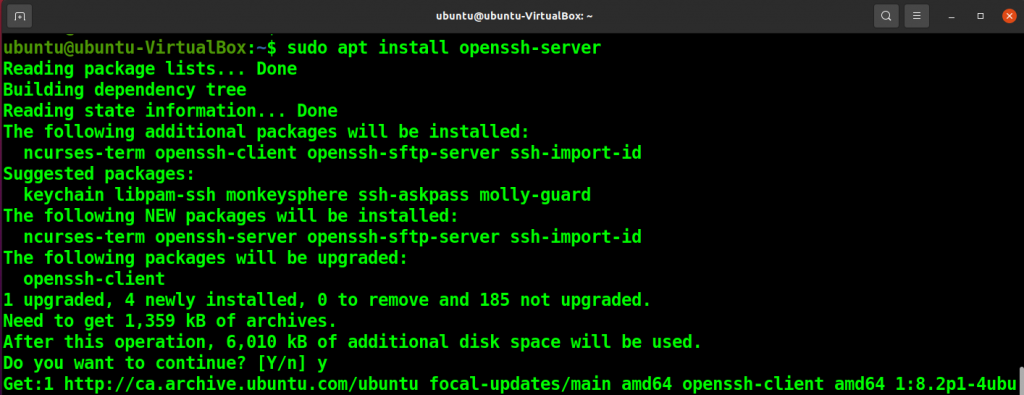
Now you can install the OpenSSH package by running the following apt command.
sudo apt install openssh-server
Enable the SSH Server
Once installation is completed, enable the SSH using the following command.
sudo systemctl enable --now ssh

Check SSH Server Status
Once SSH is enabled, run the following command to confirm the ssh server status.
sudo systemctl status ssh
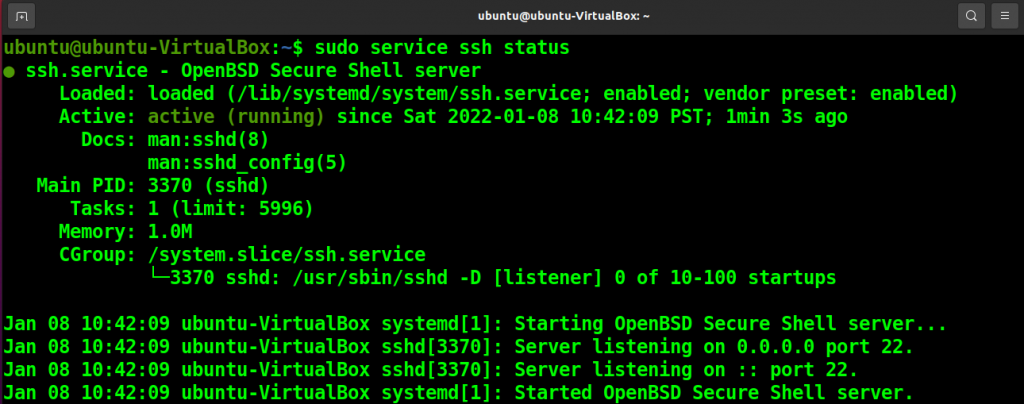
You can see the output says “active (running)” in the active field. It means that your server is running.
Configure Firewall to Allow SSH Connections
Ubuntu comes with firewall called uncomplicated firewall (UFW). You have to change settings so that it allows your SSH server connections using the following command.
sudo ufw allow ssh

Connect to the Remote System With SSH
Once the server-side is configured, you are now ready to connect your local system with the remote system.
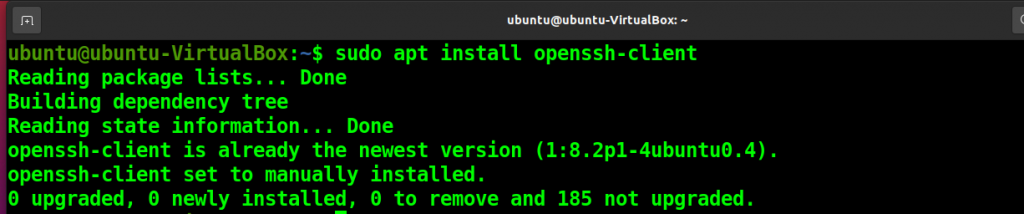
Install SSH Client
To connect your local system with the server, You need to have an SSH client on your local system.
You can install the SSH client with the following command.
sudo apt install openssh-client
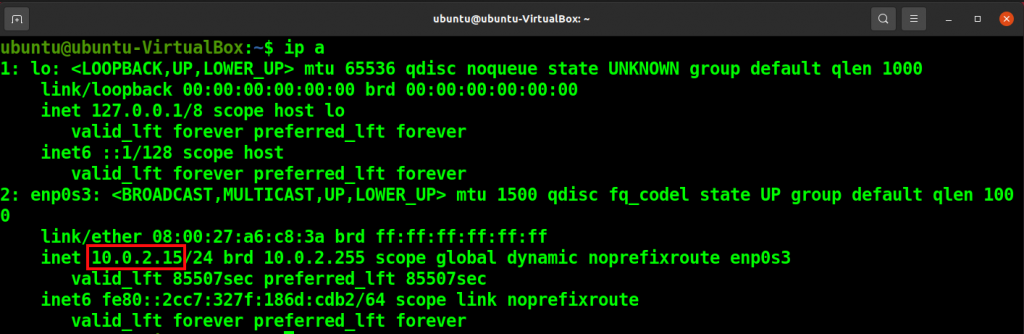
Note IP Address of Your System
We need the IP address of your local system to connect to the SSH server. Run the following command and note your system IP address.
ip a
Connect and log in to Remote Machine
To connect to SSH, run the following command with your username and public ip address.
ssh username@address
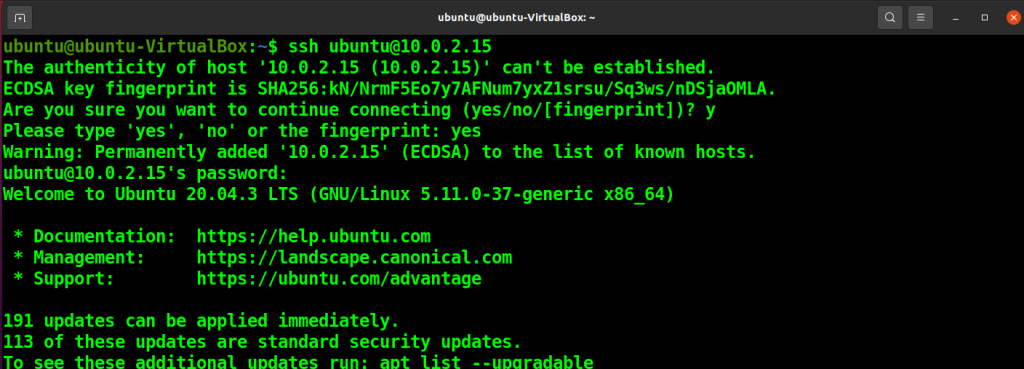
Provide a password to log into the SSH server.
Configure SSH
SSH server has a couple of default settings you should change for a more secure connection.
First, open the SSH configuration file.
sudo nano /etc/ssh/sshd_config

The port is set to 22 by default, change it to another port.
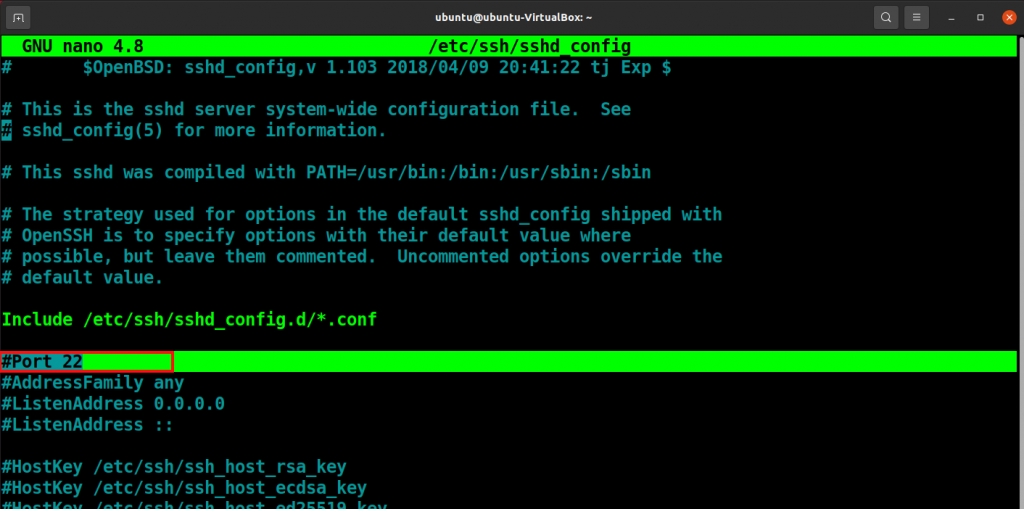
Additionally, set the PermitRootLogin field to “no”.
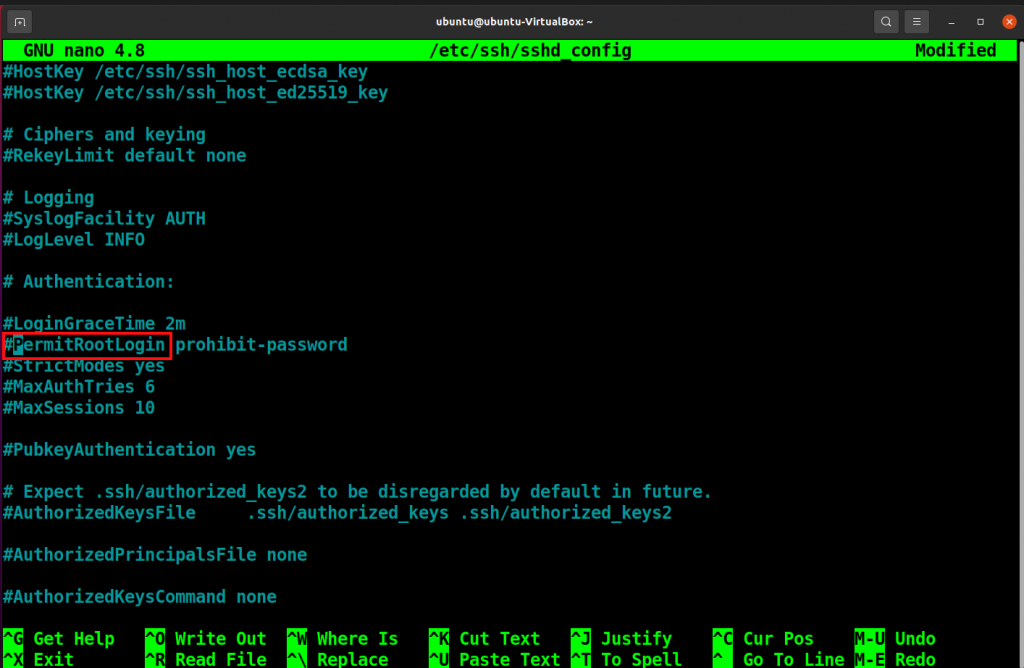
You can make other changes for further customization.
Handle SSH Service in Your System
If you wish to start or stop SSH service in your system, you can use the following command to do so.
sudo systemctl start ssh

sudo systemctl stop ssh

You can enable the SSH service using the following command. It will automatically start the SSH service at the system boot.
sudo systemctl enable ssh

Disable the SSH service with the following command. It will not stop the current SSH session but stop the service from automatically starting at the system boot.
sudo systemctl disable ssh

Conclusion
This article discusses the installation, setup, and configuration of SSH in a Ubuntu system. You can now connect to a remote device using a safe and reliable SSH. With SSH as a server you can securely log in and work remotely.
Most Linux operating systems provide the SSH tool, but this is not the only option. PuTTY is a famous SSH client for Windows. But you can also install and use PuTTY on Ubuntu. PuTTY is an alternative for connecting to your Ubuntu system from a Windows computer.