Fork CMS is an open-source content management system (CMS) platform. It has been in development for over 10 years and was designed to be completely modular – you can choose what modules work best with your website’s needs without any coding knowledge necessary!
The fork comes from the word “fork” which means different things depending on where it’s used – this could refer both positively or negatively, so we’re going neutral here; when talking about codebases such as a project branch/modification made by someone else who also wants their changes included within another group of people working together under one organizational umbrella then they might call each other ‘forks’. And while there may not seem like much difference between Fork CMS and WordPress or Joomla! The platforms are entirely separate in terms of code, functionality, design etc…
The software is distributed under the GNU/GPL v3 open-source license, which means it is open-sourced and freely available on GitHub. The Fork CMS team believes in keeping their software open-source and freely available to everyone, so please feel free to fork and modify Fork CMS to fit your needs!
Another important idea to consider when using Fork CMS is that Fork CMS aims to be a more community-driven project. The Fork CMS team aims to contribute towards greater accessibility in CMS development by providing a faster installation process with minimum requirements while still ensuring security and flexibility which is why it uses PHP 5.6 or higher.
The software has been tested under all major web browsers, such as Google Chrome, Mozilla Firefox, Safari, Opera, etc., and comes bundled with a user-friendly administration panel that makes managing a website easier.
Prerequisites
To install Fork CMS on Ubuntu 20.04 LTS, you will need the following:
- A server running Ubuntu 20.04 LTS with at least 4GB of RAM and a 20GB disk space. You can use cloud servers or VPS instances on DigitalOcean, Linode, AWS, etc.
- SSH access to the server with the ability to run commands via SSH.
- Root access to the server.
Updating the System
Before installing Fork CMS, you must update your system’s software. You can update all the software on your server with the following command. The apt package manager will update the software repository information and then install all of the updated software. The apt upgrade command to upgrade your system to the latest software.
sudo apt update && sudo apt upgrade -y
Installing Apache
Fork CMS requires a LAMP stack installed on Ubuntu 20.04 LTS. LAMP stack í a specially pre-configured Linux-based web server environment stack which is made up of the Apache HTTP Server, the MySQLInstalling MySQL
Apache is the first component of the LAMP stack that you will install.
The Apache HTTP Server is a free and open-source web server software that many people use to host their websites. It’s one of the most popular in its class, with more than 80% of browser traffic going through it daily!
To install Apache, run the following apt install command.
sudo apt install apache2 -y
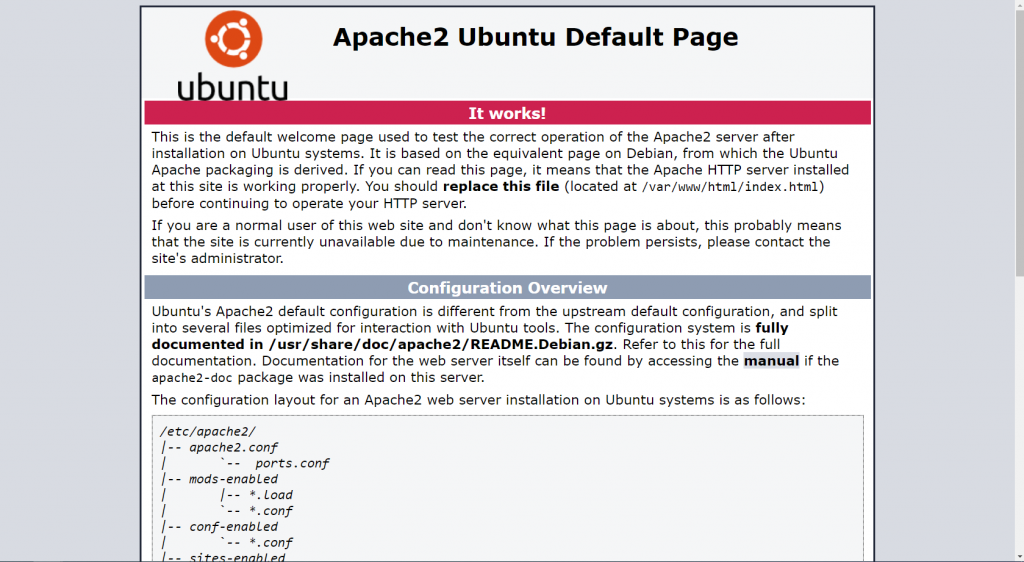
You can verify that Apache has been successfully installed by navigating to the IP address of your server in a web browser. If Apache is installed correctly, you’ll see an Apache “It works!” page.
The default Apache page is a welcome page that will be shown when you navigate to your server’s IP in any web browser. This default page can be customized to display different information or a website.
Installing MySQL
MySQL is the second component of the LAMP stack that you will install. MySQL is an open-source database management system that you can use to store and organize your information. It’s popular among developers because it offers many features not found in other RDBMSs, such as scalability, no vendor lock-in (i e once they switch their preference), support for different languages like PHP or Java; some of these benefits should be enough reason alone!
Run the command below to install MySQL.
sudo apt install mysql-server -y
Once the installation completes, run the command below to secure your installation of MySQL. When installing MySQL, it is important to ensure that the right security measures are in place. One way of doing this is through mysql_secure_installation script, which helps users implement basic protections.
mysql_secure_installation
You will be asked about the password validation component. The validate password plugin tests the strength of your passwords. Type Y and press ENTER.
Next, type a strong password for root to pass the validation, and then repeat the new password you have typed here for confirmation.
Type Y and press ENTER for the remaining questions to proceed with the default values. Your MySQL installation is now secured.

Installing PHP
PHP is the third component of the LAMP stack that you will install. PHP is a popular open-source scripting language used for web development. When a user loads your website, they look at the result of many different pieces working together. Your PHP scripts allow you to customize and optimize what is sent to look exactly how you want on any given browser or device!
The command below should install PHP, its modules and their respective dependencies on your system.
sudo apt install php -y
sudo apt install libapache2-mod-php php-mysql -y
Once the installation completes, run the command below to verify your installation.
php -v
You will see output similar to the following.

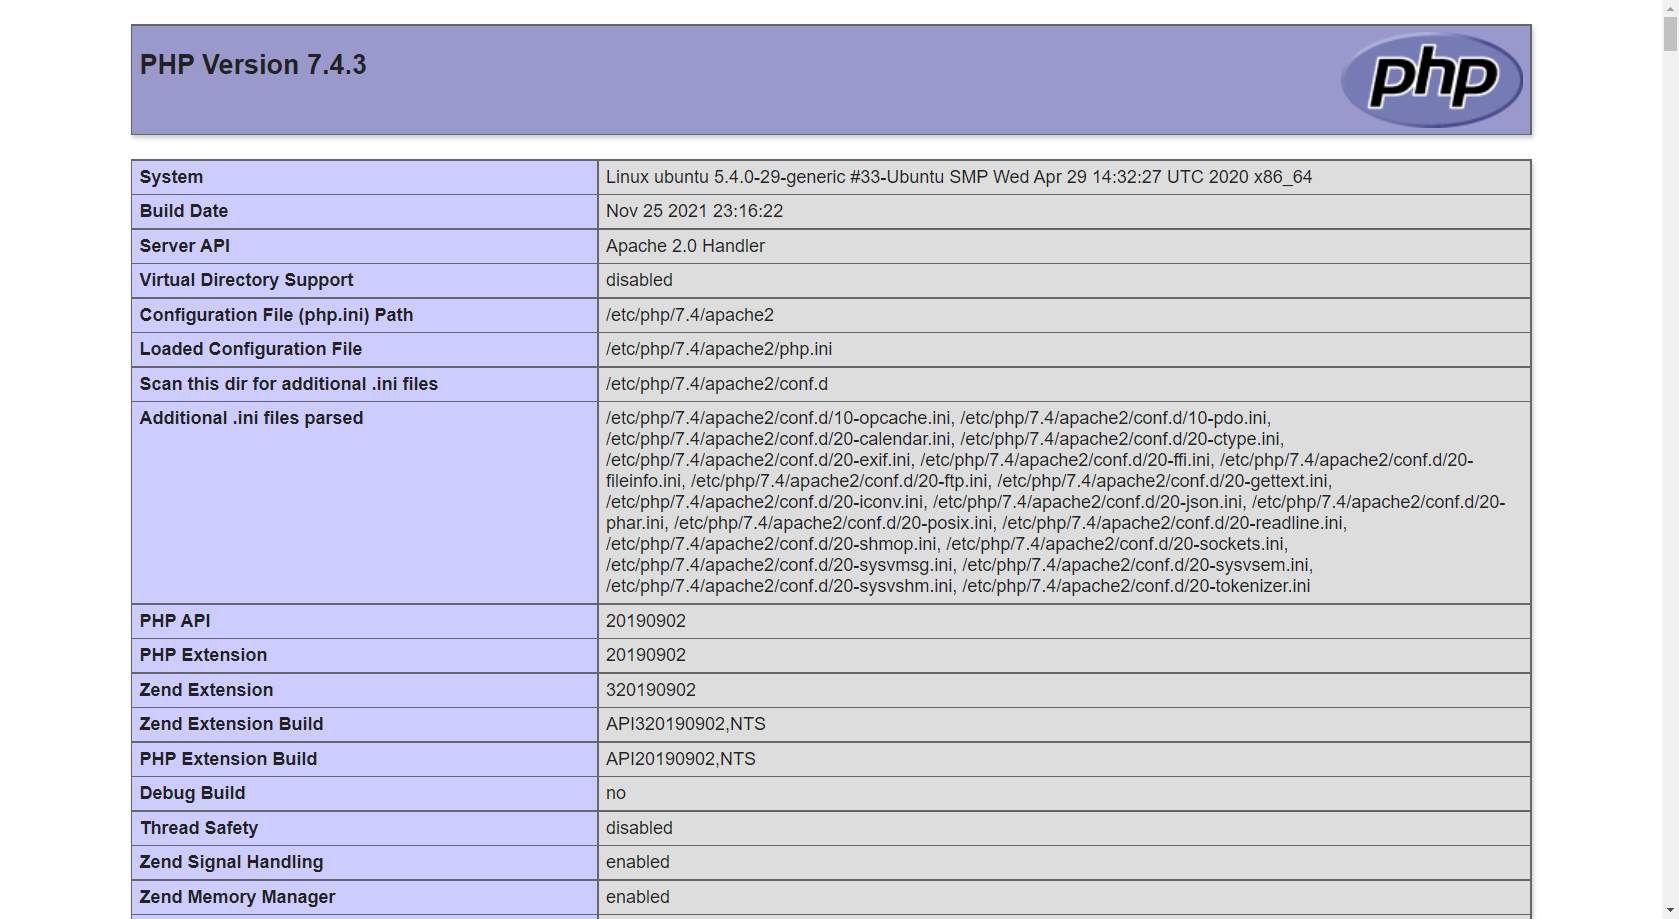
To double-check your PHP installation, you will create a file named info.php in your web root directory.
The info.php file is a simple PHP script that prints out information about your PHP installation, such as the version of PHP you are running and the installed modules.
A web root directory is the main directory where your website’s files are stored. Ubuntu’s default web root directory is /var/www/.
sudo nano /var/www/html/info.php
Populate the info.php file with the following code, and then save and close the file.
<?php

phpinfo();

?>
phpinfo(); is the PHP function that prints out information about your PHP installation.
Now, open your browser and navigate to http://server-ip/info.php. You will see a page like the one below, which contains information about your PHP installation.
Installing Fork CMS
Now that you have your LAMP stack installed, it’s time to install Fork CMS. There are several methods available for installing Fork CMS. You can download and install Fork CMS manually, or you can use Composer to install it.
Composer is faster and easier, so that’s the method we will use in this tutorial… Composer is a dependency management tool for PHP that you can use to install and manage your project’s dependencies.
Run the command below to download composer.
curl -sS https://getcomposer.org/installer | php
The php command is the PHP interpreter. “|” is the pipe operator, which sends the output of one command to the input of another.

Next, run the command below to install the Composer installer to the /usr/local/bin directory. This will make Composer available from any directory.
sudo mv composer.phar /usr/local/bin/composer
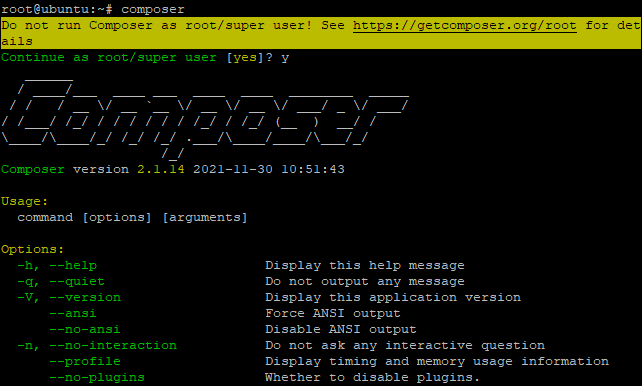
Next, run the command below to verify your Composer installation.
composer
You will see the following output.
You now have Composer installed and are ready to install Fork CMS.
First, create a new Fork CMS project using the command below.
composer create-project forkcms/forkcms
This will create a new Fork CMS project in your current directory.
Next, move the project directory to the web root directory. Fork CMS is a PHP application and needs to be able to write files to the web server. Moving it to the web root directory gives Fork CMS permission to write files to the web server.
sudo mv forkcms/* /var/www/html/
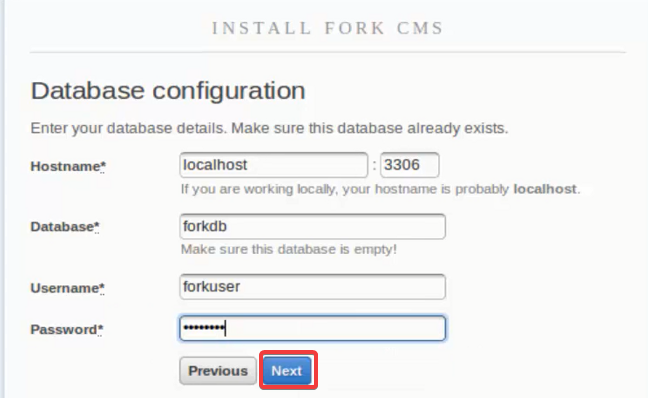
Creating a new Database for Fork CMS
Next, you will need to create a new database for your Fork CMS installation. You can do that by logging into MySQL shell using the command below.
mysql -u root -p
You will need to enter the password for the root user. When you see ‘Enter password’, enter your MySQL root password. You will see the mysql> prompt when you enter your password correctly.
At the mysql> prompt, run the command below to create a new database named forkdb. You can use any name for your database, but you should pick a unique name.
CREATE DATABASE forkdb;
Next, you will create a new user named forkuser for the Fork CMS database. Replace password with your own password. You will also replace forkuser with the name you want to use for this user.
CREATE USER 'forkuser'@'localhost' IDENTIFIED BY 'password';
Next, you will grant SELECT, INSERT, UPDATE, DELETE and DROP privileges to the forkuser user.
GRANT ALL PRIVILEGES ON forkdb.* TO 'forkuser'@'localhost';
Next, flush the privileges so that they are accessible to the server.
FLUSH PRIVILEGES;
Finally, exit from MySQL shell using the command below
EXIT;
Configuring Apache2
Now that you have installed Fork CMS, you will need to configure Apache2 to allow .htaccess files to be used. Fork CMS uses the .htaccess file to set the correct permissions for the web server.
sudo nano /etc/apache2/sites-available/default
The first thing you should do is find the AllowOverride None directive and change it to AllowOverride All. The AllowOverride directive sets which directives can be placed in a .htaccess file. By setting it to All, you are telling Apache2 to allow all directives to be placed in a .htaccess file.
Next, find the Require all denied line and change it to Require all granted. This allows all users to access everything.
Save and close the file by pressing Ctrl+X, Y, and Enter.
Next, run the command below to enable the rewrite module.
sudo a2enmod rewrite
Next, reload Apache2 by running the command below so that all the changes you made will be applied.
sudo service apache2 reload
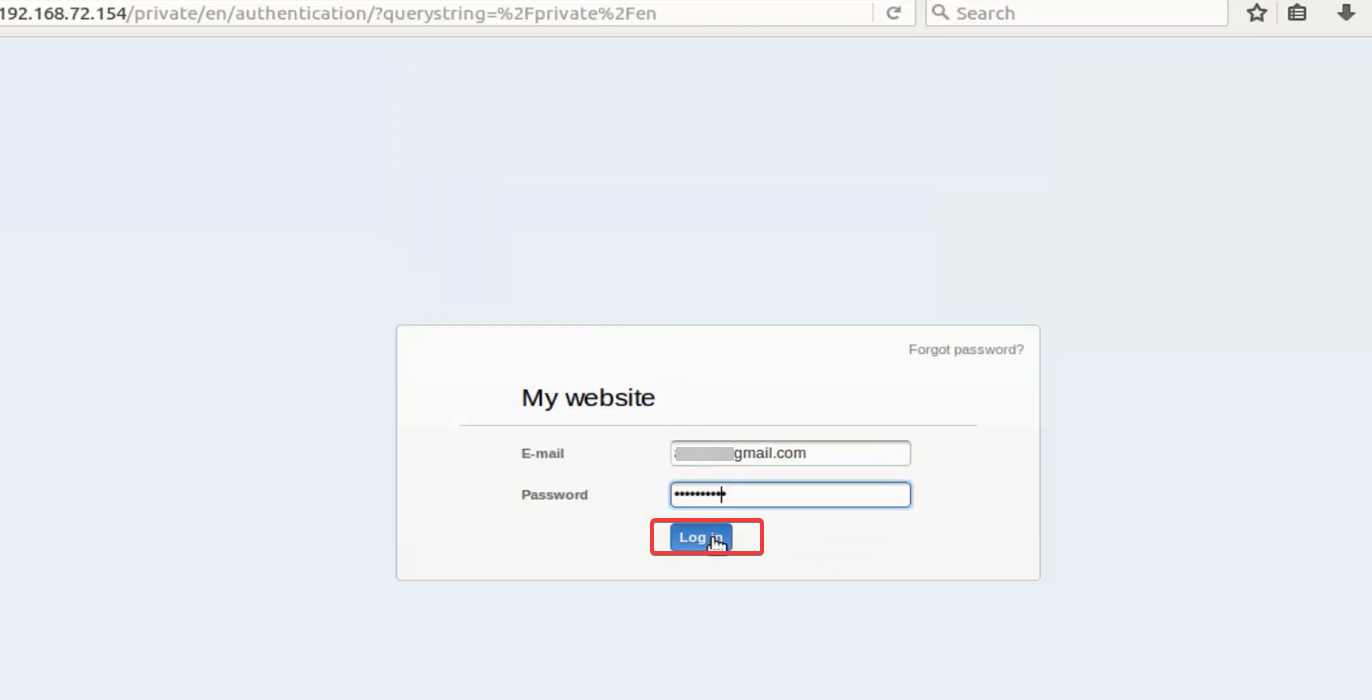
Accessing the Fork CMS Web UI
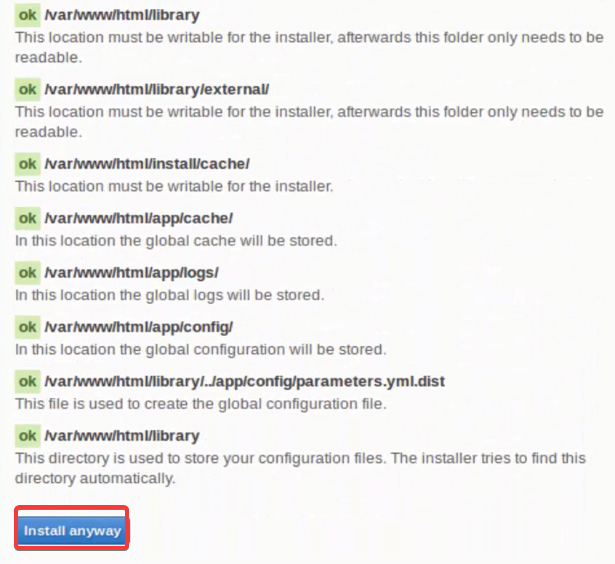
Now that you have configured Apache2, you can access the Fork CMS Web UI by going to http://server-ip/install.
Conclusion
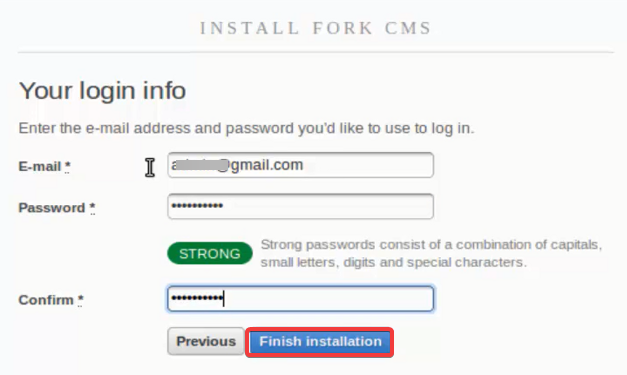
Follow the install instructions on-screen instructions to complete your Fork CMS installation.

Conclusion
In this article, you have installed Fork CMS on an Ubuntu 20.04 server. You have also configured Apache2 to allow .htaccess files to be used and set the correct permissions for the web server. You are now ready to start building your website with Fork CMS.