Cockpit is free, open-source software that provides a web-based graphical interface for Linux servers and appliances (such as firewalls and network switches).
Cockpit is a web-based server administration tool targeted at the new generation of sysadmins who need to manage many Linux servers. Its main goal is to make multiple managing servers more accessible.
Cockpit abstracts away the technical details of Linux using a simple interface that allows you to introspect and control your server/host from the outside—much like you would manage a virtual machine.
Cockpit doesn’t use a web server to host its interface – it is built as a modular web service that is easily run on top of common Linux servers.
Cockpit’s central concept is a “server”, which represents a single machine or device, with one or more interfaces. An administrator can then connect to any number of servers using these interfaces. The administrator views and controls the server using a web browser.
Top features of Cockpit:
- Easily manage your server/host from the outside.
- Monitor CPU, memory, disk space, and network interfaces.
- Reboot and shutdown your server/host.
- View logs and status information.
- Manage user accounts and groups.
- Install software packages.
Prerequisites
To install Cockpit on Debian 10 or Debian 11, you need to have:
- A server or virtual machine running Debian 10 (Buster) or later with at least 2GB of RAM.
- A working internet connection.
- A web browser that supports the Canvas element. Using the latest version of Google Chrome, Mozilla Firefox, or Microsoft Edge with Javascript and HTML5 enabled is recommended.
- Administrative rights to install packages and restart services.
If you are using Debian 12, then have a look here.
Updating the System
It’s essential to keep your system up-to-date with the latest security patches. You can use the following command to update your system.
sudo apt update && sudo apt upgrade -y
- ‘apt’ is an aptitude command that handles package management.
- ‘update’ updates the packages index and checks for new releases of available software. After it’s done, you need to issue the upgrade command actually to perform the system update.
Installing Cockpit
There are several ways to install Cockpit on Debian 11. In this example, we will use the APT package management tool to install Cockpit from the Debian repository. Cockpit is available in the official Debian repository by default, so it’s easy to install and keep up-to-date.
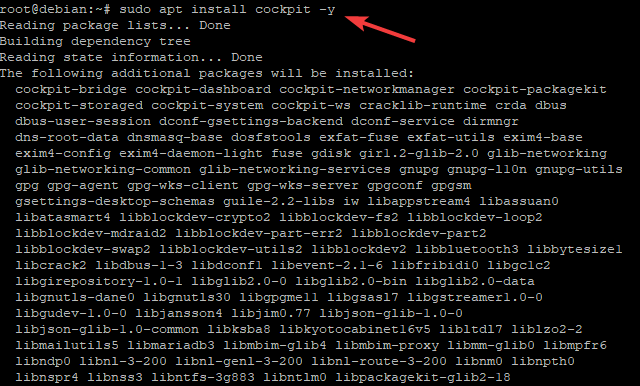
Run the command below to install Cockpit on Debian 11.
sudo apt install cockpit -y
- ‘install’ installs a package and all of its dependencies from the repository. In this case, we’re installing cockpit from the official Debian repository.
- ‘cockpit’ is the cockpit package name that we’ll be installing.
- ‘-y’ lets APT respond with a yes to any questions instead of requiring manual confirmation for each action.
Now, run the sudo mkdir -p /usr/lib/x86_64-linux-gnu/udisks2/modules/ to create a directory that will be used by the UDisks (Universal Disk) service.
You created this directory to stop the UDisks service from complaining when trying to load a module.
/usr/lib/x86_64-linux-gnu/udisks2/modules is the default module directory for the UDisks service. The Cockpit package tries to add a new module to this directory, but it fails because the directory doesn’t exist. By creating the directory, you’re allowing a module to be added.
sudo mkdir -p /usr/lib/x86_64-linux-gnu/udisks2/modules
Configuring the Firewall
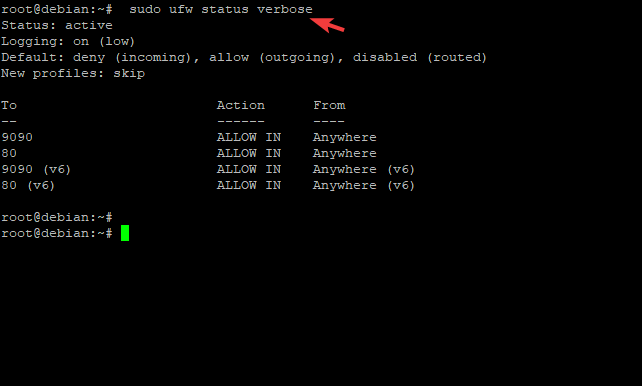
If you’re using the UFW firewall, you’ll need to open port 9090 and 80 so that Cockpit can be accessed from outside of your network.
Cockpit uses 9090 as the default port for secure web sockets and 80 as the default port for insecure web sockets. If you’re using a different firewall, open those ports as well.
The following commands need to be run as root, so use sudo. Run the sudo ufw allow 9090/tcp command to allow traffic on port 9090 and 80.
sudo ufw allow 9090
sudo ufw allow 80

To verify that the ports are open, use the command below to check its status.
sudo ufw status verbose
You will get a result that looks something like the one below.
Accessing Cockpit Web Application
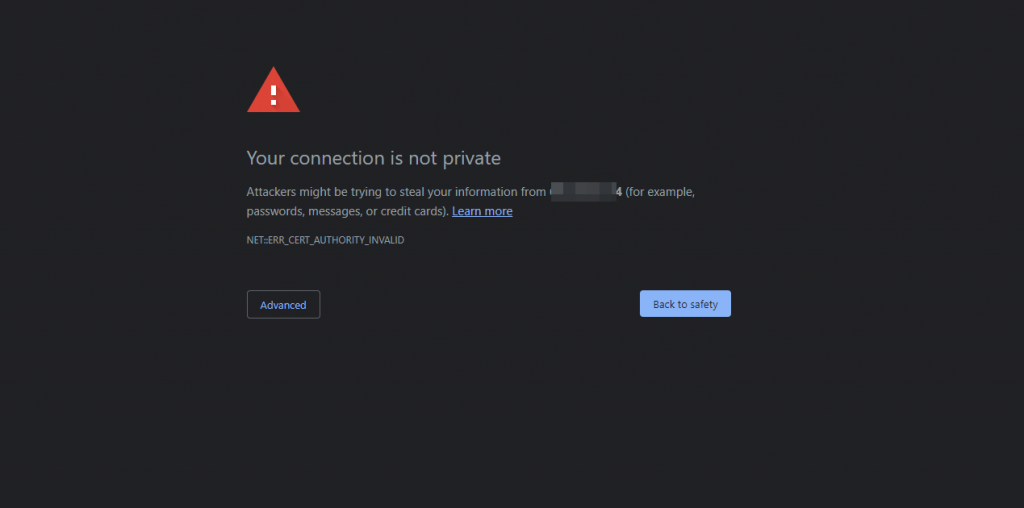
Now that the firewall is configured, you can access the Cockpit web application. Open a web browser and type in the following address.
https://server-ip:9090
Replace server-ip with the actual IP address of your server. “:” indicates that you’re specifying a port… 9090 is the port that you configured the firewall to allow traffic on.
You will see an error message that says the connection is not private. This is because you have not yet installed an SSL certificate for the server. This is normal for a new server.
SSL certificates create a secure connection between a web browser and a web server. When you install an SSL certificate, all traffic between the browser and server will be encrypted.
This protects your data from being viewed by anyone other than the server you’re connected to. We will install an SSL certificate to secure the connection.
To install an SSL certificate, you must generate a key and certificate signing request (CSR). The key is used to create the certificate, and the CSR is sent to a Certificate Authority (CA) to get the certificate.
There are many different ways to generate a key and CSR. For this example, we will use the Certbot utility to get an SSL certificate from Let’s Encrypt, a free and open certificate authority.
Certbot is a tool that automates generating and installing of SSL certificates. It is available for many different platforms, including Debian 10.
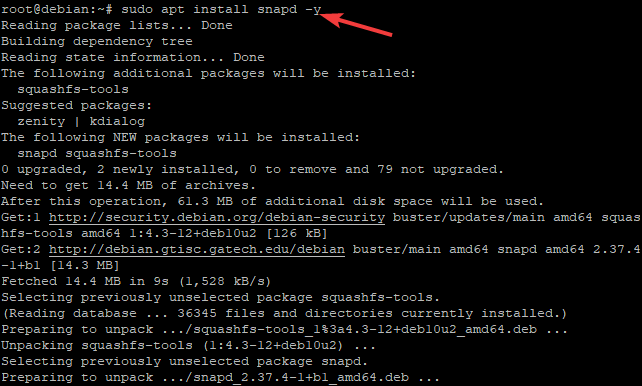
Run the command below to install the Snap utility. Certbot is built in as a snap and will be downloaded when you run the command below. Snaps are a new package format that makes installing software on your server easier.
sudo apt install snapd -y
Next, run the command below to refresh the list of available snaps. Snap install core installs the core snap, which includes the snapd daemon and other essential tools. snap refresh core refreshes the list of available snaps.
sudo snap install core && sudo snap refresh core

Next, run the command below to install Certbot. –classic option here enables Certbot snap in classic system mode, which reduces the Snap confinement and provides more access to your system’s resources. This will be necessary for Certbot to work correctly.
sudo snap install --classic certbot
![]()
![]()
Once the Certbot snap is installed, run the command below to create a symbolic link to the Certbot executable /snap/bin/certbot, this will make it easier to run Certbot from the command line.
sudo ln -s /snap/bin/certbot /usr/bin/certbot
Now, you can run the command below to get an SSL certificate.
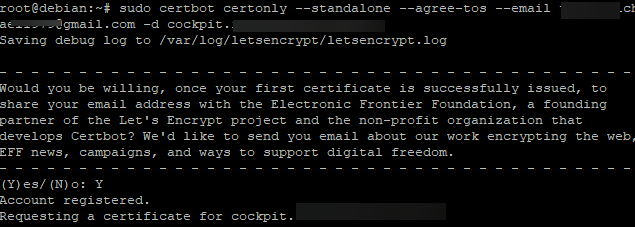
sudo certbot certonly --standalone --agree-tos --email your_email -d cockpit.your_domain
Where:
- certbot is the command you used to run Certbot.
- certonly is the subcommand that allows you to generate a SSL certificate.
- –standalone is used to run Certbot in a temporary virtual machine. This will allow you to renew the SSL certificate later without any manual intervention.
- –agree-tos is used to agree to the Let’s Encrypt Subscriber Agreement and provide an email address where they can report issues during the registration process.
- –email your_email -d cockpit.your_domain is used to specify the email address and domain you want to secure with the SSL certificate. Replace your_email with your email address and cockpit.your_domain with the domain you want to secure.
You will be asked a series of questions about your server. You can type Y press enter to accept the defaults for all of these questions.
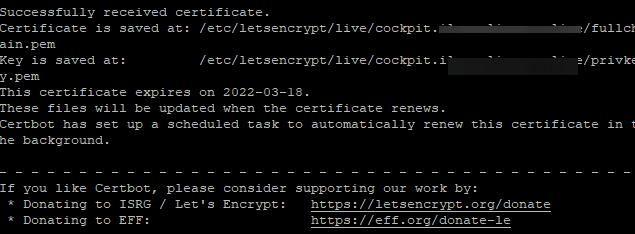
Once the Certbot process is complete, you will have your certificate files in the /etc/letsencrypt/live/cockpit.your_domain directory.
Regarding SSL certificates, Cockpit has requirements that are not satisfied by default.
In particular, the certificate needs the certificate and the private key to be in the same file, which is not the case when using Certbot. And the certificate and key file must be saved in .cert format and be put in the /etc/cockpit/ws-certs.d dir.
To solve this, we will create a combined certificate and key file and then save it in the .cert format.
sudo bash -c "cat /etc/letsencrypt/live/cockpit.your_domain/fullchain.pem /etc/letsencrypt/live/cockpit.your_domain/privkey.pem >/etc/cockpit/ws-certs.d/cockpit.your_domain.cert"
Where:
- sudo bash -c is a way to execute a command in bash that the redirection > , which is used to redirect the output of a command to another file.
- cat is the standard Unix utility to concatenate files, or print them on standard output.
- fullchain.pem and privkey.pem are your site’s public certificate and private key, respectively. These will be different depending on what you generated for Certbot.
- /etc/cockpit/ws-certs.d is the directory where you want to save your certificate and key file.
Once you have created the certificate and key file, restart the cockpit service to load the new SSL certificate.
sudo systemctl restart cockpit.socket
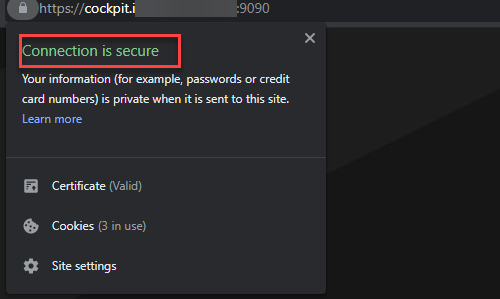
Now you can access your website with https:// instead of http://. Navigate to https://cockpit.your_domain:9090, click on the padlock in the address bar, and see a Connection is a secure message. Means, the certificate is successfully installed.
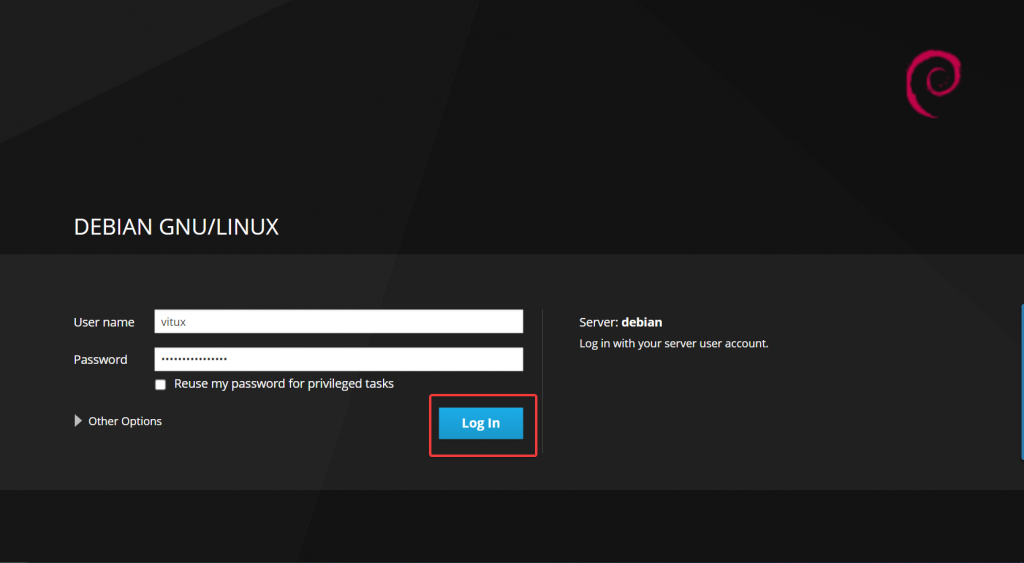
When you navigate to cockpit.your_domain.com:9090 you will be taken to the login page directly. No more certificate warnings! You can provide your root username/password and click on Log In to login into the cockpit dashboard because Cockpit doesn’t require a separate user account.
Once the authorization process is complete, you will be able to see the cockpit dashboard, where you can manage your server.
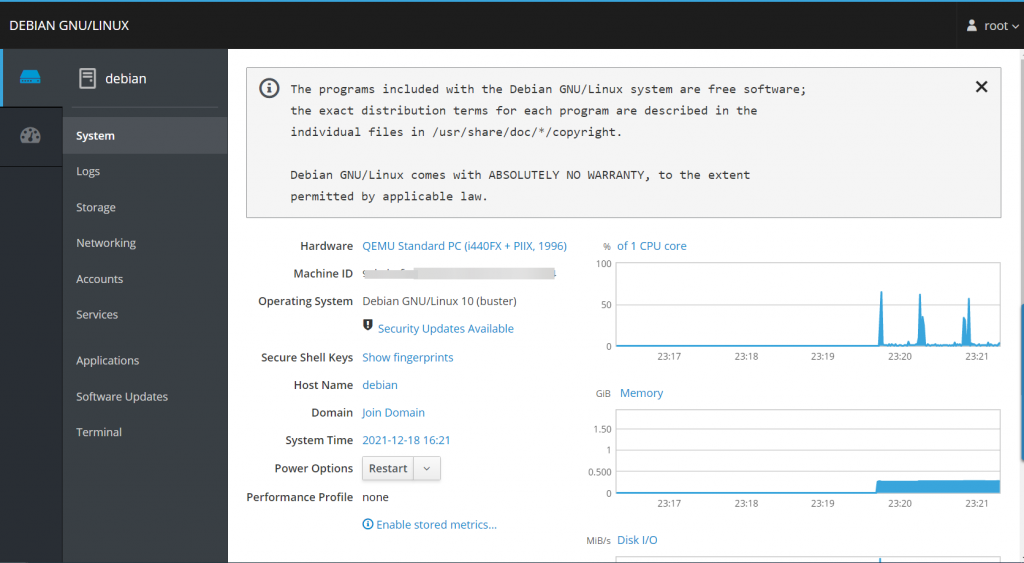
If you log into the cockpit dashboard the first time after the certificate installation, you should always update the cockpit software to the latest version.
Go to System > Software Updates on the left to update your software. The Cockpit installation is now complete.

Conclusion
In this article, we went through installing Cockpit and creating an SSL certificate for cockpit.your_domain with the free SSL certificate service Let’s Encrypt using certbot on Debian 11.
For more information, please visit Cockpit official documentation page. You can also comment below with any issues or questions you experienced during the installation process.