DokuWiki is a free and open source wiki software that does not require a database for installation. It is a simple and very versatile wiki software that works with simple text files. DokuWiki has a clean and readable syntax similar to that of MediaWiki.
DokuWiki is a wiki software written in PHP and licensed under the GPLv2. It is easy to use, maintain, secure and integrate. It is suitable for everyone and has integrated access control and an authentication port.
In this tutorial we will show you how to install and configure DokuWiki on an Ubuntu 20.04 server. We will install DokuWiki with Nginx and PHP-FPM. We will also secure our installation with the SSL certificate from Letsencrypt and DHPARAM.
Requirements
- Ubuntu Server 20.04
- 1 GB or more RAM
- Root rights
What will we do?
- Install packages Dependencies
- Install Nginx web server
- Install and configure PHP-FPM
- Generate SSL certificate from Letsencrypt and DHPARAM
- Download DokuWiki source code
- Set up Nginx server blocks for DokuWiki
- DokuWiki post-installation
- Security configuration for DokuWiki
Step 1 – Install package dependencies
First, we will install some package dependencies that can be used for our installation process.
Update all available repositories to the latest version and install some package dependencies using the apt command below.
sudo apt update
sudo apt install -y curl wget vim git unzip socat bash-completion apt-transport-https
Once the installation is complete, you can proceed to the next step.
Step 2 – Install Nginx web server
In this step, we will install the Nginx web server on the Ubuntu 20.04 server. The DokuWiki will run over the secure HTTPS connection of the Nginx web server.
Install the Nginx packages using the apt command below.
sudo apt install nginx
Once the installation is complete, start the Nginx service and add it to the system startup.
systemctl start nginx
systemctl enable nginx
Now check the status of the Nginx service with the following command.
systemctl status nginx
Below you can see the result you get.

As you can see, the Nginx service is activated and running on the Ubuntu 20.04 system.
Step 3 – Install and configure PHP-FPM
After we have installed the Nginx web server, we install the PHP-FPM packages on our system.
Install the PHP-FPM 7.4 packages using the apt command below.
sudo apt install -y php-fpm php-cli php-gd php-xml php-zip
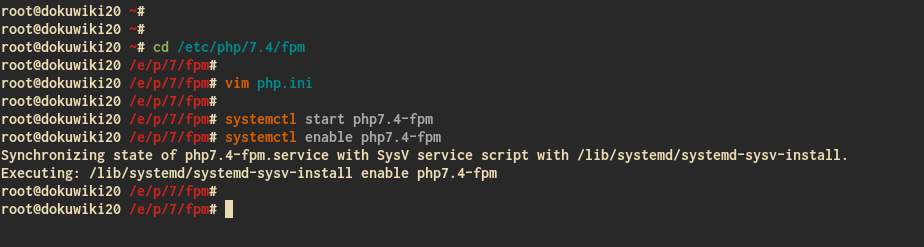
Once the installation is complete, go to the “/etc/php/7.4/fpm” directory and edit the “php.ini” configuration using the vim editor.
cd /etc/php/7.4/fpm/
vim php.ini
Change the following lines as indicated below.
date.timezone = Asia/Singapore
cgi.fix_pathinfo = 0
Save and close.
Next, start the PHP-FPM service and add it to the system startup.
systemctl start php7.4-fpm
systemctl enable php7.4-fpm
The PHP-FPM service is already started and runs by default via the socket file “php7.4-fpm.sock”.
Check the PHP-FPM service with the following command.
systemctl status php7.4-fpm
ss -pl | grep php
Below you can see the result you get.
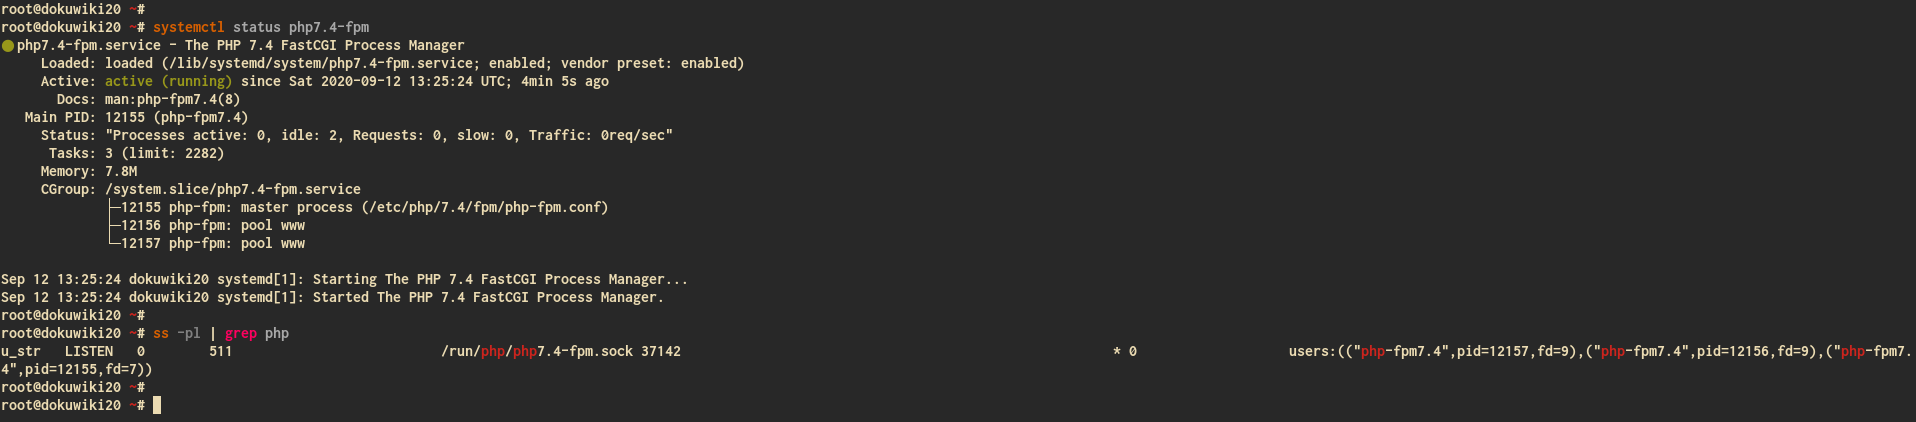
As you can see, the PHP-FPM service is running under the sock file “/run/php/php7.4-fpm.sock”.
This completes the installation and configuration of PHP-FPM 7.4.
Step 4 – Generate SSL certificate from Letsencrypt and DHPARAM
In this tutorial, we will secure our DokuWiki installation with SSL Letsencrypt. Also, make sure you have a domain name for the DokuWiki installation and that it resolves to the IP address of your server.
In this step we will generate SSL Letsencrypt with certbot and the DHPARAM certificate with the OpenSSL command.
Install certbot on your Ubuntu system using the apt command below.
sudo apt install certbot
Once the installation is complete, stop the Nginx service and generate the SSL Letsencrypt certificate using the command below. Also make sure to replace the email address with your own.
systemctl stop nginx
certbot certonly --rsa-key-size 2048 --standalone --agree-tos --no-eff-email --email user@hakase-labs.to -d wiki.hakase-labs.io
Once everything is complete, your SSL certificates will be available in the directory “/etc/letsencrypt/live/your-domain.com/”.
Next, we create the DHPARAM certificate with the “OpenSSL” command program.
Create a new directory “/etc/nginx/ssl” and generate the DHPARAM certificate in it using the OpenSSL command as described below.
mkdir -p /etc/nginx/ssl/
openssl dhparam -outform pem -out /etc/nginx/ssl/dhparam2048.pem 2048
This creates the SSL Letsencrypt and DHPARAM certificate.
The SSL Letsencrypt certificates are stored in the directory “/etc/letsencrypt/live/your-domain.com” and the DHPARAM certificate is available in the directory “/etc/nginx/ssl”.
Step 5 – Download DokuWiki source code
In this step, we will download the latest version of the DokuWiki source code to the “/var/www” directory.
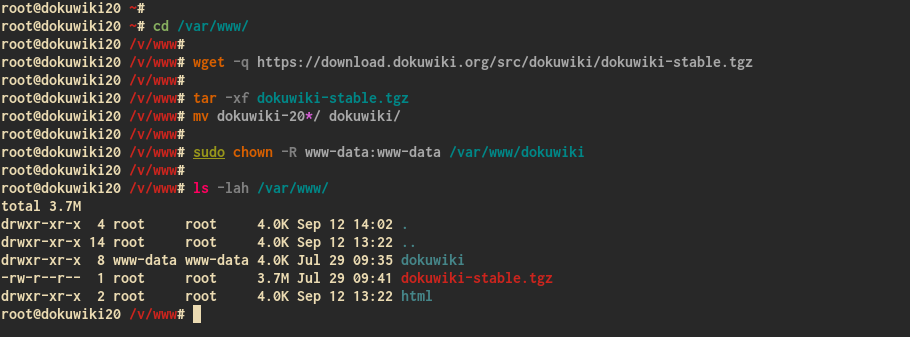
Go to the “/var/www” directory and download the latest stable version of the DokuWiki source code using the wget command below.
cd /var/www/
wget -q https://download.dokuwiki.org/src/dokuwiki/dokuwiki-stable.tgz
Unzip the DokuWiki source code and rename the unzipped directory to “dokuwiki”.
tar -xf dokuwiki-stable.tgz
mv dokuwiki-20*/ dokuwiki/
Next, change the ownership of the directory “dokuwiki” to the user and group “www-data”.
sudo chown -R www-data:www-data /var/www/dokuwiki
ls -lah /var/www/
As a result, the latest version of the DokuWiki source code has been downloaded to the “/var/www/dokuwiki” directory, which means that this directory will be used as the document root for the DokuWiki installation.
Step 6 – Set up Nginx Server Block for DokuWiki
In this step we will set up the new Nginx server block for DokuWiki.
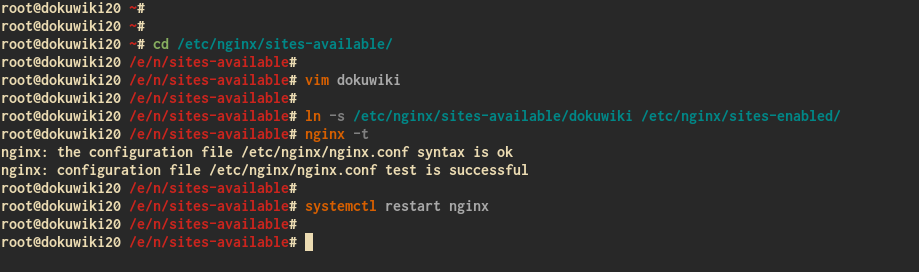
Go to the directory “/etc/nginx/sites-available/” and create a new server block configuration “dokuwiki” with the editor vim.
cd /etc/nginx/sites-available/
vim dokuwiki
Change the details of the domain name and the path of the SSL certificates with your own and insert the configuration there.
server {
    listen               80;
    server_name          wiki.hakase-labs.io;
    return 301 https://$server_name$request_uri;
}

server {
    listen 443 ssl;

    server_name wiki.hakase-labs.io;
# file with the cert + intermediates
ssl_certificate /etc/letsencrypt/live/wiki.hakase-labs.io/fullchain.pem;
ssl_certificate_key /etc/letsencrypt/live/wiki.hakase-labs.io/privkey.pem;

ssl_session_timeout 5m;
ssl_ciphers "HIGH:!aNULL:!MD5 or HIGH:!aNULL:!MD5:!3DES";
# Use 2048 bit Diffie-Hellman RSA key parameters
# (otherwise Nginx defaults to 1024 bit, lowering the strength of encryption # when using PFS)
# Generated by OpenSSL with the following command:
# openssl dhparam -outform pem -out /etc/nginx/ssl/dhparam2048.pem 2048
ssl_dhparam /etc/nginx/ssl/dhparam2048.pem;

# Maximum file upload size is 4MB - change accordingly if needed
client_max_body_size 4M;
client_body_buffer_size 128k;

root /var/www/dokuwiki;
index doku.php;

#Remember to comment the below out when you're installing, and uncomment it when done.
#location ~ /(conf/|bin/|inc/|install.php) { deny all; }

#Support for X-Accel-Redirect
location ~ ^/data/ { internal ; }

location ~ ^/lib.*\.(js|css|gif|png|ico|jpg|jpeg)$ {
expires 365d;
}

location / { try_files $uri $uri/ @dokuwiki; }

location @dokuwiki {
# rewrites "doku.php/" out of the URLs if you set the userwrite setting to .htaccess in dokuwiki config page
rewrite ^/_media/(.*) /lib/exe/fetch.php?media=$1 last;
rewrite ^/_detail/(.*) /lib/exe/detail.php?media=$1 last;
rewrite ^/_export/([^/]+)/(.*) /doku.php?do=export_$1&id=$2 last;
rewrite ^/(.*) /doku.php?id=$1&$args last;
}

location ~ \.php$ {
try_files $uri $uri/ /doku.php;
include fastcgi_params;
fastcgi_param SCRIPT_FILENAME $document_root$fastcgi_script_name;
fastcgi_param REDIRECT_STATUS 200;
fastcgi_pass unix:/var/run/php/php7.4-fpm.sock;
}
}
Save and close.
Activate the server block “dokuwiki” and test the Nginx configuration to ensure that no error occurs.
ln -s /etc/nginx/sites-available/dokuwiki /etc/nginx/sites-enabled/
nginx -t
Now restart the Nginx service to apply the new configuration.
systemctl restart nginx
This completes the configuration of the Nginx server blocks for DokuWiki.
Step 7 – DokuWiki post-installation
To start the DokuWiki post-installation, open your web browser and enter your domain name for the DokuWiki installation with the path “/install.php” as follows.
https://wiki.hakase-labs.io/install.php
Now enter the details of your DokuWiki installation, including the wiki name, admin user and password, initial ACL (Access Control List) policy, etc.
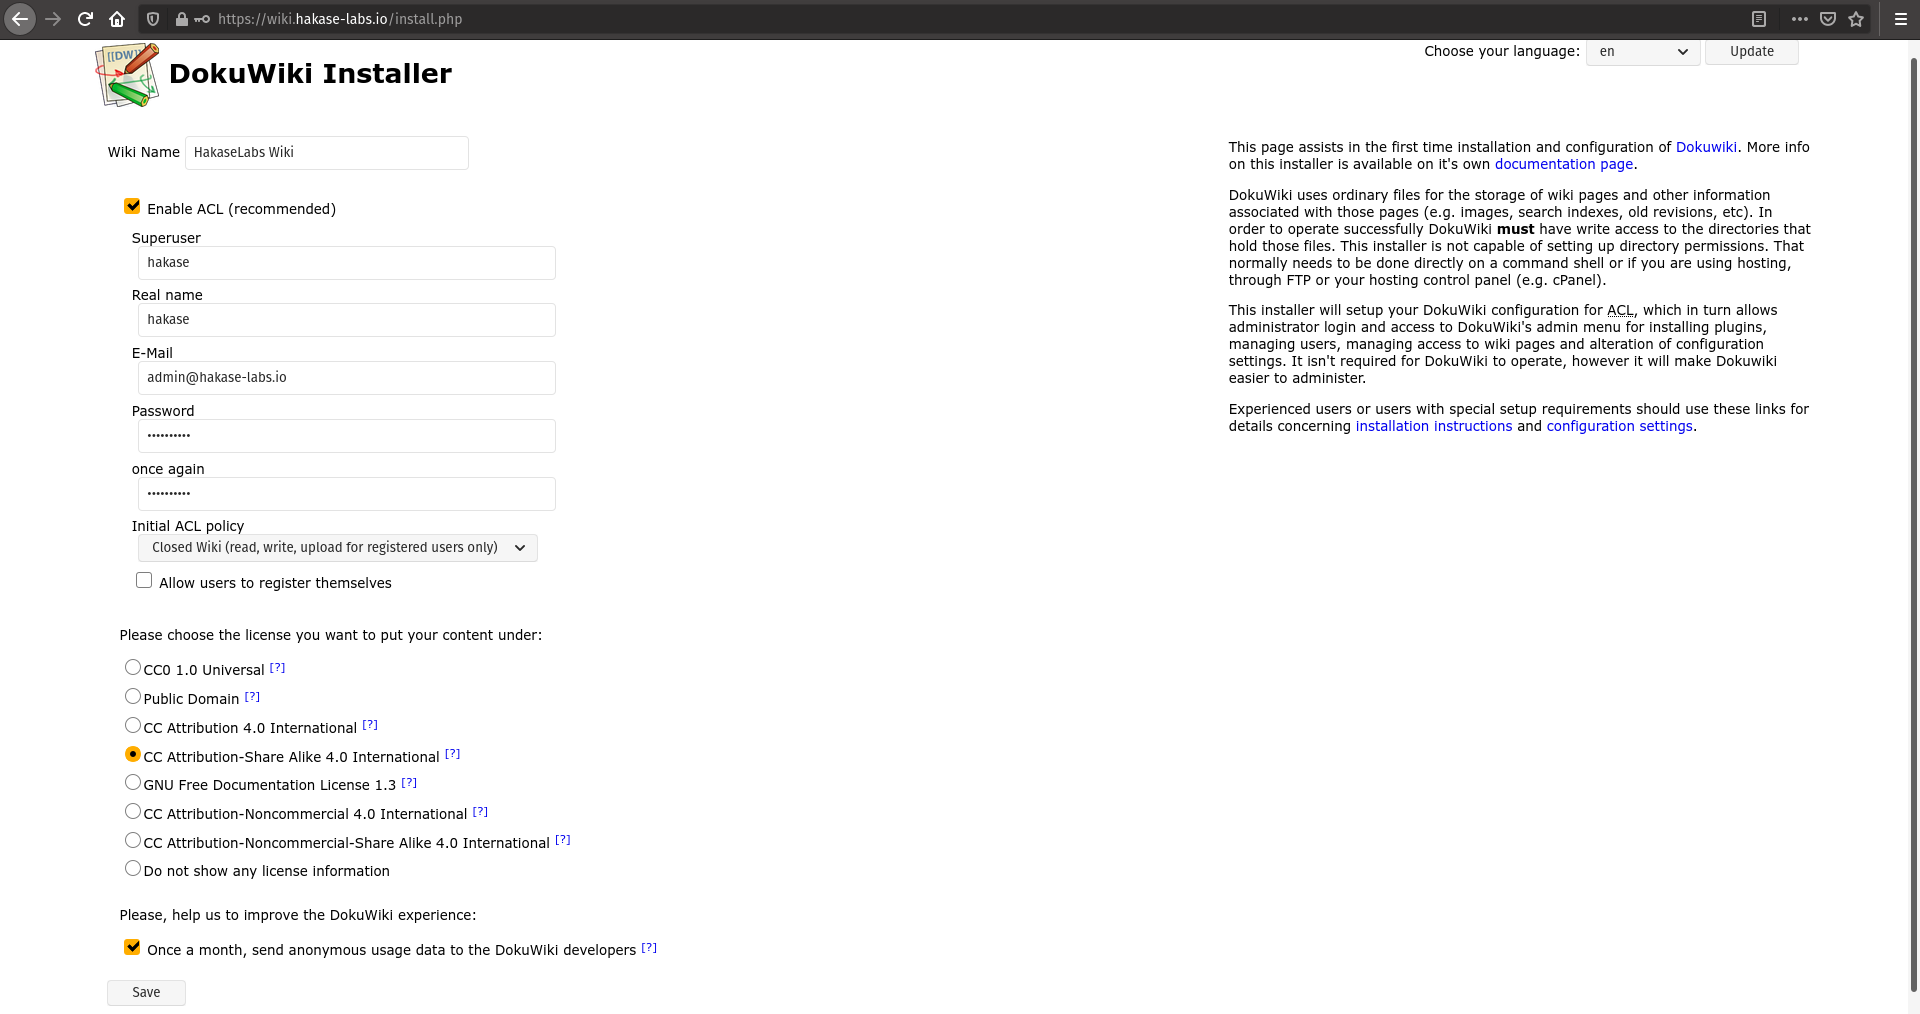
Now click on“Save” and you will get the following page.
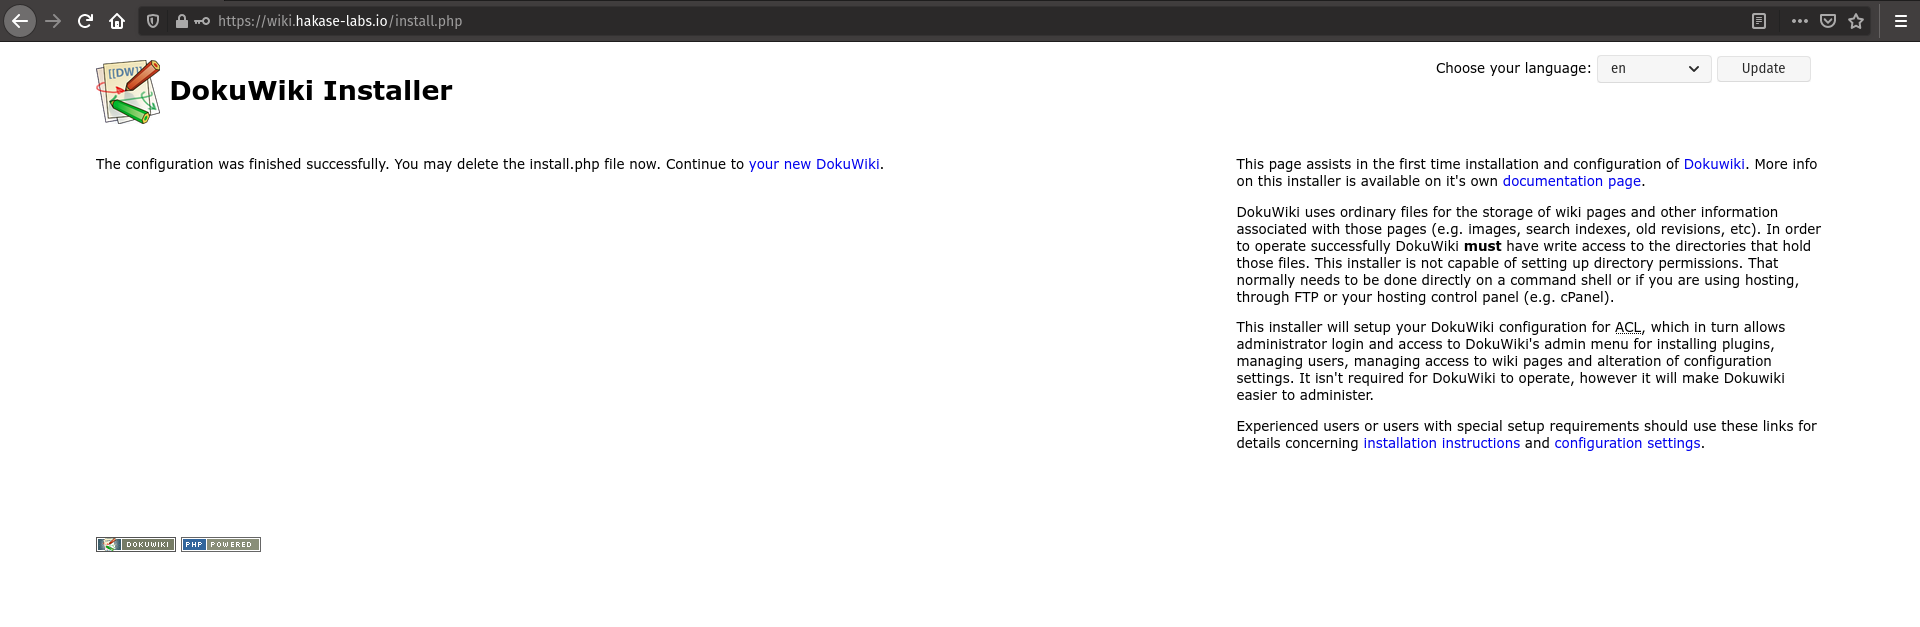
As you can see, the DokuWiki configuration has been successfully completed and the installation program suggests that you delete the“installer.php” file for security reasons.
Now click on the link on the page“Continue to your new DokuWiki” and you will get the DokuWiki login page.
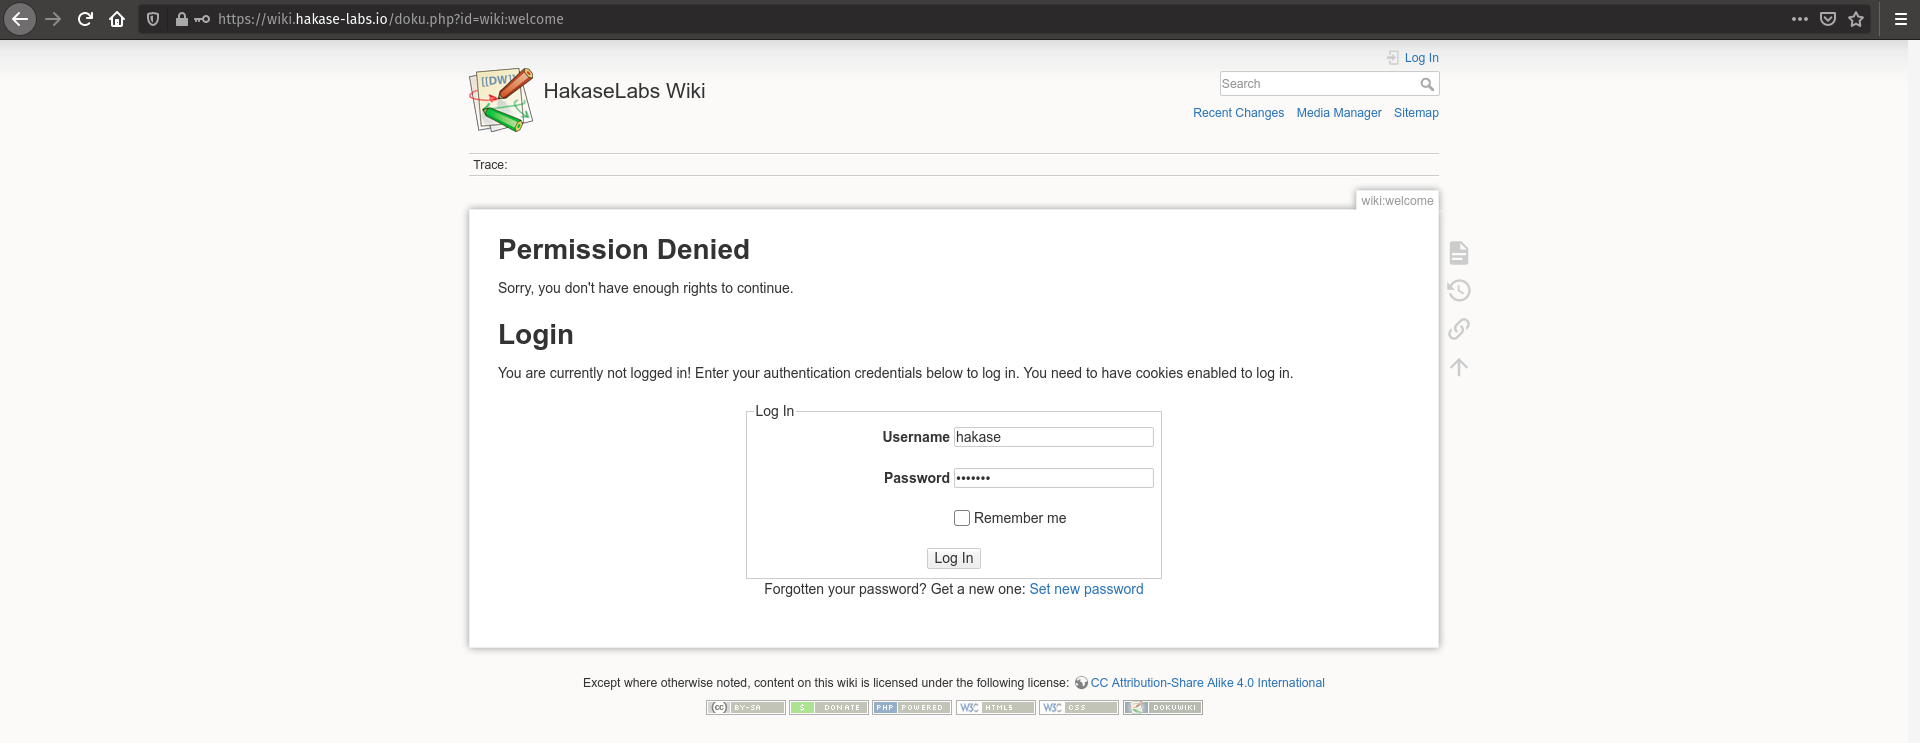
Enter the username and password you just created and click on the“Login” button.
Once you have logged in, you will receive the welcome message from DokuWiki shown below.
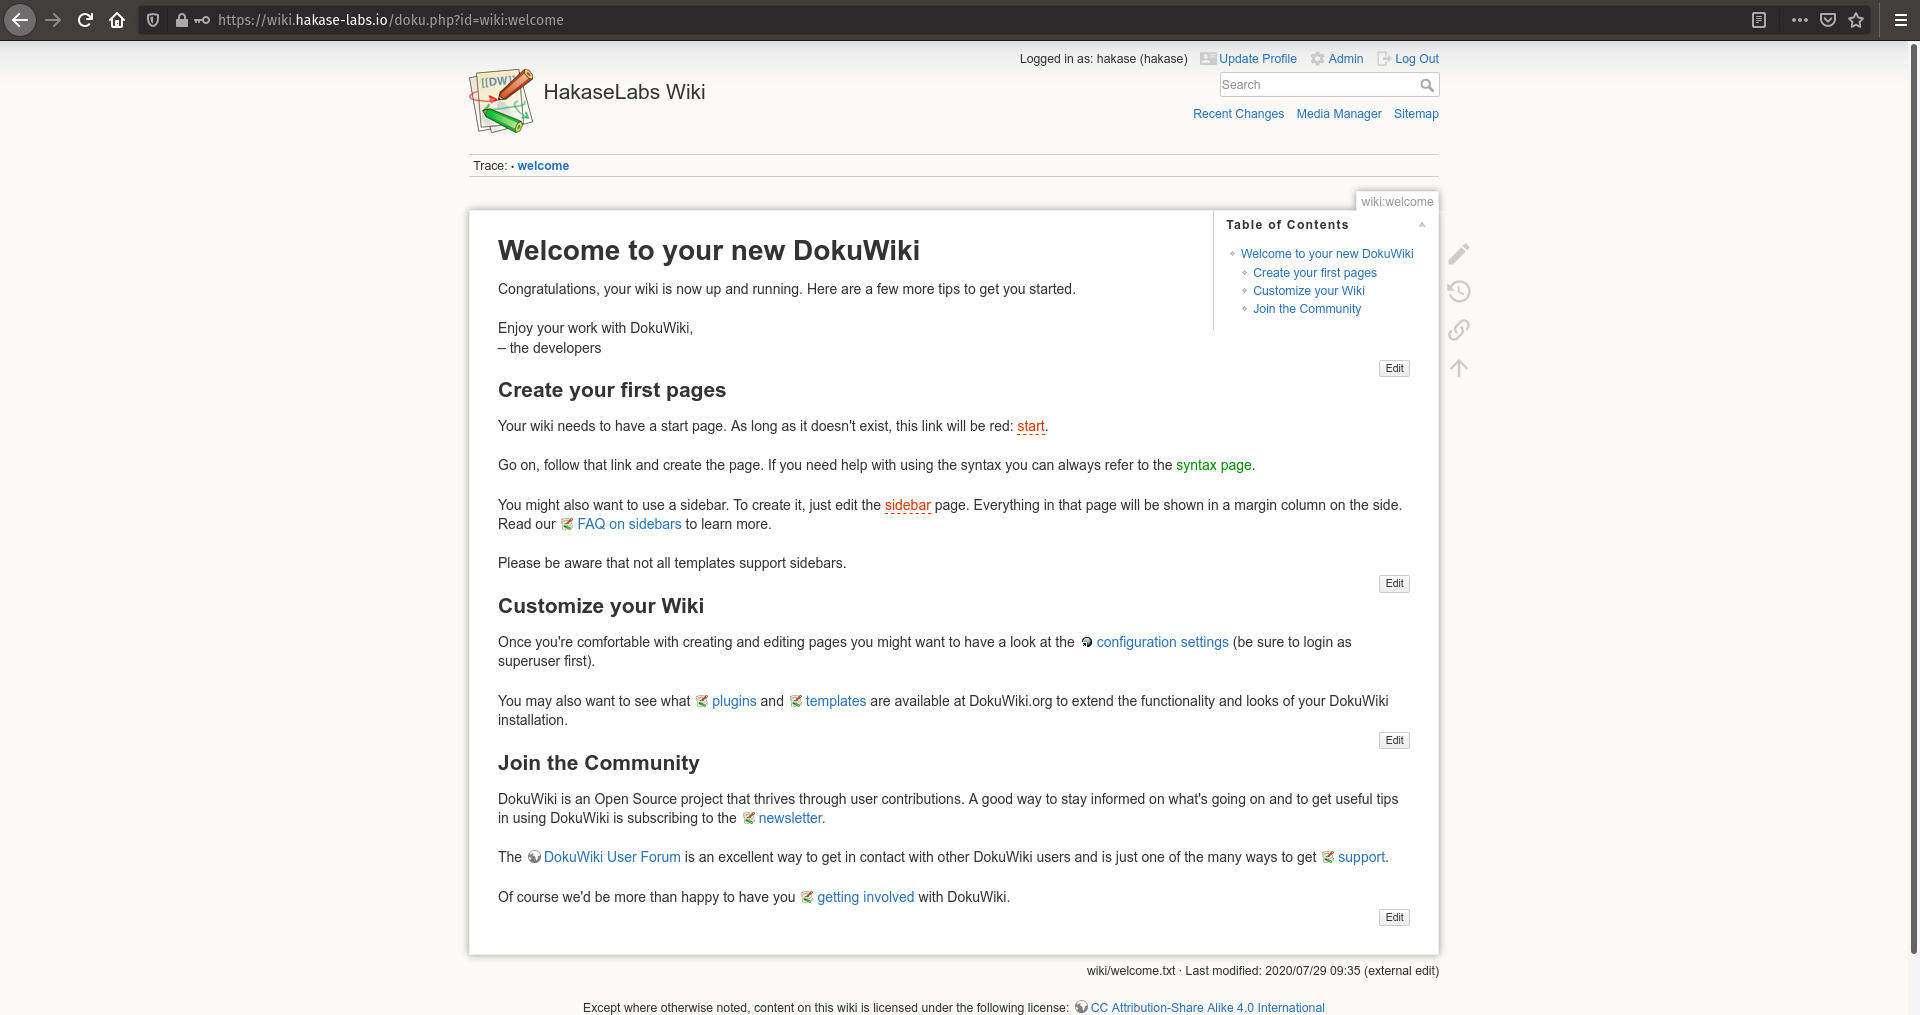
As you can see, the installation and configuration of DokuWiki is complete.
Step 8 – Security settings after installation
After you have successfully installed DokuWiki, you need to secure the installation.
This step will secure our installation with the UFW firewall and protect some sensitive DokuWiki files and directories.
– Activate the UFW firewall
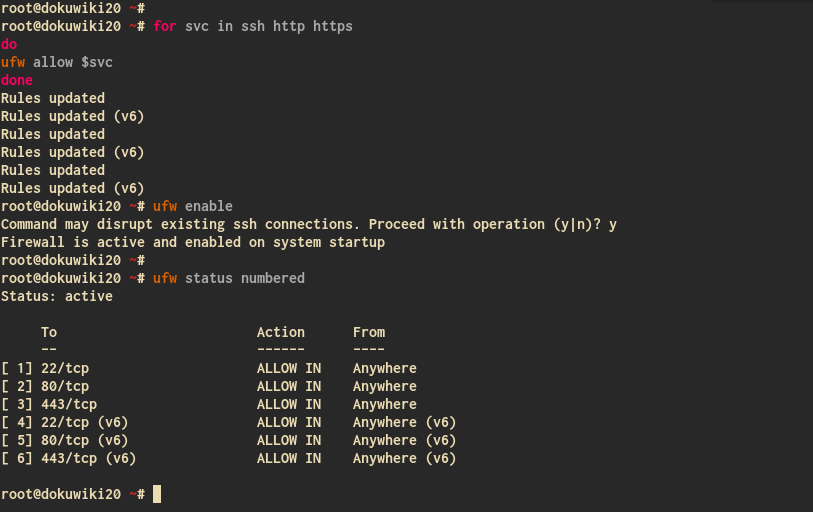
Add some basic services to the UFW firewall with the following command.
for svc in ssh http https
do
ufw allow $svc
done
Then activate the UFW firewall service with the following command.
ufw enable
Enter“y” to continue and the UFW firewall is activated.
To check all available rules on the UFW firewall, execute the following command.
ufw status numbered
You will now see all available rules for the UFW firewall.
– Deny sensitive files/directories with the Nginx configuration
To protect some sensitive files/directories for our DokuWiki installation, we will use the Nginx configuration. Access to the file/directory will be denied and get the status “403”.
Go to the configuration directory “/etc/nginx/sites-available” and edit the Nginx server block “dowkuwiki”.
cd /etc/nginx/sites-available/
vim dokuwiki
Remove the comment character for the following configuration.
    #Remember to comment the below out when you're installing, and uncomment it when done.
    location ~ /(conf/|bin/|inc/|install.php) { deny all; }
Save and close.
Now restart the Nginx service to apply the new configuration.
systemctl restart nginx
This will deny access to the “conf, bin, inc” directories and the “install.php” file.
The installation and configuration of DokuWiki with Nginx and PHP-FPM on Ubuntu 20.04 is now successfully completed.