Zabbix is an open-source solution developed in the C language. It monitors the devices in the computer network and the servers’ services. It helps to support the IT infrastructure. We need to install the Zabbix server in our networks for the monitoring process. The Zabbix agent also helps check the memory, disk, etc., on the remote/host server. The operations of this software are performed under Linux. Zabbix agents perform checks using SNMP and TCP. MySQL, PostgreSQL and MariaDB can be used for the data storage of this agent. It can be monitored as an agent and agentless. The Zabbix agent performs two types of checks. One is active, and the other is passive.
Active check: In this type, the Zabbix agent collects all data, including memory, etc., and sends it to the Zabbix server.
Passive check: This type differs from the active check because the server itself sends the request to the agent to collect certain information and then sends the data back to the server.
The graphical user interface (GUI) plays an important role in displaying the information/data in charts, tables, etc. Talking about the discovery modes. Zabbix has three discovery modes. These are automatic discovery, low-level discovery and network discovery. In this article, we will first install the Zabbix agent on Linux to remotely control the Ubuntu host. After installation, we will add a host to the Zabbix agent dashboard.
Prerequisites
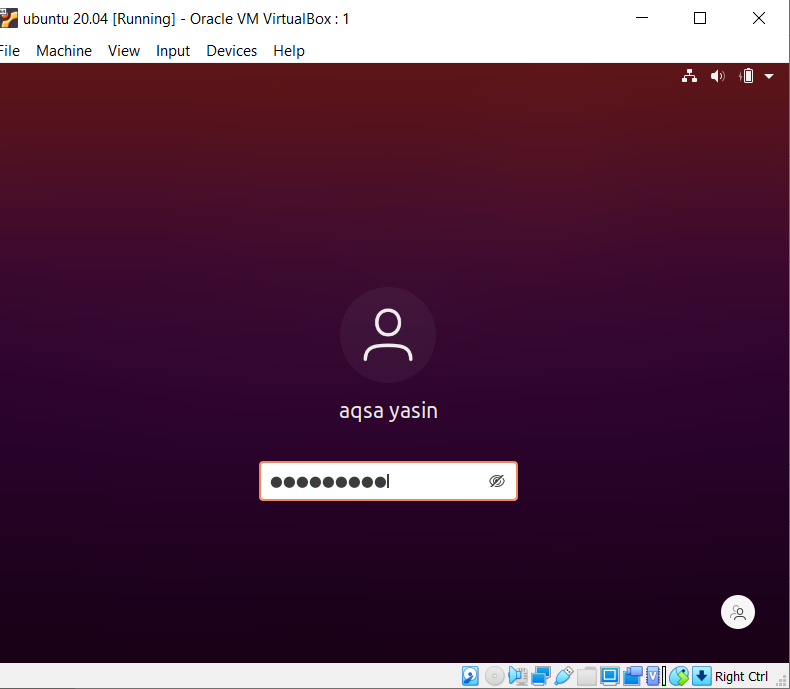
For this tutorial, you must install a VM box on your system to understand how the Zabbix agent works. After installing a VM box, we download the Ubuntu file and run it on the VM box. Before execution, we configure the settings as required, e.g. the required disk space, etc. When the Ubuntu file is successfully installed, we configure it with the system by entering the user data, i.e. username and passwords required for further use in case of changes. The username and password are entered to get to the home page and access the permissions of Ubuntu. As you can see in the image below, a user is created. This user creation is very helpful for accessing the Sudo functions in the Linux operating system.
Installing the Zabbix agent
The installation process involves several steps. We will go through them one by one.
Update packages
Go to the application menu and open the terminal. Now use the command below to update the installed packages.
$ Sudo apt update
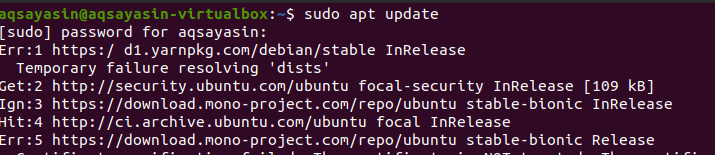
To continue, the user’s password is required. Updating the packages may take some time.
Install package
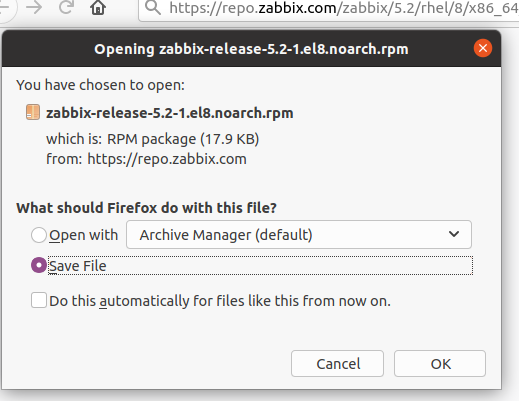
Now download the .deb file from the official website and go to the Zabbix Download Center to download it. After clicking on the download button, a message will be displayed. Select the “Save file” option to download the file and use it for future purposes.
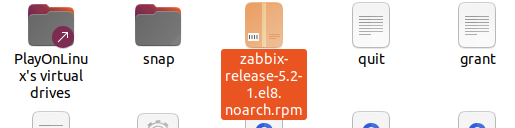
After some time, the file will be downloaded and you can check it by going to the folder.
Activate the repositories of the Zabbix agent
Now retrieve the Debian file by entering the following command in the terminal.
$ rpm –Uvh https://repo.zabbix.com/zabbix/5.2/rhel/8/x86_64/zabbix-release-5.2-1.el8.noarch.rpm

After you have installed the Debian file, activate this repository with the command dpkg.
![]()
![]()
Install the Zabbix agent under Ubuntu
After we have placed the repositories, it is time to install the agent in the system. Use the following command
$ Sudo apt install zabbix-agent

After installation, we can use the following command to check whether the Zabbix agent is running or not
$ Sudo systemctl status zabbix-agent
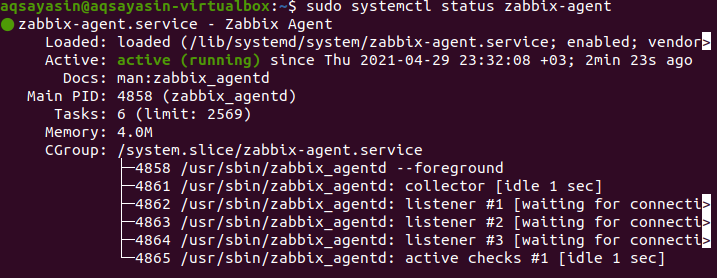
This command shows the status of the Zabbix agent. The image shows that the status is active, which means that the agent is running. Further details are also displayed, e.g. the allocated memory, the ID, etc.
Configuration of the Zabbix agent
After the check, we configure the agent by making some changes in the .conf file so that the agent can continue to communicate with the server.
$ Sudo vim /etc/zabbix/zabbix_agentd.conf
![]()
![]()
We add hostname and server to the file.
Server = 192.168.56.10
Hostname= Ubuntu-20
Firewall configuration
Last but not least, the next step in the configuration is to allow the port used by the Zabbix agent through the firewall. Activate the UFW and then execute the following commands. Where 10050 is a port number.
$ Sudo ufw allow 10050/tcp

Create a host on the server
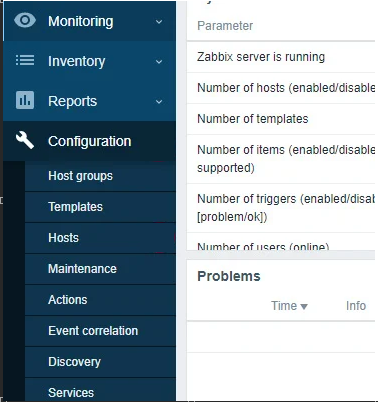
By default, Zabbix only monitors the server on which we install the agent. So to add a host, open a browser window After logging into your account, go to the left panel. Go to Configuration and then select Hosts
Configuration > Hosts
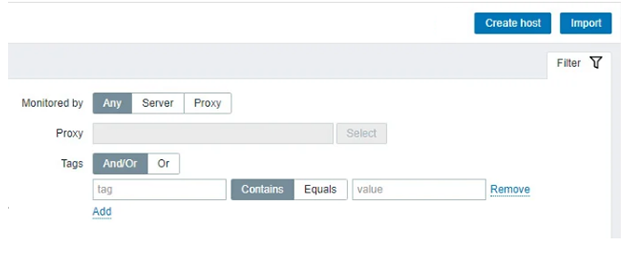
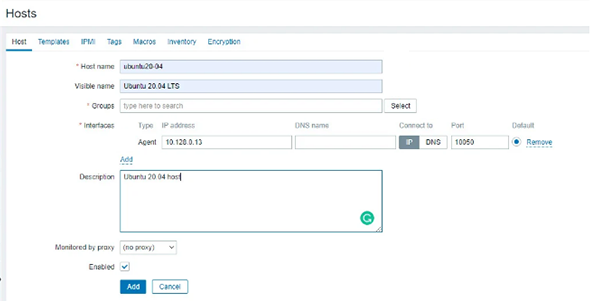
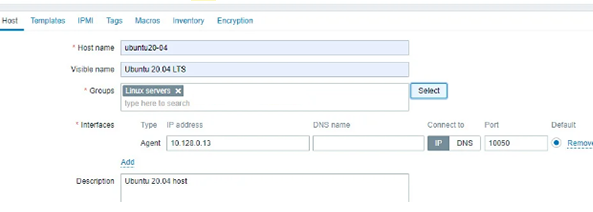
Now go to the top right corner and select “Create host”. A window will appear. Fill it out by entering details such as host name, visible name, port number, etc. Now click on the “Select” button in front of the group text field.
A list will appear in which you select the “Linux server” option and click on the “Select” button.
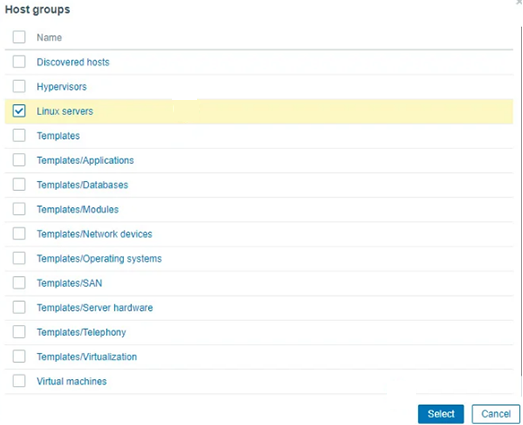
Now you can see that a new group has been added in the text field of the window.
Go to the next tab “Templates” and press the “Select” button after the text field “Link new templates”.
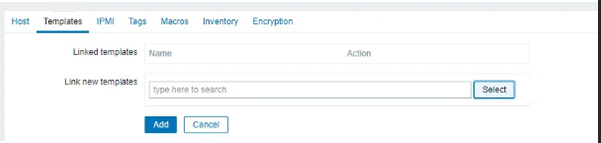
A window will appear in which you press the “Select” button next to the “Host group”.
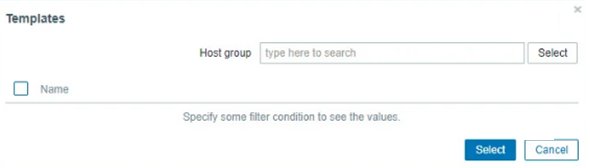
A window appears with many host groups, select the “Templates/Operating system”.
Now select the “Templates Os Linux by Zabbix agent”.
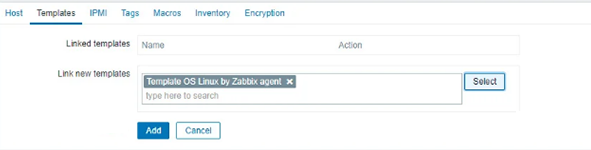
Then click on the “Add” button.
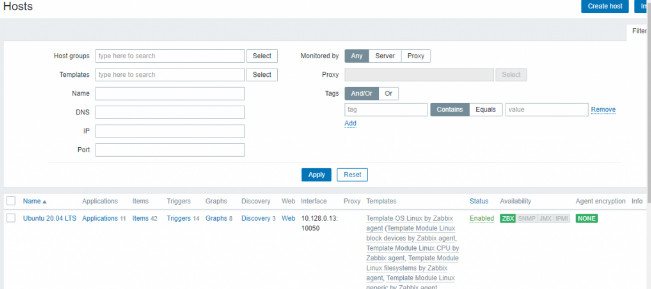
Now you can see your host in the list of hosts in the dashboard.
Conclusion
In this article, we have shown how to install and configure the Zabbix agent on Linux and how to create a host on the server to easily understand the Zabbix features.