LAMP is an acronym for Linux, Apache, MySQL and PHP/Python/Perl. It is a popular software stack for hosting websites, both for static websites such as an HTML site and for dynamic web applications such as WordPress, Laravel, etc. It is the foundation for web applications, and most dynamic web applications can run under the LAMP stack.
The LAMP stack is the most common way to host websites with open source software, as all four components of the stack are open source. It is most commonly used by developers in the development process and by companies and individuals at the production level.
In this tutorial, you will learn how to install and configure the LAMP stack on Rocky Linux 8.4.
Prerequisites
- A Rocky Linux 8.4 system.
- A user with root privileges.
Installing the Apache web server on Rocky Linux
First, install the httpd server on Rocky Linux (on RHEL distributions, Apache is called httpd). The httpd package is available by default in the Rocky Linux AppStream repository, so let’s get started with the installation.
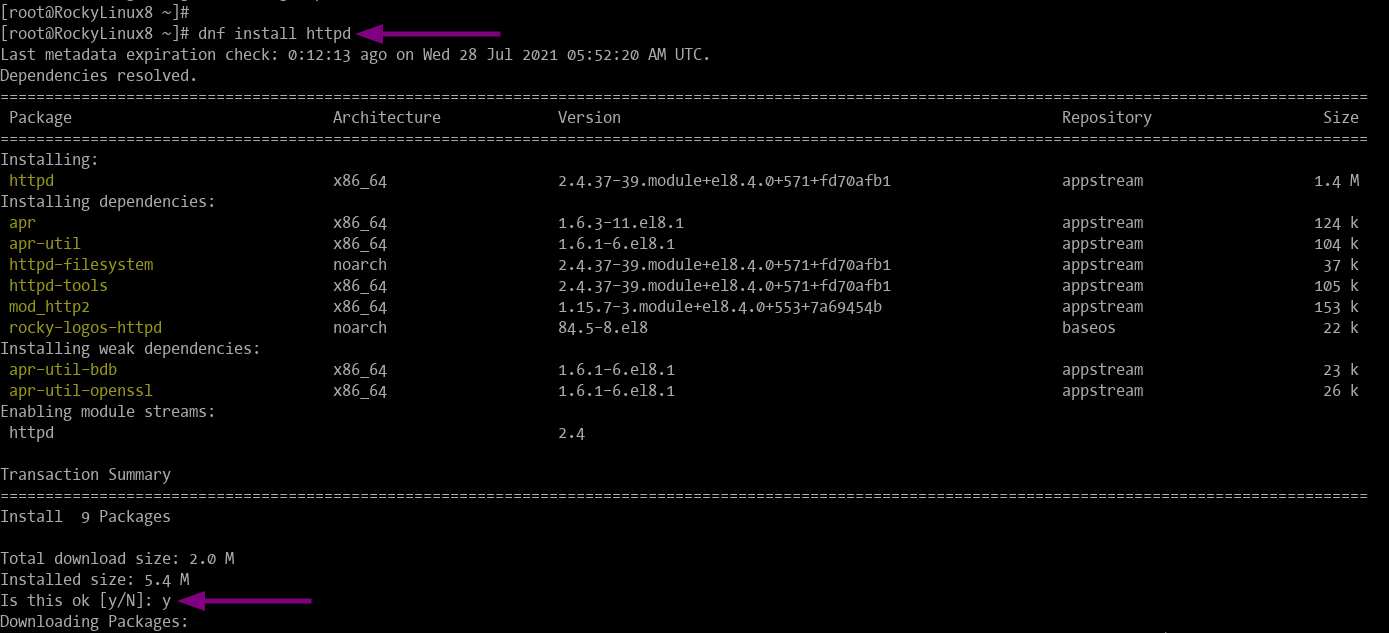
1. run the following command to install the Apache/httpd web server.
sudo dnf install httpd
Type“y” to confirm and press“Enter” to continue.
2. when the installation is complete, execute the following command to start the httpd service on boot.
sudo systemctl enable httpd
3. then start the httpd service with the command below.
sudo systemctl start httpd
The httpd service is now active and running.
4. now check the status of the httpd service with the following command.
sudo systemctl status httpd
You should see that the httpd service is active (running), similar to below.
# Enable httpd service
Created symlink /etc/systemd/system/multi-user.target.wants/httpd.service → /usr/lib/systemd/system/httpd.service.
# Check httpd service status
? httpd.service - The Apache HTTP Server
Loaded: loaded (/usr/lib/systemd/system/httpd.service; enabled; vendor preset: disabled)
Active: active (running) since Wed 2021-07-28 06:08:25 UTC; 41s ago
Docs: man:httpd.service(8)
Main PID: 56969 (httpd)
Status: "Running, listening on: port 80"
Tasks: 213 (limit: 11240)
Memory: 32.1M
CGroup: /system.slice/httpd.service
??56969 /usr/sbin/httpd -DFOREGROUND
??56970 /usr/sbin/httpd -DFOREGROUND
??56971 /usr/sbin/httpd -DFOREGROUND
??56972 /usr/sbin/httpd -DFOREGROUND
??56973 /usr/sbin/httpd -DFOREGROUND
5. if you are running Rocky Linux with a firewall, you must also include the rule for the HTTP and HTTPS services in the firewall.
Check the status of the firewall on Rocky Linux by running the following command.
firewall-cmd --state
If you see that the firewall is “running“, run the following command to include the HTTP and HTTPS services in the firewall rule. Otherwise, you will see the output“not running” and skip this step.
sudo firewall-cmd --add-service={http,https} --permanent --zone=public
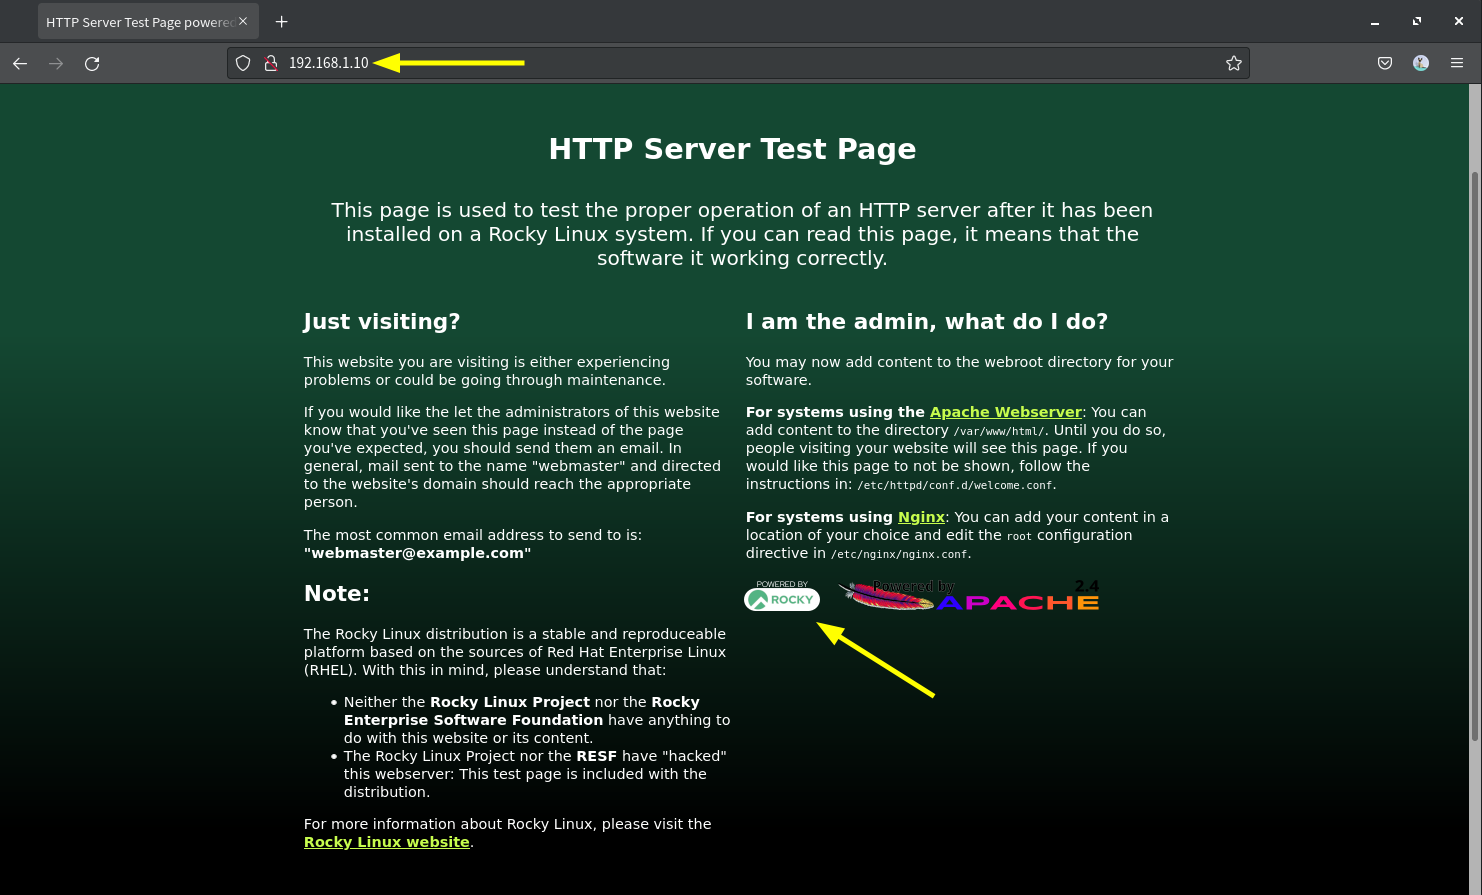
sudo firewall-cmd --reload6. to check the httpd installation, call up the IP address of the server with a web browser. You can use a server IP address or a domain name.
http://server-ip/ or http://your-domain.com
If your installation was correct and successful, you will see the “HTTP server test page” as in the screenshot below.
Installing the MariaDB database server on Rocky Linux
Why MariaDB and not MySQL? Well, MariaDB is more powerful than MySQL and offers better performance. It also has more useful features that are not supported by MySQL.
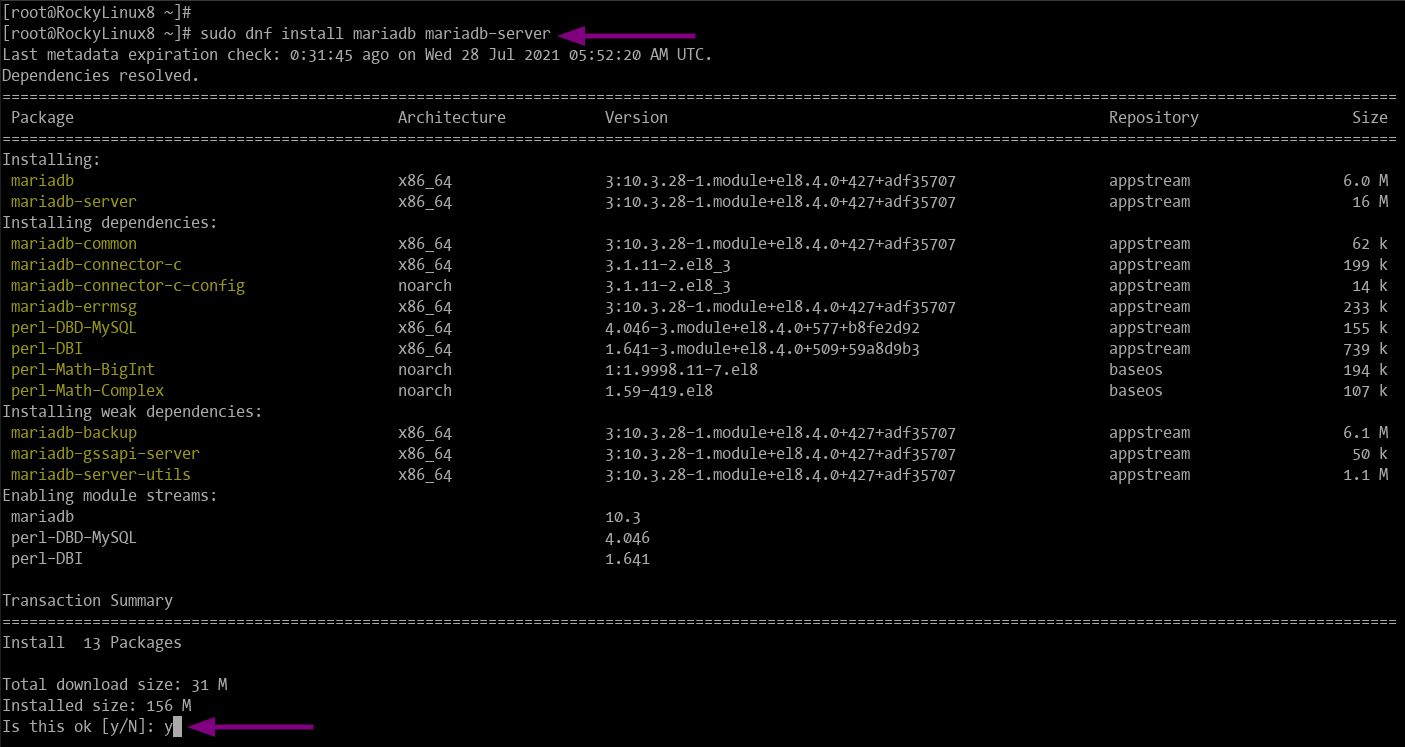
1. to install MariaDB, run the following command.
sudo dnf install mariadb mariadb-server mariadb-client
Type “y” to confirm and press“Enter” to continue.
2. when the installation is complete, run the following command to automatically run the MariaDB service on boot.
sudo systemctl enable mariadb
You should then see an output similar to the one below.
Created symlink /etc/systemd/system/mysql.service → /usr/lib/systemd/system/mariadb.service.
Created symlink /etc/systemd/system/mysqld.service → /usr/lib/systemd/system/mariadb.service.
Created symlink /etc/systemd/system/multi-user.target.wants/mariadb.service → /usr/lib/systemd/system/mariadb.service.
3. then start the MariaDB service with the following command.
sudo systemctl start mariadb
4. then check the status of the MariaDB service with the following command.
sudo systemctl status mariadb
If your MariaDB service is active and running, you will see an output similar to the one below.
? mariadb.service - MariaDB 10.3 database server
   Loaded: loaded (/usr/lib/systemd/system/mariadb.service; enabled; vendor preset: disabled)
   Active: active (running) since Wed 2021-07-28 06:27:20 UTC; 39s ago
     Docs: man:mysqld(8)
           https://mariadb.com/kb/en/library/systemd/
 Main PID: 57960 (mysqld)
   Status: "Taking your SQL requests now..."
    Tasks: 30 (limit: 11240)
   Memory: 82.8M
   CGroup: /system.slice/mariadb.service
           ??57960 /usr/libexec/mysqld --basedir=/usr
Securing the MariaDB installation
In the standard installation of MariaDB there is no password for the root user. There is also a default database “test”, and the anonymous user can log in to the MariaDB server. The remote login function is also only active under the root user.
At this stage you will secure the MariaDB installation with the command line tool “mysqsl_secure_installation”. This tool “mysql_secure_installation” will help you to set up the MariaDB root password, remove the default database test, remove the anonymous user and disable the remote login for the root user.
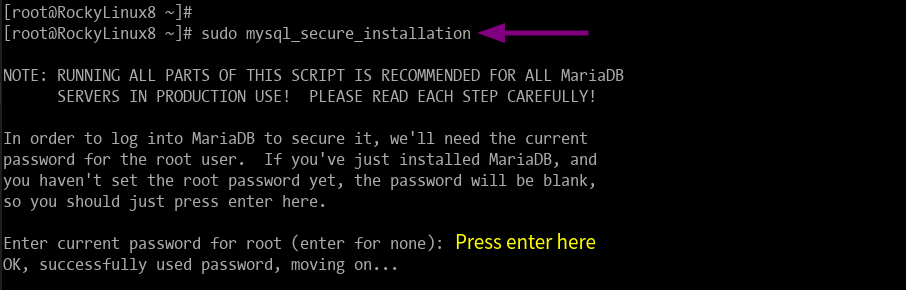
1. now execute the“mysql_secure_installation” command below.
sudo mysql_secure_installation
Simply press“Enter” to continue with the configuration of the MariaDB server.
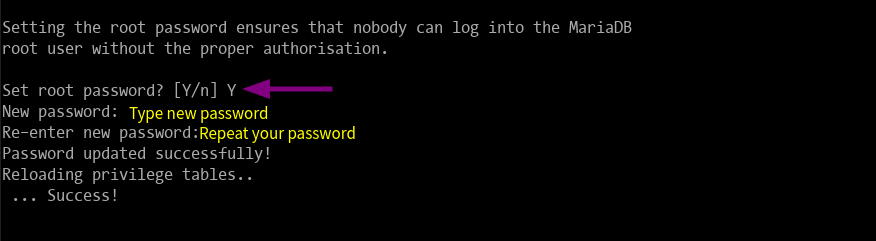
2. now enter“Y” to set up the root password for MariaDB, then enter your secure password and repeat it.
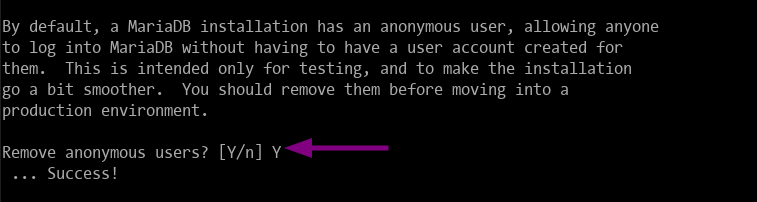
3) Next, enter “Y” to remove the anonymous default user on MariaDB.
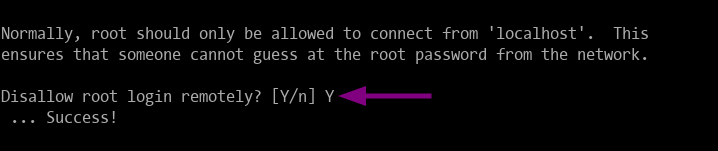
4. then enter“Y” to disable remote login for the root user.
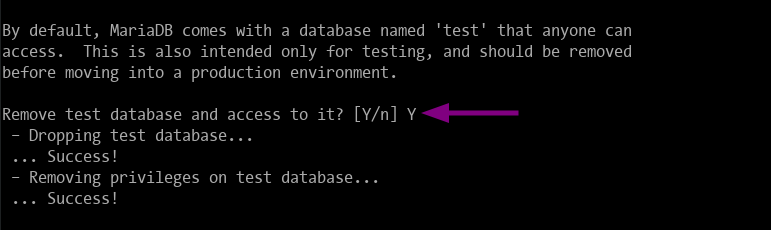
5. now enter“Y” again to remove the database test from your MariaDB server.
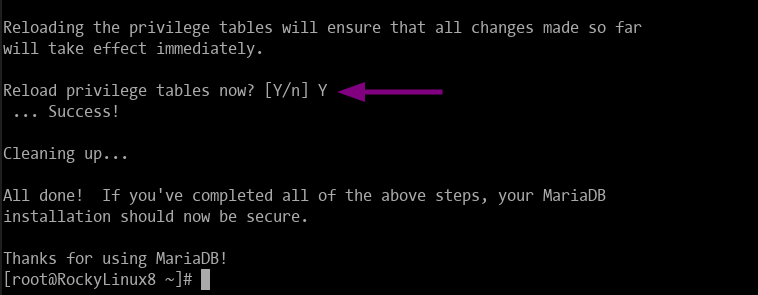
6. finally, apply all changes to the MariaDB server by reloading the authorization tables. Enter“Y” again to complete the MariaDB configuration.
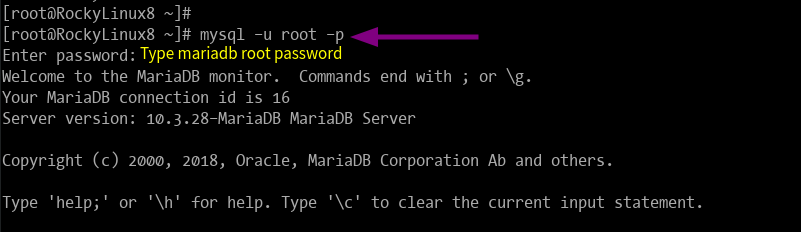
7. to verify the MariaDB installation, execute the following command to log in to the MariaDB server.
mysql -u root -p
Enter your MariaDB root password and press“Enter“.
If your MariaDB configuration and password are correct, you will see the welcome message and connection ID as in the screenshot below.
8. next, run the following MariaDB queries to check all available databases and users on the MariaDB server.
show databases;
select User, Host, Password from mysql.user;
You will then get a similar output as below.

As you can see in the screenshot, there is no database test and no anonymous user on the MariaDB server.
Enter“quit” to log out of the MariaDB server and proceed to the next step.
Installing PHP on Rocky Linux
The Rocky Linux AppStream repository provides several PHP versions by default, which can be set up with the DNF module utility.
1. check all available PHP versions in the Rocky Linux repository with the command below.
sudo dnf module list php
You will get a similar result as below.
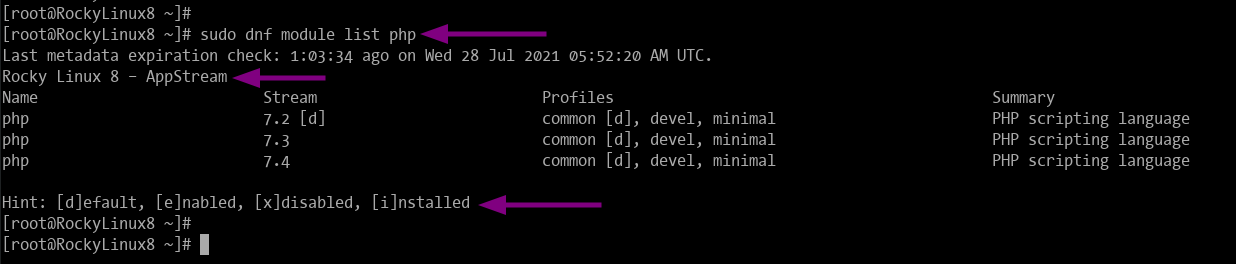
As you can see in the screenshot, there are three PHP versions in the Rocky Linux AppStream repository, and the default version is PHP 7.2.
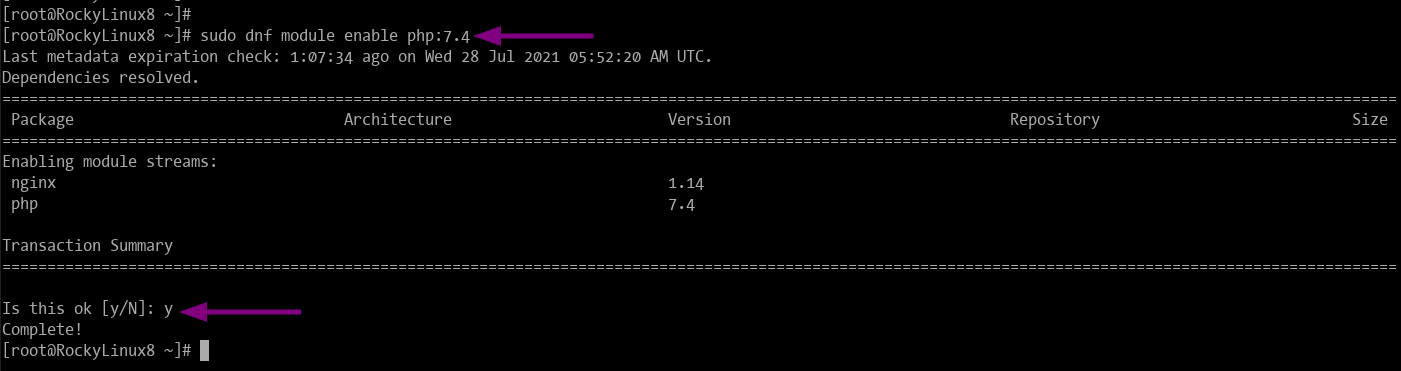
2. now activate the PHP module for version 7.4 with the following command.
sudo dnf module enable php:7.4
Type“y” to activate it and press “Enter” to continue.
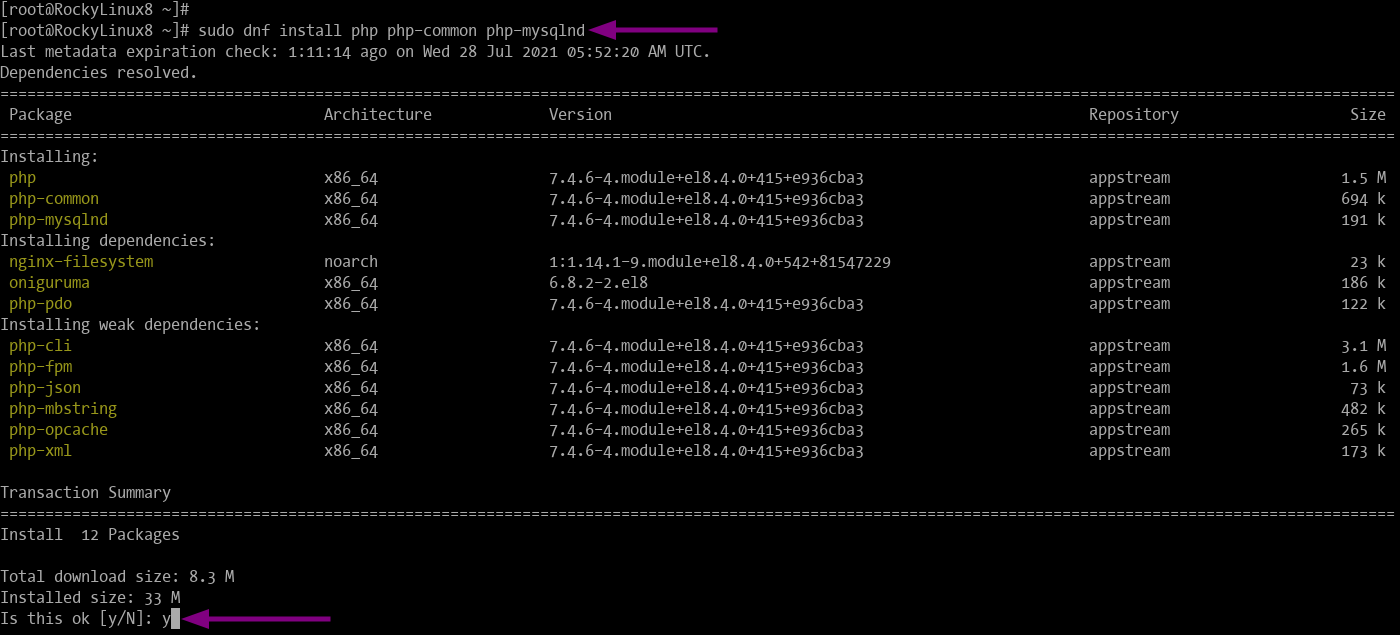
3. then install the PHP packages by executing the following command.
sudo dnf install php php-common php-mysqlnd
Enter“y” to confirm the installation and press “Enter”.
Additionally, you can install some PHP extensions by specifying the package name as `php-extension` (see below).
sudo dnf install php-extension
4. when the PHP installation is complete, check the PHP version with the command below.
php --version
If your PHP installation was correct and successful, you will see PHP version 7.4 in the following output.
PHP 7.4.6 (cli) (built: May 12 2020 08:09:15) ( NTS )
Copyright (c) The PHP Group
Zend Engine v3.4.0, Copyright (c) Zend Technologies
    with Zend OPcache v7.4.6, Copyright (c), by Zend Technologies
You can also check the PHP extensions on your default installation by running the following command.
php -m
Check the LAMP stack installation on Rocky Linux
After installing PHP packages or an additional PHP extension, you need to restart the httpd service for the new configuration to take effect.
1. run the following command to restart the httpd service
sudo systemctl restart httpd
2. next, create a new file “info.php” in the default doc root directory `/var/www/html/` with the following command.
sudo nano /var/www/html/info.php
Insert the following script.
<?php
phpinfo();
?>
Save the script by pressing“Ctrl+x“, then type“y” and press“Enter“. 3.
3. then go back to your web browser and enter the URL path of the PHP file as follows.
http://server-ip/info.php or http://your-domain.com/info.php
If your LAMP installation was successful, you should get the “phpinfo” page shown below.
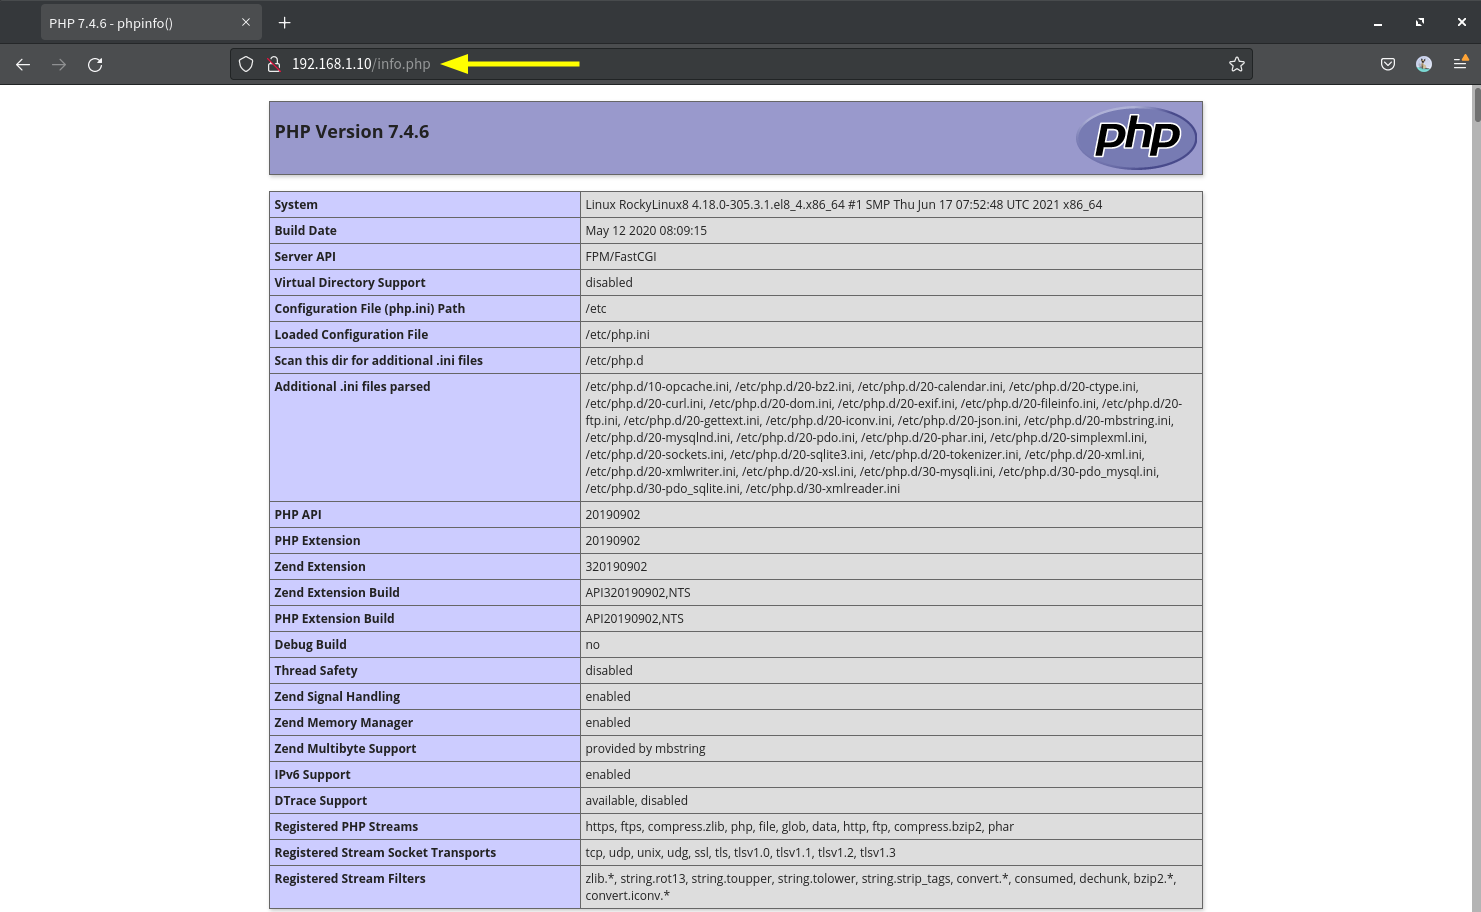
The “info.php” file contains a script that will show you the details of the PHP configuration on your system.
Conclusion
Congratulations! You have successfully installed the LAMP stack on Rocky Linux 8.4. Now you can host static HTML pages or deploy dynamic PHP web applications on the Rocky Linux server.