WordPress.org is the most popular blogging software in the world. An estimated 36% of the internet is built on WordPress. WordPress is a great option if you want to have full control over the future of your blog. In this tutorial, we’ll show you how to install WordPress with the LEMP stack on Ubuntu 20.04.
Prerequisites
We need an Ubuntu 20.04 server with a non-root sudo user with SSH authorization.
Step 1 – Installing the Nginx web server
Nginx is an open source reverse proxy server for HTTP, HTTPS, SMTP, POP3 and IMAP protocols. It can also be used as a load balancer, HTTP cache and web server (origin server). Its focus is on high concurrency, high performance and very low memory consumption.
Follow the command:
sudo apt update
sudo apt install -y nginx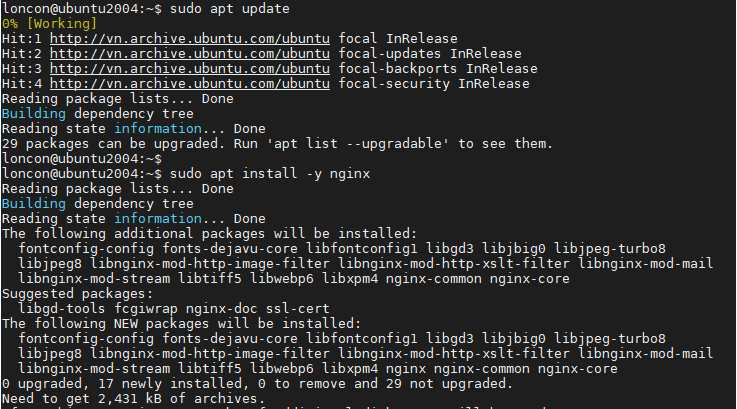
Note: The first time you use sudo, you will need to enter your password to continue.
After that, we need to start the Nginx service and check the status.
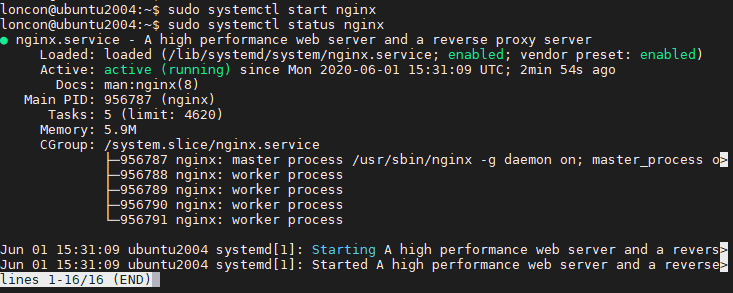
sudo systemctl start nginx
sudo systemctl status nginx
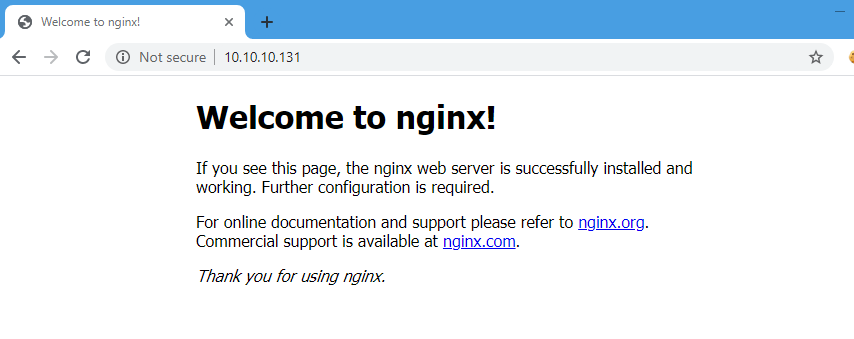
Use your web browser to pull up the IP address of your server; you should see a page like this.
Lastly, we need to allow Nginx to start automatically on boot.
sudo systemctl enable nginxStep 2 – Install MariaDB Server
MariaDB has some optimizations to improve performance compared to MySQL. It was developed by the original developers of MySQL and is guaranteed to remain open source.
Install MariaDB on Ubuntu 20.04:
sudo apt install mariadb-server mariadb-client -y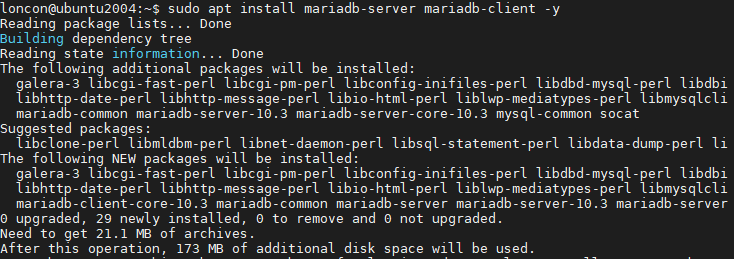
Wait for the installation to complete. After that, we need to set the MariaDB root password and secure the MariaDB instance by running this command and following the instructions:
sudo mysql_secure_installation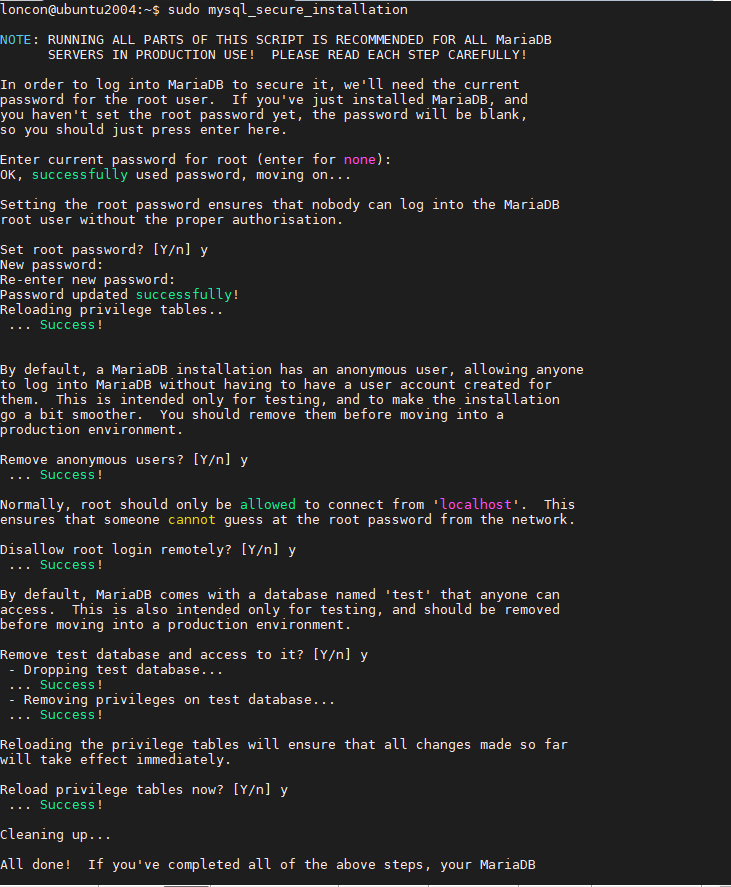
Also make sure that MariaDB starts automatically on boot, just like Nginx:
sudo systemctl enable mariadbStep 3 – Install PHP module
We need to install PHP and some extensions to run WordPress by executing this command:
sudo apt-get install -y php-fpm php-mysql php-cli php-dom php-simplexml php-ssh2 php-xml php-xmlreader php-curl php-exif php-ftp php-gd php-iconv php-imagick php-json php-mbstring php-posix php-sockets php-tokenizer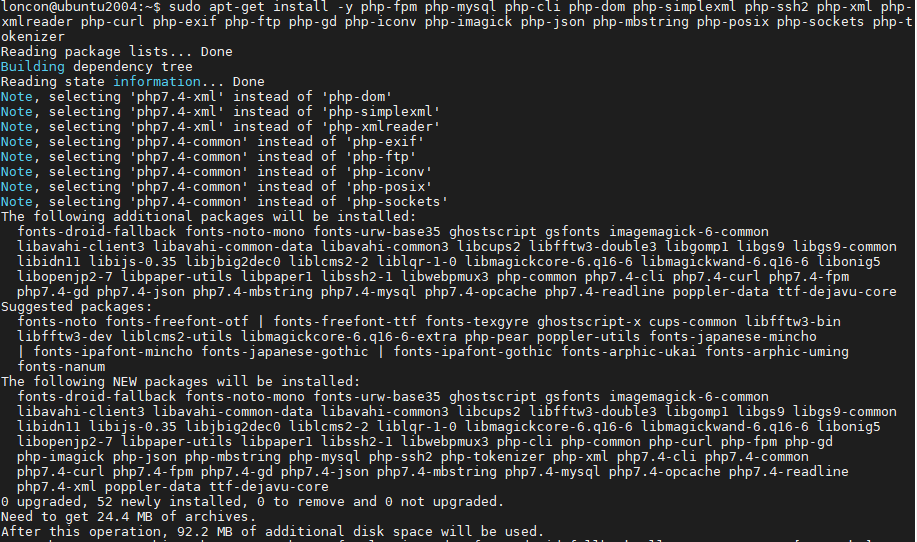
Step 4 – Set up Nginx server for WordPress
We need to create a configuration file for the WordPress server block. To do this, create a new configuration file and add the following configuration to the /etc/nginx/sites-available directory.
sudo nano /etc/nginx/sites-available/wordpress.confNote: Change www.example.com with your real domain.
Create a soft link between the configuration files with the server blocks in the sites-enabled and sites-available directories.
cd /etc/nginx/sites-enabled
sudo ln -s /etc/nginx/sites-available/wordpress.conf
Create the following document root directory.
sudo mkdir -p /var/www/html/www.example.com/
sudo mkdir -p /var/www/html/www.example.com/logs/
Note: Change www.example.com with your real domain.
Then we restart the Nginx service to load the configuration.
sudo systemctl restart nginxStep 5 – Install WordPress
First, we need to download the latest version of WordPress.
wget http://wordpress.org/latest.tar.gz
Unzip the WordPress package with the tar command and move the WordPress folder to the web root directory.
tar -zxvf latest.tar.gz
sudo mv wordpress/* /var/www/html/www.example.com/
Note: Change www.example.com with your real domain.
Change the owner to www-data:
sudo chown -R www-data:www-data /var/www/html/www.example.com/
sudo chown -R www-data:www-data /var/www/html/www.example.com/logs/
Now we need to create a database for WordPress. We log in to Mariadb and create it step by step as follows:
sudo mysql -u root -pCreate a database and a WordPress user and give this user permission to access the WordPress database.
CREATE DATABASE wordpress;
CREATE USER 'wpuser'@'localhost' IDENTIFIED BY 'wppassword';
GRANT ALL PRIVILEGES ON wordpress.* TO 'wpuser'@'localhost';
quit
Note: Replace the database, username and password as you wish.
Go to the web browser and go to your IP address or domain name. You will see a page like this:
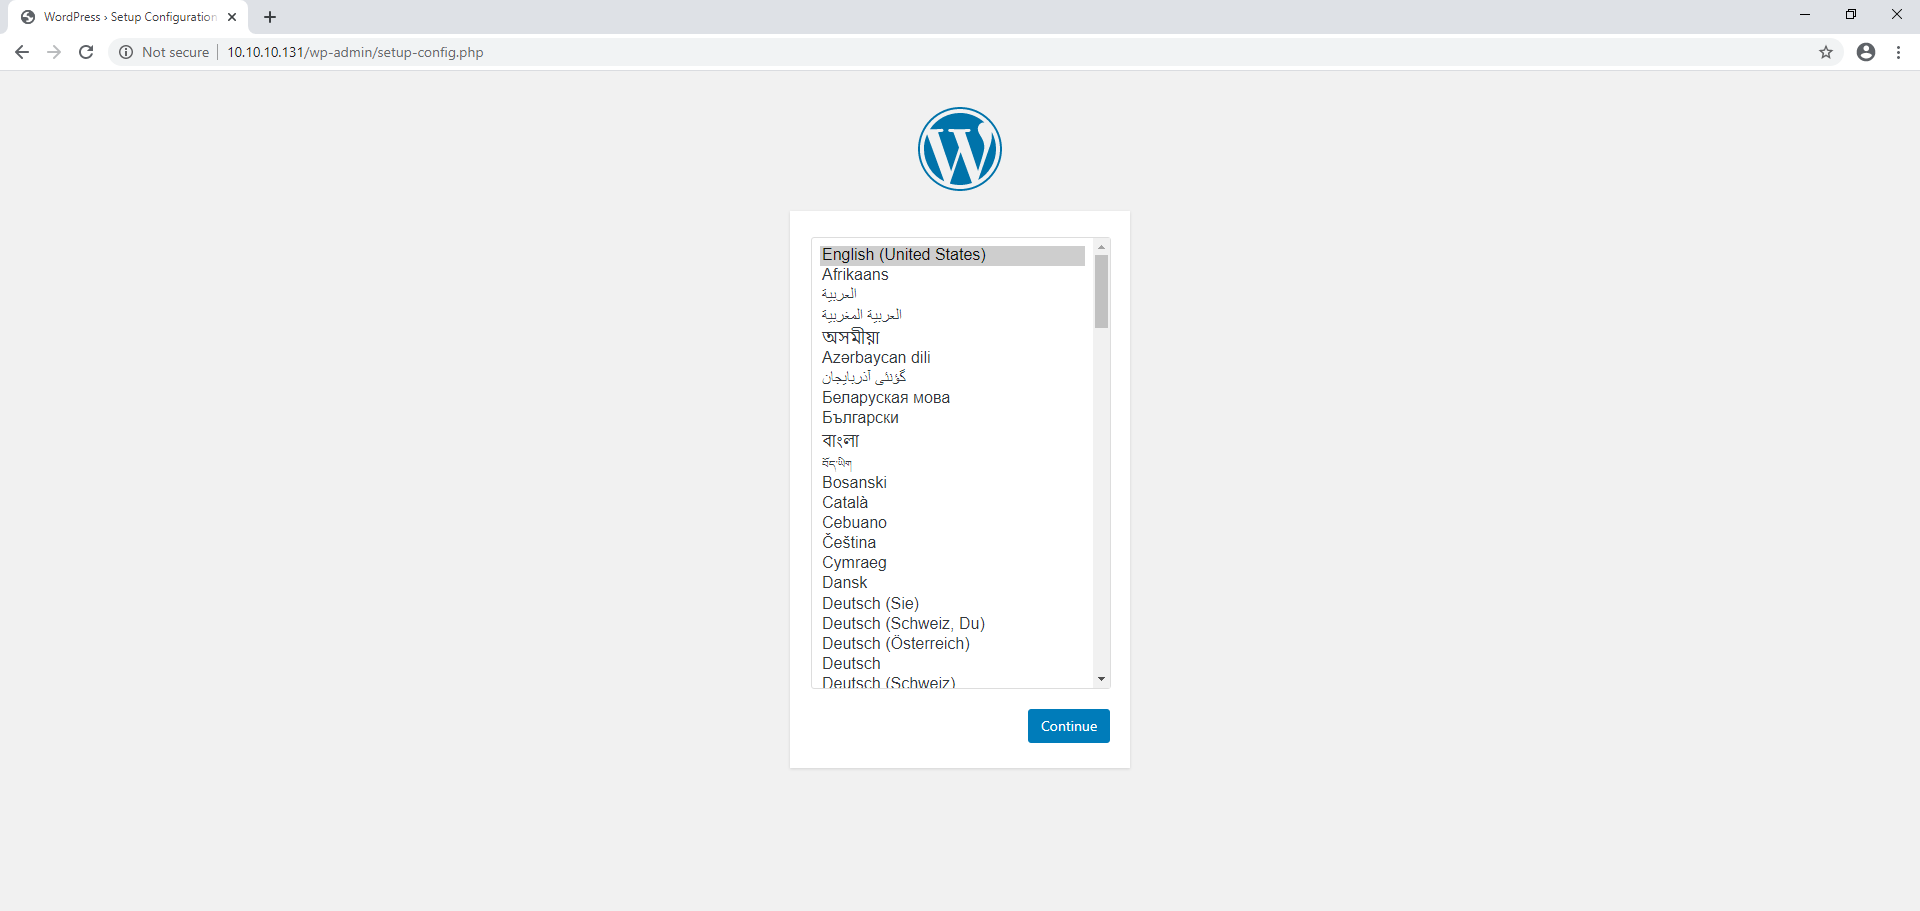
Select your language and click Next. On the next page, you’ll need to enter your WordPress database account, username and password that we set earlier, and click Submit button.
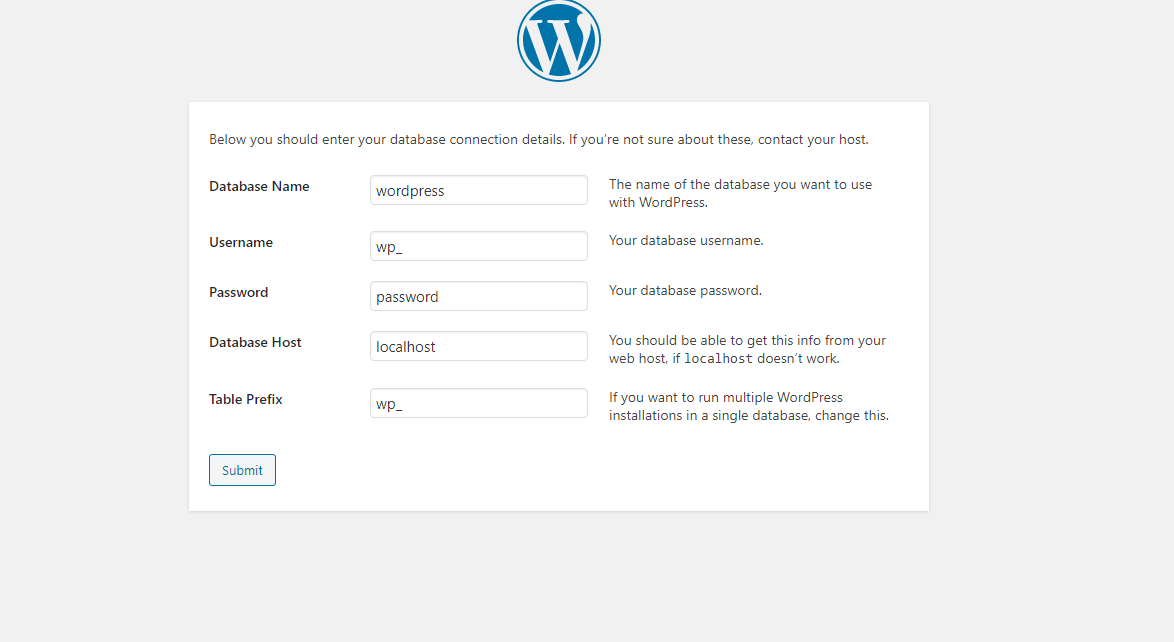
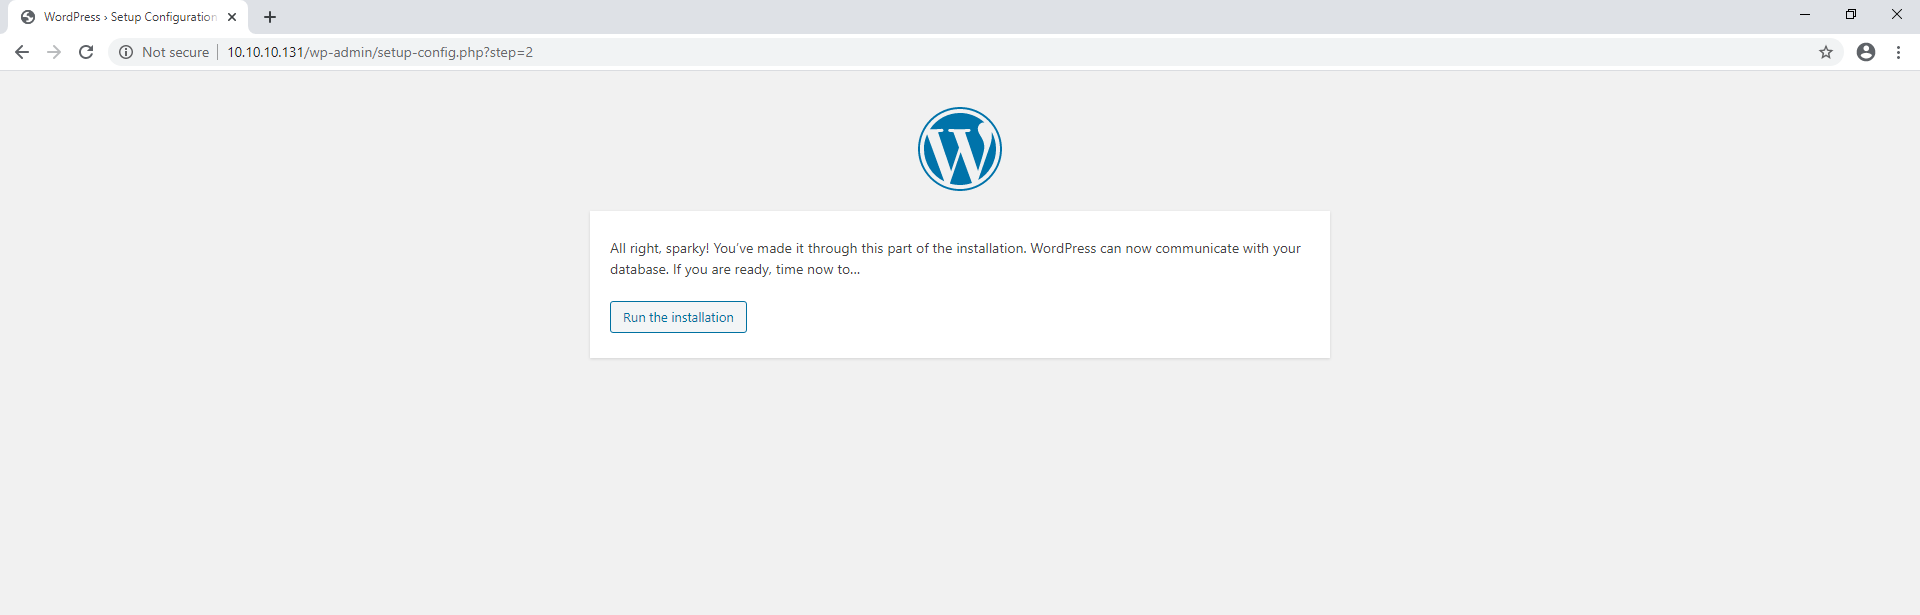
If the database connection is successful, you can install WordPress. Click on Run the installation button.
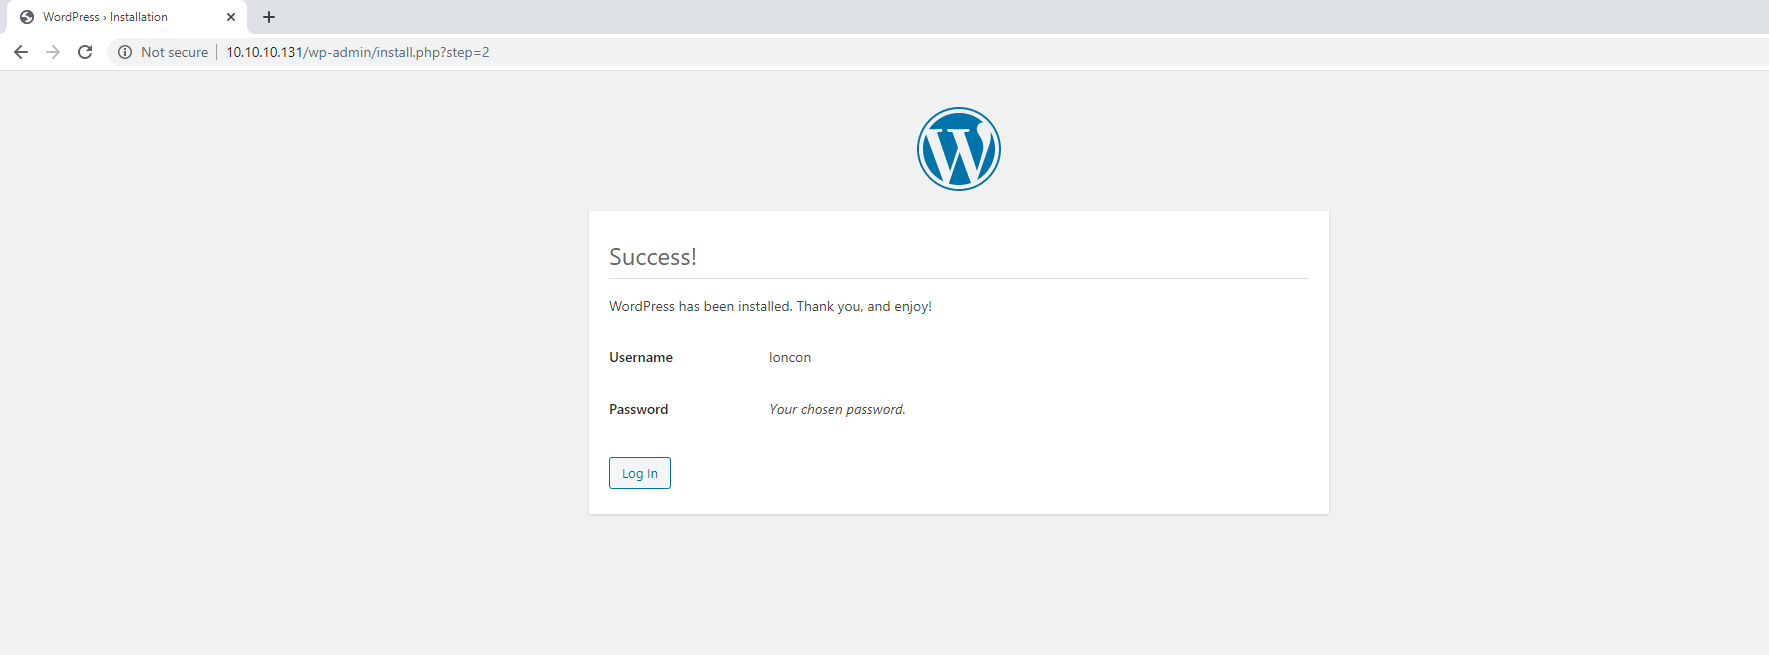
Now you need to enter the site tile, WordPress administrator account and password and click on Install WordPress.

Then you should see the success page.
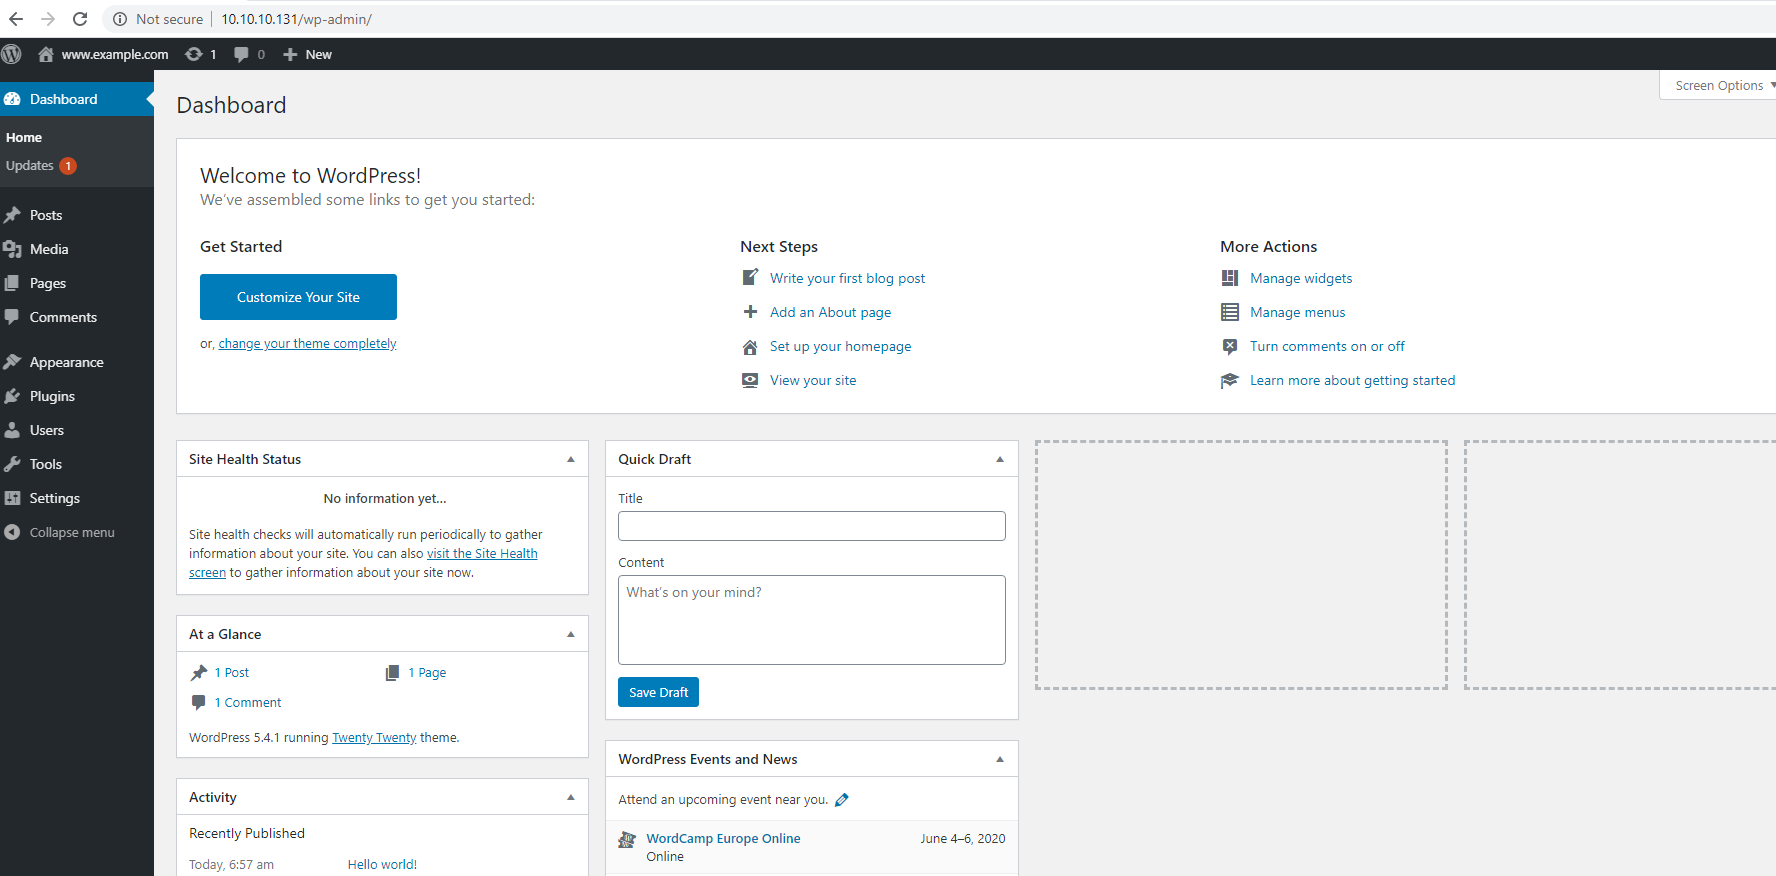
The admin page:
And the home page

Done. You now have a WordPress blog page to start blogging.