Vagrant is a very useful automation software when you craete virtual machines regularly, e.g. for software testing and DevOps. It is a command line tool that is used by developers to build and manage their preferred virtual machines. It makes it easy for developers to set up a developing environment that works on many operating systems.
A hypervisor is required to provision virtual machines on top of it. In this article, we are going to install Virtualbox as the hypervisor. We are going to install vagrant on Ubuntu 20.04 server.
Installation of Vagrant on Ubuntu
You must have to install virtualization technology such as Virtualbox before the installation of vagrant. For such a hypervisor to be installed, let’s update the system by running the command as shown below.
$ sudo apt update
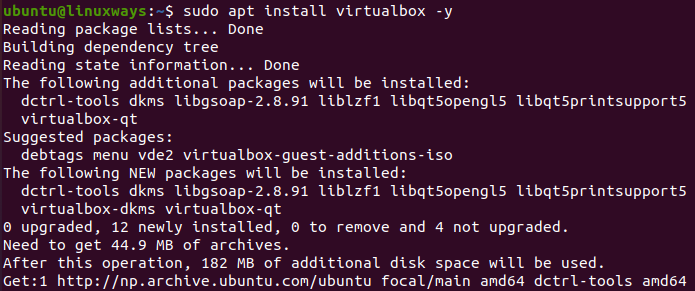
After running the above command, let’s install the virtualbox with the command as shown below.
$ sudo apt install virtualbox -y
After the successful installation of virtualbox, let’s install the vagrant by downloading the preferred version of the .deb file or zip file from the vagrant download page.
Download the .deb file of vagrant by using wget command as shown below.
$ wget https://releases.hashicorp.com/vagrant/2.2.19/vagrant_2.2.19_x86_64.deb
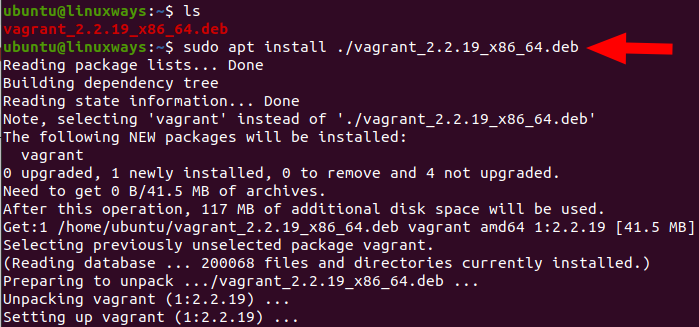
After the download of the .deb file, install the vagrant package with the command as shown below.
$ sudo apt install ./vagrant_2.2.19_x86_64.deb
Vagrant is successfully installed with the above command but you can also confirm with by running the command as shown below.
$ vagrant --version
![]()
![]()
With the output as shown on above screenshot, it is confirmed that vagrant is successfully installed.
Using Vagrant on Ubuntu
To use the vagrant by using the virtualbox, first create a root directory for your vagrant project with your preferred project name and navigate to that directory. Check the command as shown below for further details.
$ mkdir vagrant-test
$ cd vagrant-test/
Next, run the init command to initialize a vagrant file by simply using the box name that you preferred. Here, we are going to use box generic/ubuntu2004. Check the other box name from the link “https://app.vagrantup.com/boxes/search” to install your preferred one. Check the command as shown below for further details regarding initializing the vagrantfile.
$ vagrant init generic/ubuntu2004

You will see a newly created Vagrantfile after the execution of the above init command. Next, run the command as shown below to provision VM with the use of configuration on Vagrant file.
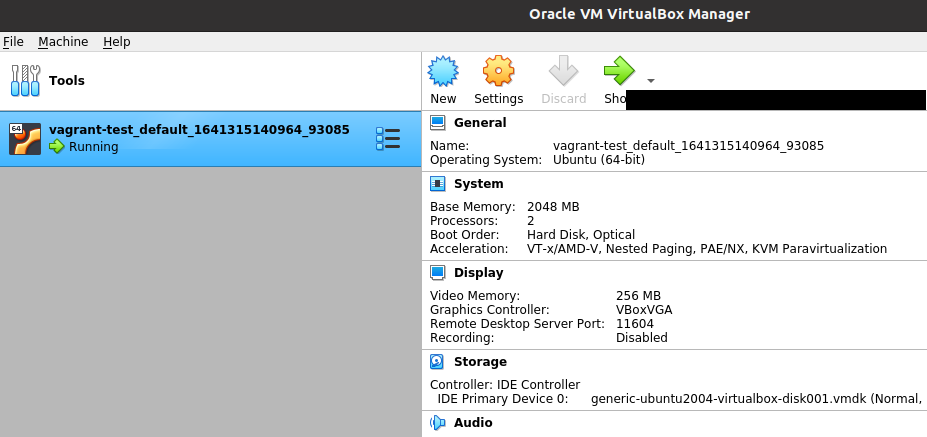
$ vagrant up
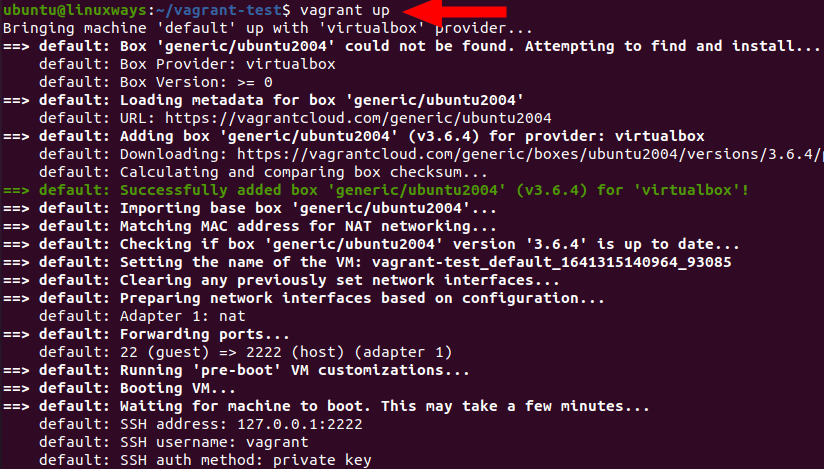
After the successful execution of the above command, you have installed the virtual machine using vagrant. You can also verify it by opening the virtualbox as shown on the screenshot below.
Some of the commands that you like to know to execute are shown below.
To ssh into a virtual machine using vagrant, run the command as shown below.
$ vagrant ssh
To halt the virtual machine using vagrant, run the command as shown below.
$ vagrant halt
To destroy the virtual machine using vagrant, run the command as shown below.
$ vagrant destroy
Conclusion
In this article, you have learnt how to install the vagrant with the use of virtualbox and the use cases of vagrant in Ubuntu 20.04 LTS Server. Thank you!