In this tutorial I will show you how to install the latest version of Debian 9 via a PXE server at your site. The machine is booted over the network and the system is installed via remote HTTP mirror sources on the Internet provided by Debian archive mirrors. The client machines get their IP addresses and other network settings assigned via a DHCP server. The PXE instructions and files are also delivered to the clients via the DHCP server, and the netboot Debian files are delivered to the local network via the TFTPD server. Installing a system via PXE can increase the installation speed if you need to perform multiple Debian installations in a short period of time or if the machines are not equipped with a CD/DVD-ROM unit. If you use this method to install a Debian system, you will never have to touch bootable DVD/USB media again.
Requirements
- A bare metal machine or virtual machine
- A fast internet connection to install Debian via internet mirrors
- A PXE network boot server (DHCP and TFTP services) installed at your site.
Installation procedure
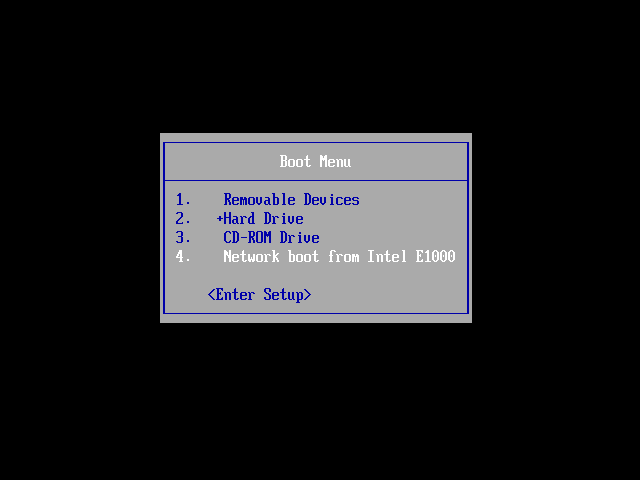
To install Debian 9 via a PXE server, you must reboot your client machine and instruct the BIOS to boot from the network. You can boot from the network by pressing a special function key when you turn on the machine. Refer to your computer’s motherboard manufacturer’s documentation for the correct key to press to boot from the network. On some computers, you can temporarily switch to PXE boot without permanently changing the BIOS settings by pressing a special key during the BIOS POST initialization process. On most motherboards, the F12 key is designated for this task, but you’ll need to check the motherboard manufacturer’s manual to be sure.
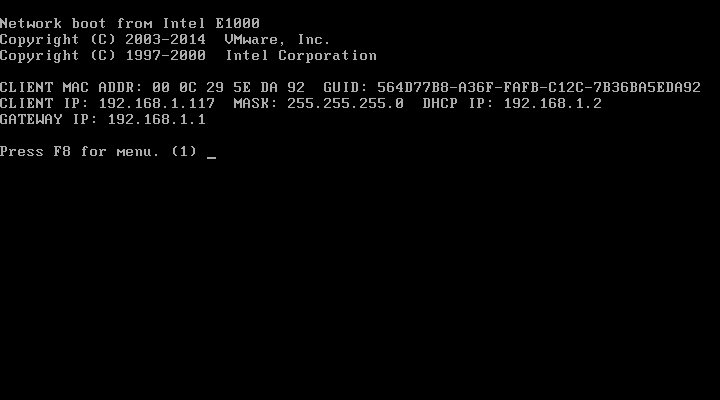
The initial process of booting a computer over PXE should look like the following pictures.
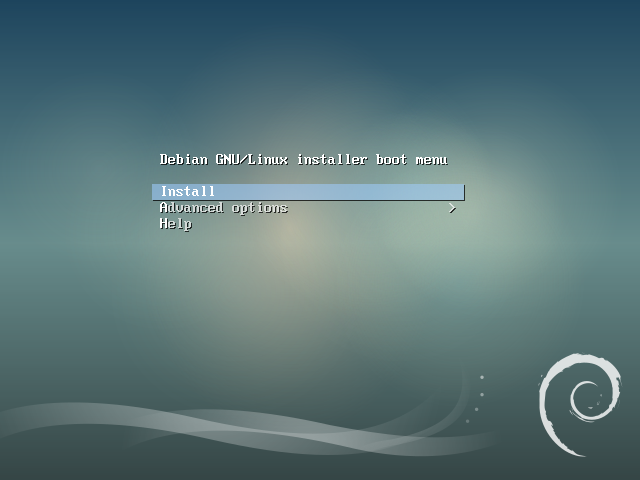
After the machine has booted over the network, the initial Debian installation menu should appear on your screen, as shown in the following image. Select Install from the boot menu that appears and press [Enter] to continue.
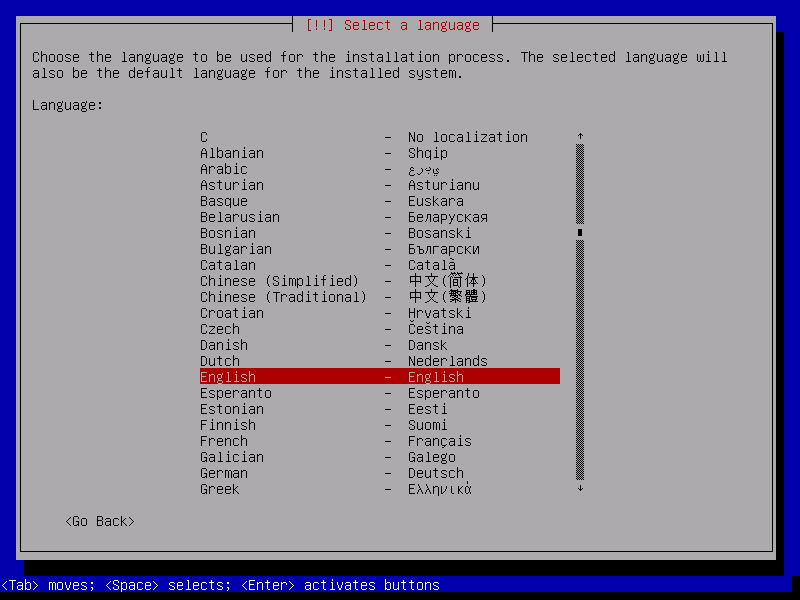
Wait a few seconds while the kernel and the first compressed files of the ramdisk are loaded over the network, and the language installation screen should appear on your screen as shown in the following figure. In this installation menu, select the language to be used for further installation and press Enter to continue.
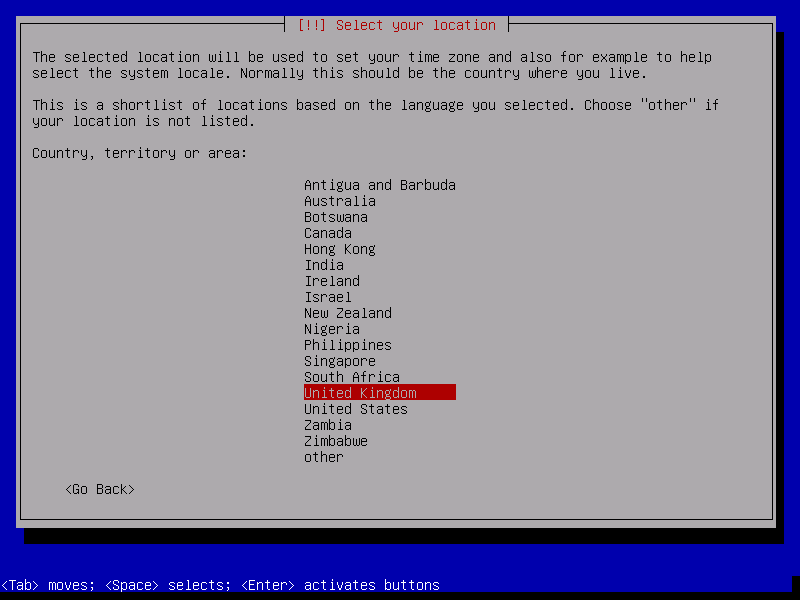
In the next installation step, select the physical location (usually your country) to be used for setting the time zone of your system and press Enter to continue (see the figure below).
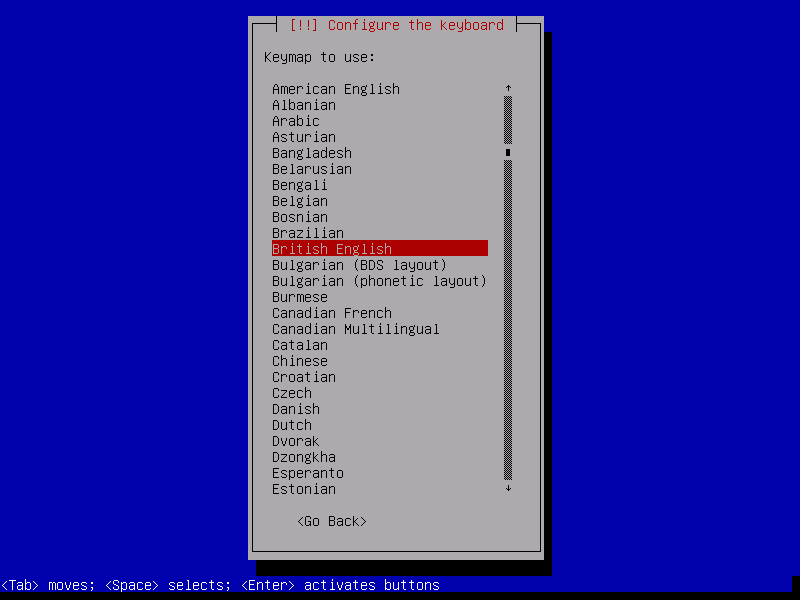
On the next screen, select your keyboard layout from the list provided and press Enter to continue.
Next, the installer will automatically configure your computer’s network interface via DHCP and prompt you to enter your computer’s hostname. Choose a meaningful hostname for your computer, as shown in the following figure, and press Enter to continue.

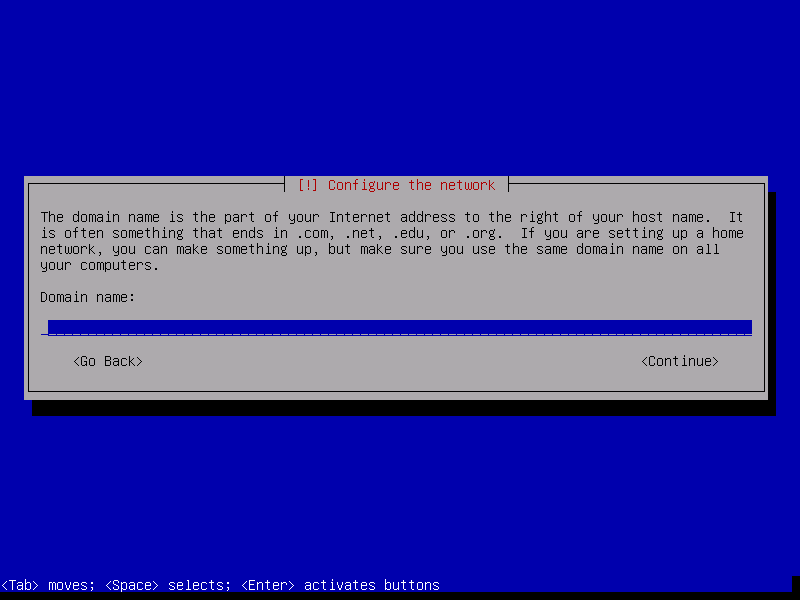
On the next installation screen, you can add a domain name for this computer and press Enter to continue. If you do not have a domain name configured, you can leave the domain field blank and continue with the installation.
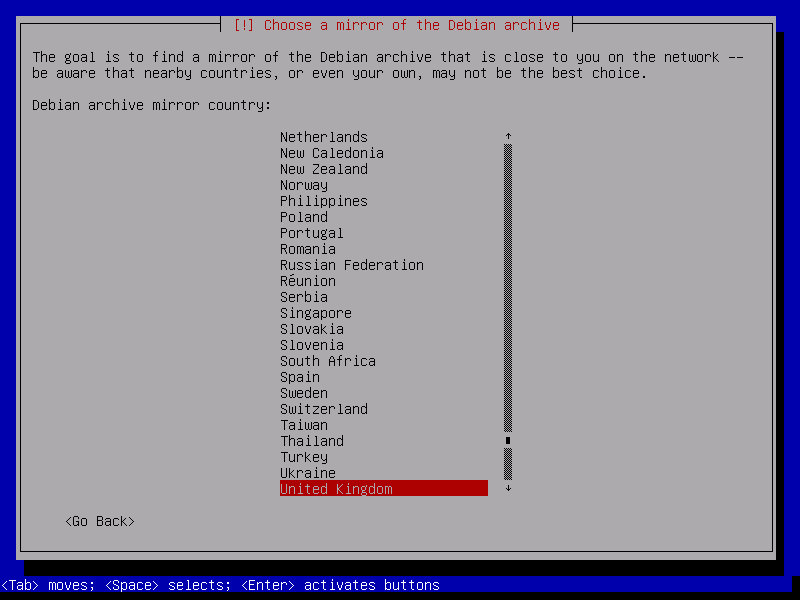
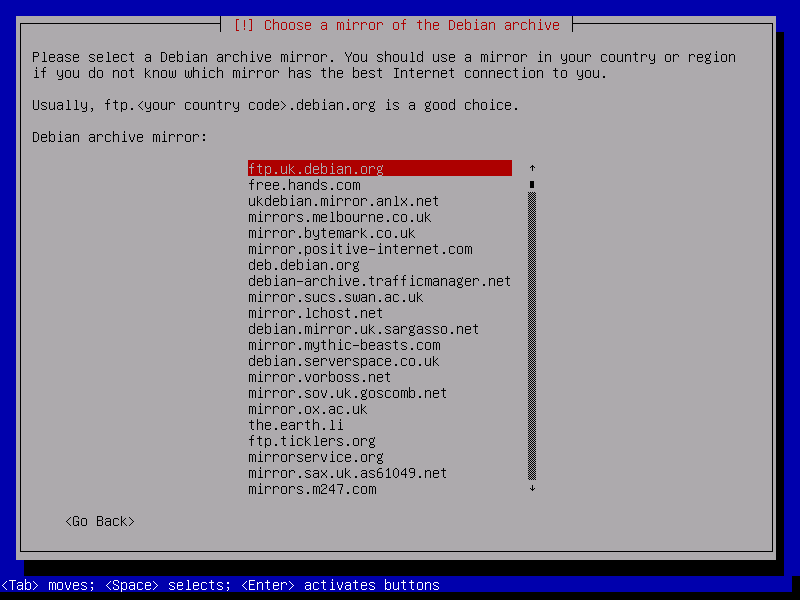
At this stage of the installation process, you select the nearest Debian archive mirror from the list to download and install all the required packages. After selecting the archive mirror address from the country list, press Enter to continue. The screenshots below describe this step. At this point you also have the option to install Debian from your own local archive mirror.
If you are using a proxy for Internet access, add the proxy’s connection details in the next screen. If not, leave the proxy field blank and press Enter to continue, as shown in the following figure.

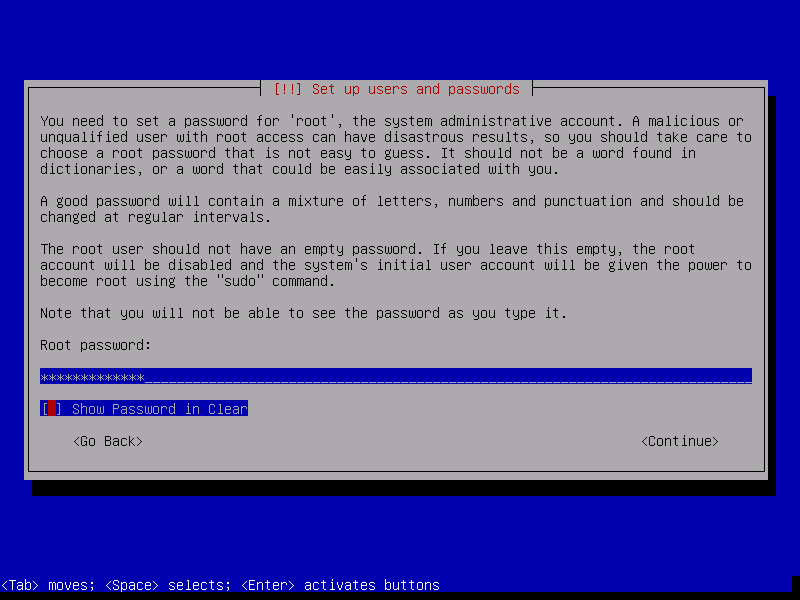
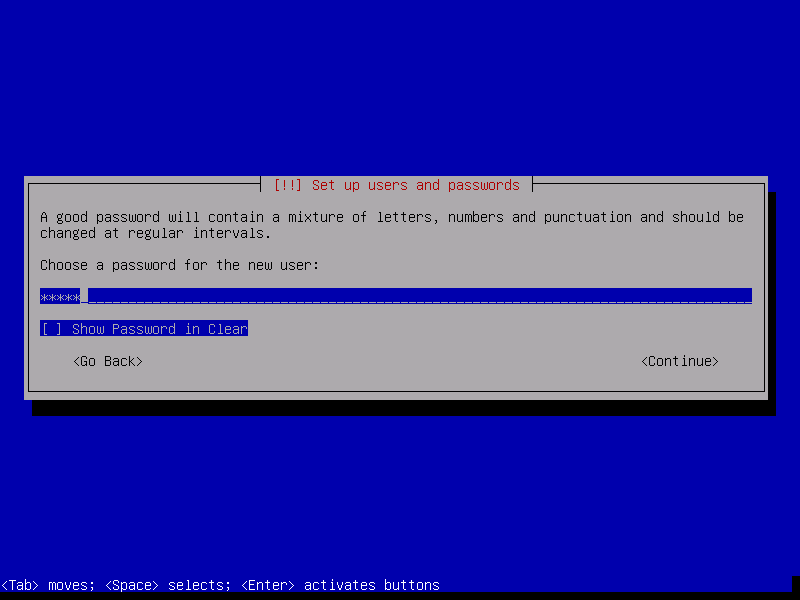
After downloading a number of additional installation components from the Internet, you will be prompted to enter and confirm a secure password for the root account. Add your root password, confirm it and press Enter to continue.
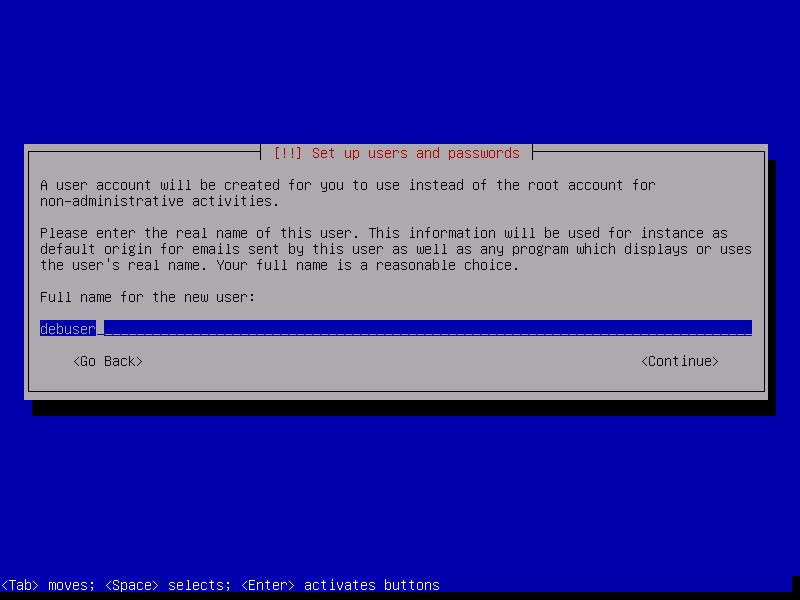
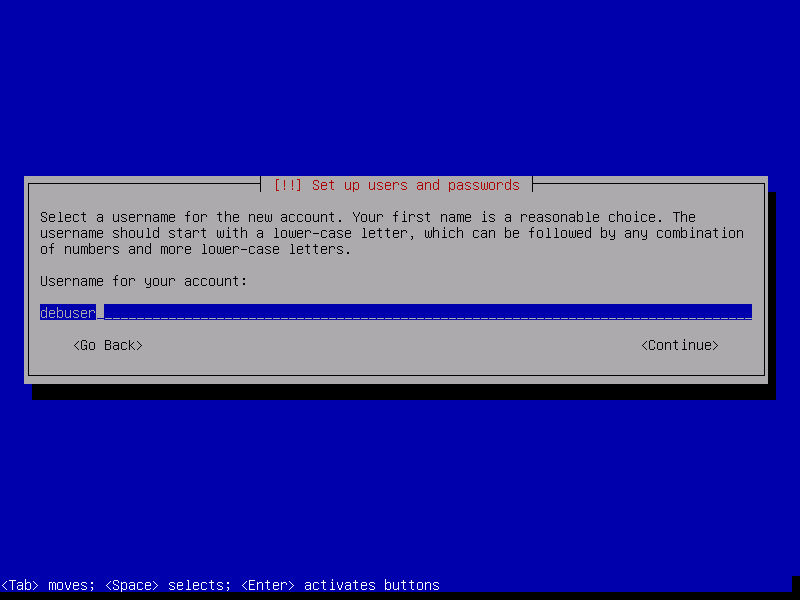
Next, you need to create a normal user account without administrative privileges for the Debian system. Add the full name of the account, followed by a username and password, as shown in the figures below.
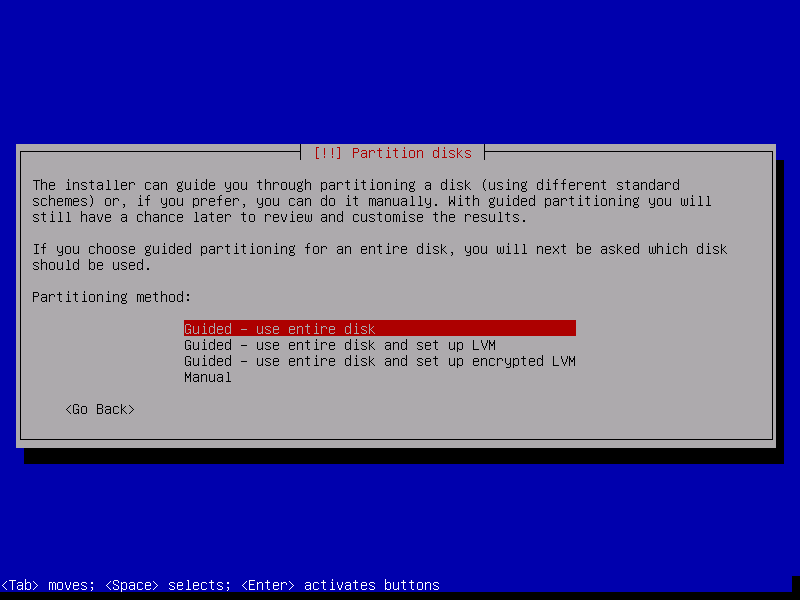
In the next installation step, select a disk partitioning method and press Enter to continue. If you don’t need a specific partition scheme for your computer, select the Guided – use entire disk method. For a more advanced partition layout you should choose the Manual method.
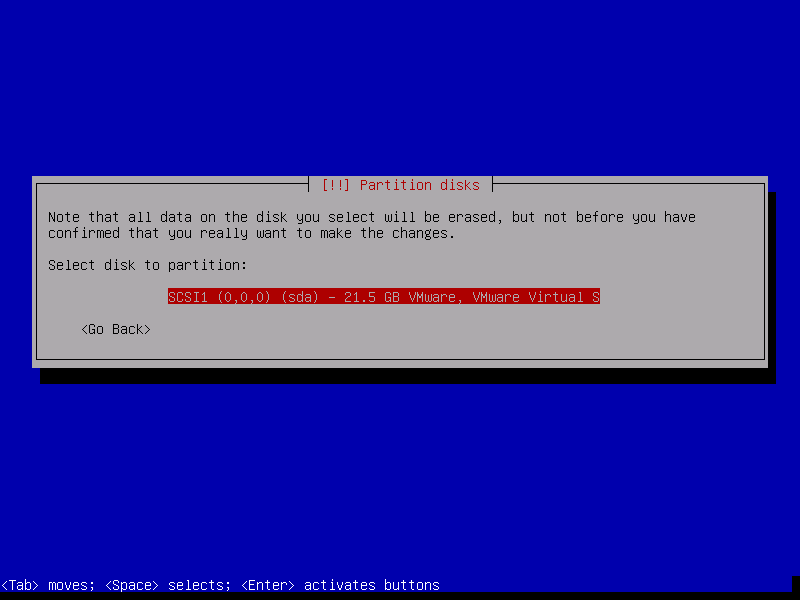
Then select the appropriate disk to be partitioned and press Enter to continue. Note, however, that all the data on the selected disk will be completely erased because you used the guided method to partition the disk. Make sure that you have backed up all the data on the hard drive first before proceeding with this step.
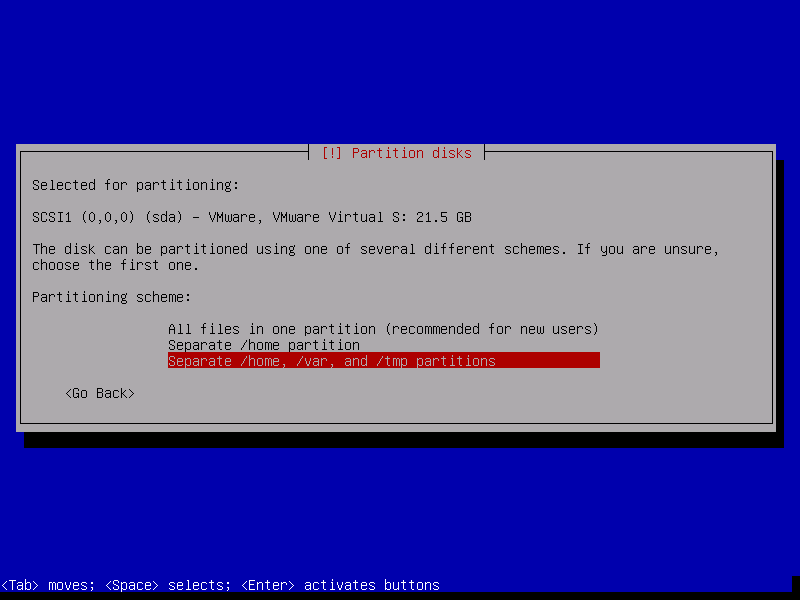
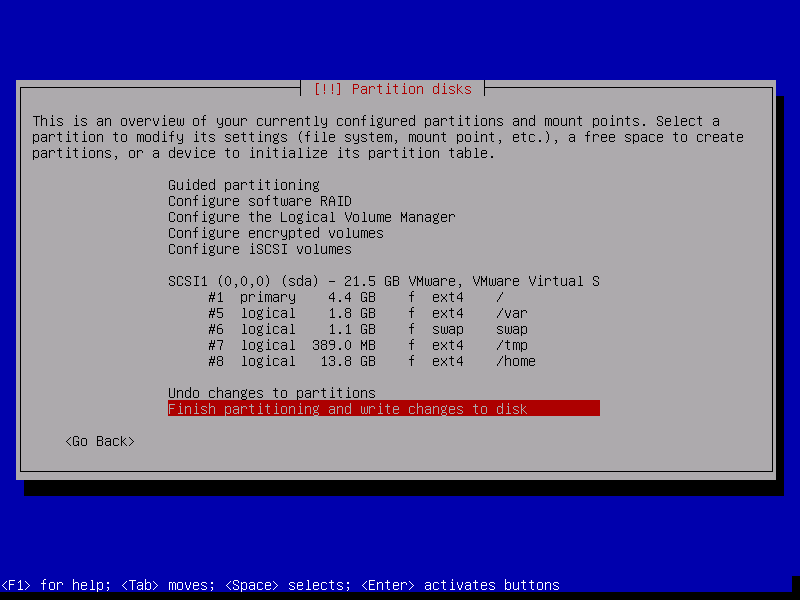
Next, select a partition scheme from the list provided. If the computer is to be used as a server, select the /home, /var and /tmp partitions and press Enter to continue.
Check the disk partitions and mount points and select Finish partitioning and write changes to disk.
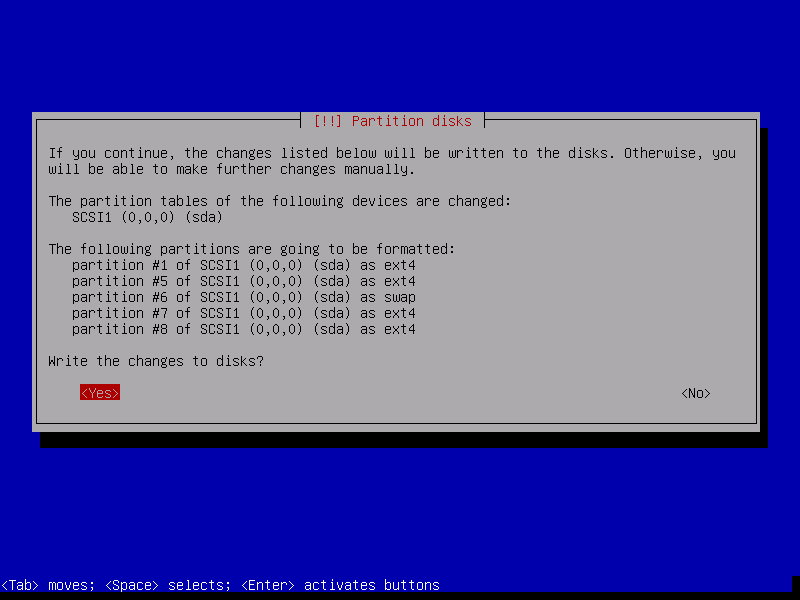
Finally, check the partitions and select YES and press Enter to write the changes to the hard disk. This step will format your hard disk and start the installation process of Debian. You cannot undo the changes to the hard disk once you have confirmed this installation step.
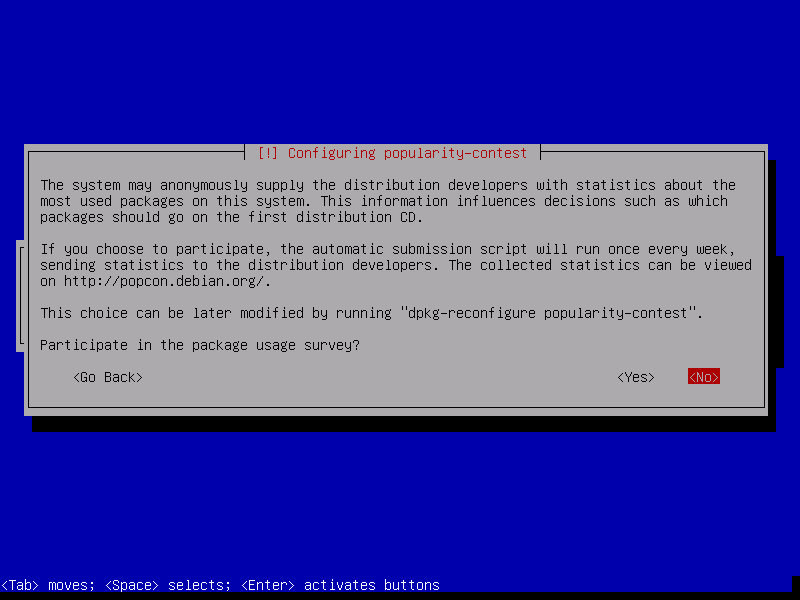
On the next interactive screen, the installer asks you if you want to participate in the package usage popularity poll. Select No if you do not want to participate in the package usage survey and press Enter to continue.
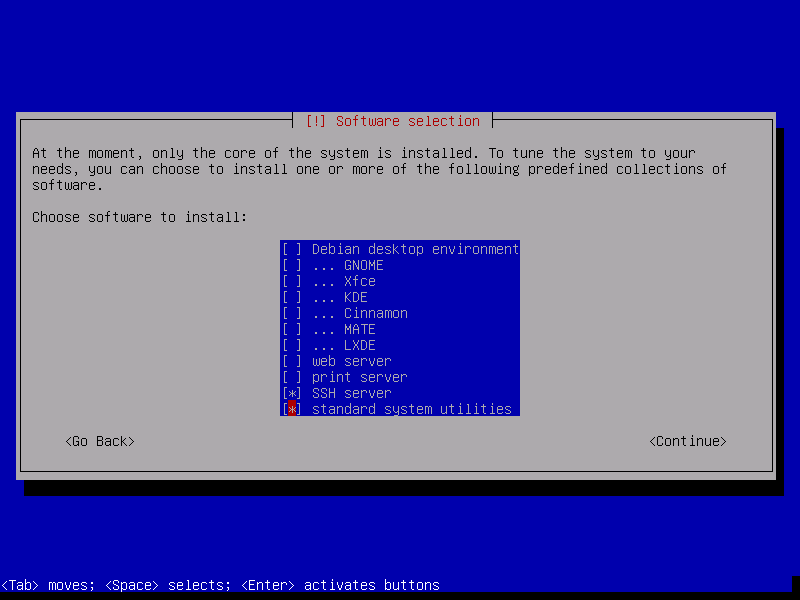
In the next step of the installation process, you can choose which software to install on your system. Currently, only the base Debian system is installed on your hard drive. In this guide, we will set up a minimal installation of Debian. Select the SSH server and the default system utilities from the list by pressing [Space], and click Next to install the selected packages. All software installed in this step is automatically downloaded from the public Debian Internet archive mirrors. Additional packages or desktop environments can be installed later from the command line after the installation process is complete.
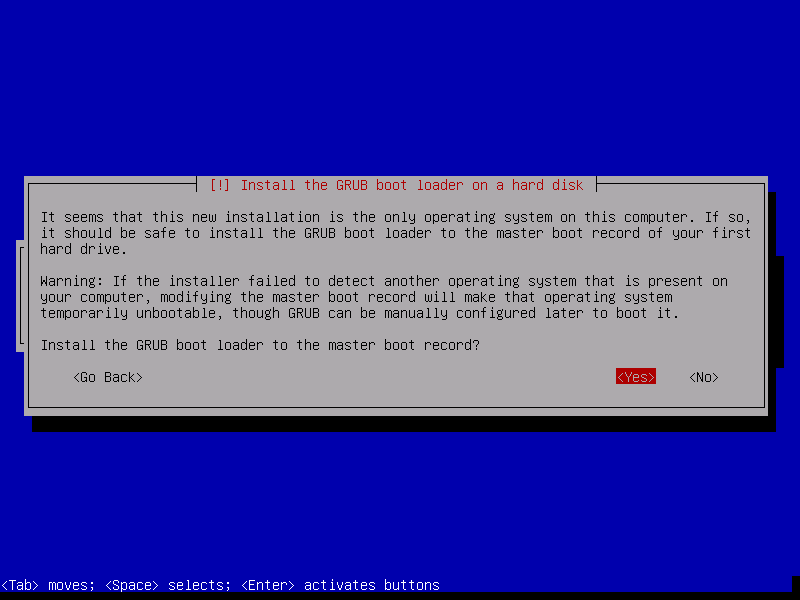
In the next step, the installer tries to detect if there are other operating systems on your hard disk and asks you if you want to install the GRUB boot loader into the MBR of your hard disk. Select Yes to install the GRUB boot loader and press Enter to continue.
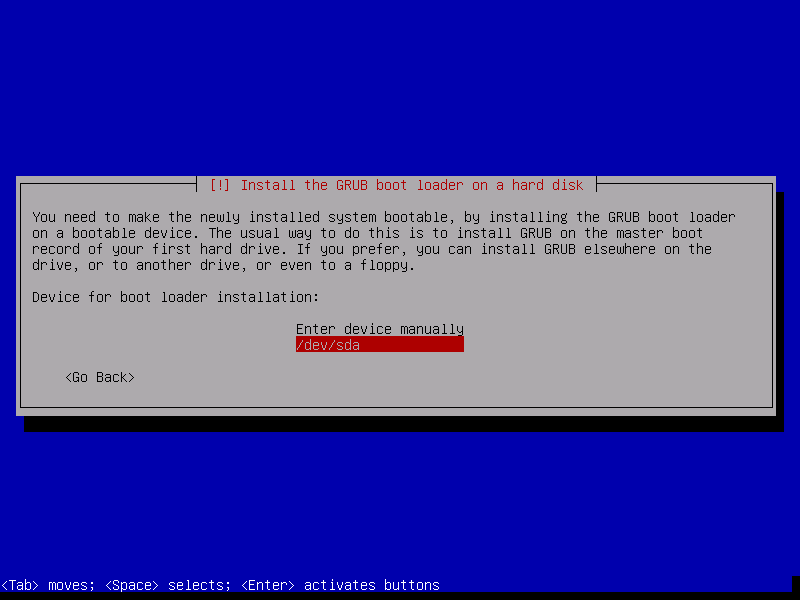
To make your system bootable, next select to install the GRUB boot loader on the first disk represented by the /dev/sda device and press [Enter] to continue.
After the installation of Debian is complete, click Next to finish the installation process and reboot your machine.

After rebooting, you should change the boot order in your computer’s BIOS settings if you have set the computer to boot over the network before attempting to boot from the internal hard drive.
Congratulations! You have installed the latest version of Debian 9 via a PXE server. You can now log into the Debian console and begin upgrading the system and installing other needed software to continue using the system.