Zikula is a free and open-source software that anyone can use to build anything they want. It’s easy enough for even your grandma.
Zikula means “plus” in Swahili language, so it translates as “more than” or “something more”. The name embodies what this project provides – an extension beyond common web technologies with tools like templates that help you create simple one-page websites all the way up to complex applications powered by Node JS modules & MVC architecture. You can create anything from basic one-page websites to sophisticated and powerful online apps with Zikula’s user-friendly interface. It is very simple to set up, so you will have no trouble making your vision come alive.
In this guide, we’ll guide you through how to install Zikula and all of its requirements on an Ubuntu 20.04 system.
Prerequisite
- As a prerequisite for the installation process, please make sure that your server meets or exceeds these requirements:
- 20 GB disk space is available free within the partition/directory where binaries are stored.
- Internet access via WAN from the same gateway/router as the machine acting as a server – i.e., no NAT rule applies.
- A non-root user with sudo privileges on the server.
Updating the System
Installing and upgrading to the latest version is easy with just a few clicks. You can also take advantage of all new security patches, as well as upgraded technology that comes included in a release without having to reinstall your system or reconfigure it manually.
You can update your system with the apt command.
sudo apt-get update -y && sudo apt-get upgrade -y
Reboot the server if any kernel update is applied. When a new kernel is installed, usually all the old modules are unloaded and replaced with newer ones. If you (or some script) attempt this while trying to load one of these modules then your system will not be able load, because it finds only an older module on disk compiled for earlier versions of that particular Linux distribution’s kernels–and there can’t really anything more frustrating than installing something exciting like XFCE4 desktop environment only finds out its broken right away.
sudo reboot now
When the update is finished, log back in as the same non-root user and proceed to the next step.
Installing Apache Web Server
A Content Management System like Zikula CMS requires a webserver to serve the website contents. In this tutorial, we will use the Apache server for this purpose. Apache Webserver is easy to install, is the most popular web server, and is an open-source project will full community support. The Apache server is well known for its reliability and ability to handle a lot of concurrent connections in a very efficient way. The Apache Webserver fits perfectly with Zikula CMS.
sudo apt install -y apache2
Once the installation process completes, start Apache to make sure its running.
sudo systemctl start apache2
To enable the service on boot, use this command:
sudo systemctl enable apache2
To check the status of the Apache server at any time, use this command:
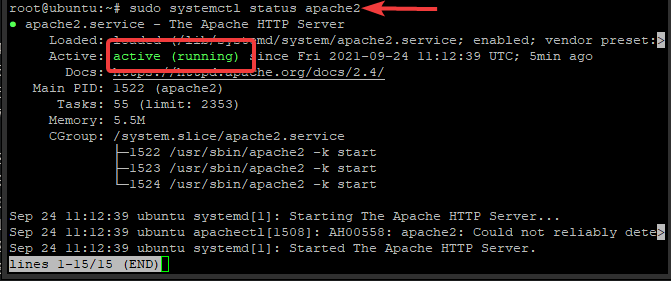
sudo systemctl status apache2
If you see a green message saying Active: active (running) then Apache is up and running.
The web server is up and running, but the best way to test it is from a client, like your browser.
Open your web browser and type the IP address of your server or use your domain name. You should see the default Apache page below.
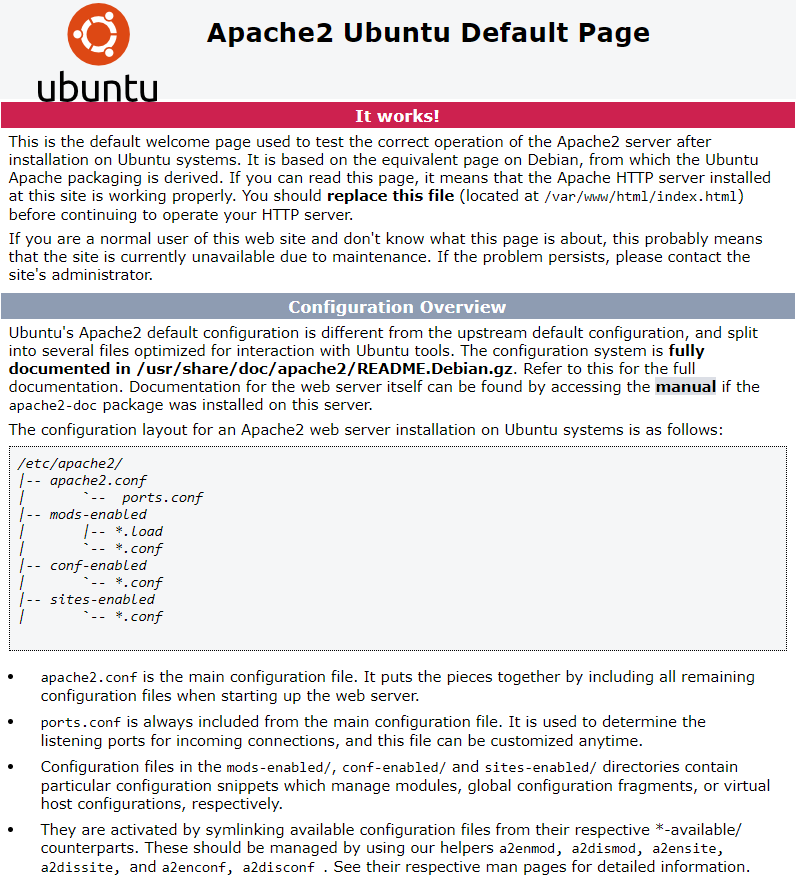
You have successfully installed Apache web server on your Ubuntu system. You’ll install a database in the next step.
Install a MariaDB Server
Zikula needs an empty SQL database. MariaDB is a popular choice. MariaDB is a community-developed fork of the MySQL database system and it will fit our needs nicely.
sudo apt -y install mariadb-server
Once the installation finishes, start MariaDB and enable it to start at boot time.
sudo systemctl start mariadb
sudo systemctl enable mariadb
The MariaDB service automatically starts when installed, so all we have to do is check its status to ensure it is running.
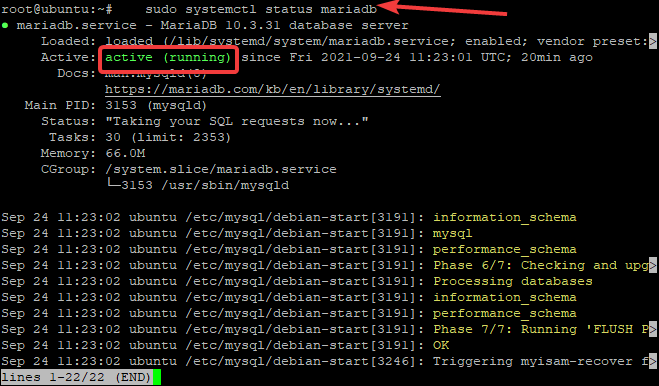
sudo systemctl status mariadb
If you see a green message saying Active: active (running) then MariaDB is up and running.
Installing PHP
Zikula is a PHP-based application, so you also need PHP support on your server. PHP is a widely-used general-purpose scripting language known for powering popular content management systems like WordPress. In this example, you will install PHP and all necessary modules using the APT package manager.
sudo apt install -y php

sudo apt install -y php-{common,mysql,xml,xmlrpc,curl,gd,imagick,cli,dev,imap,mbstring,opcache,soap,zip,intl}
sudo apt install -y libapache2-mod-php
Once the installation process completes, restart the Apache webserver.
sudo systemctl restart apache2
Finally, confirm that PHP works by checking the phpinfo() page.
First, create a phpinfo() in the web root directory.
echo "<?php phpinfo(); ?>" | sudo tee /var/www/html/info.php
Now, open up the Web-browser, type localhost/phpinfo or your_server_ip/info.php into the address bar, and you should see the PHP info page.
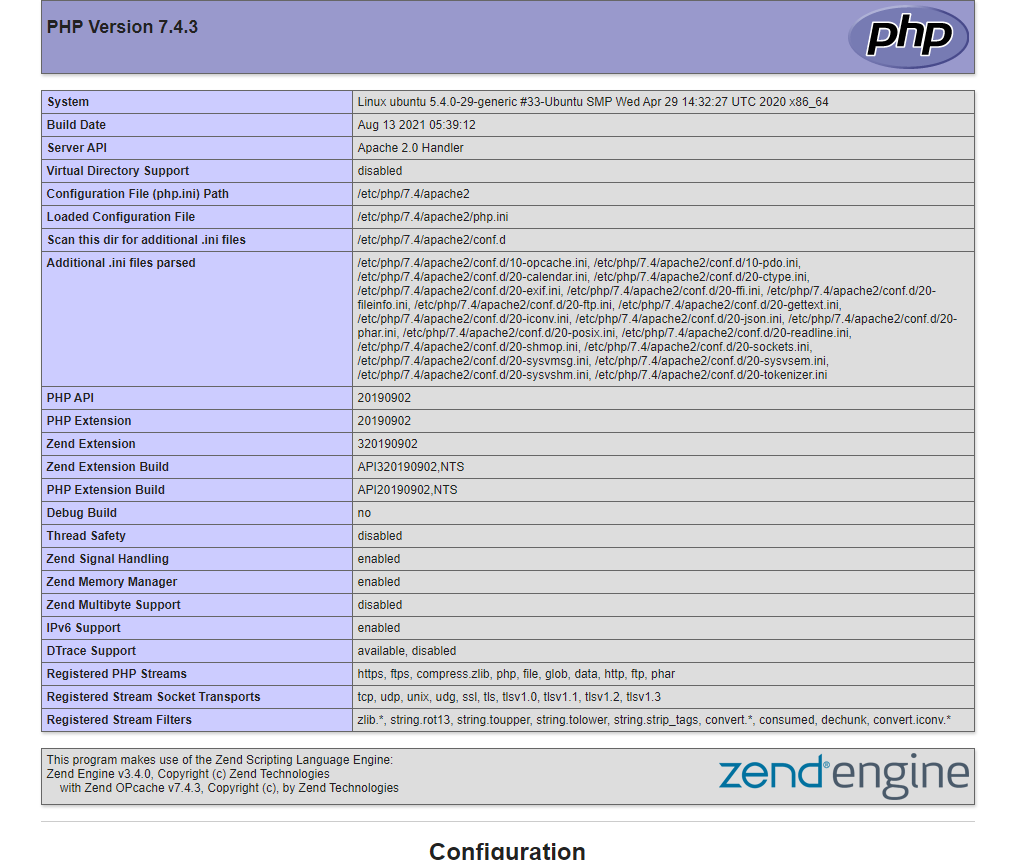
You have successfully installed PHP on your server. In the next step, you will create a database for Zikula.
Creating Database for your Zikula CMS
In this step, you will create a new MariaDB database and a new MariaDB user for your Zikula CMS. This way, you can easily separate the database from system users and avoid any security risks in case of a SQL injection.
sudo mysql -u root
Type the root user password when requested and then create a new database using this command:
CREATE DATABASE zikula_cms;
This command will create a new database called zikula_cms. Now let’s create a database user called zikula_cms_user and give him the privileges to access this database from within the mariadb shell.
CREATE USER 'zikula_cms_user'@'localhost' IDENTIFIED WITH mysql_native_password BY '$trongp@ss';
GRANT ALL PRIVILEGES ON zikula_cms.* TO 'zikula_cms_user'@'localhost';
Now, reload all privileges so that they are in sync with your current user.
FLUSH PRIVILEGES;
Now, exit the shell by typing quit.
exit;
Installing Zikula CMS
Now you have all the required components to install Zikula CMS. It’s time to move ahead and install Zikula on your system.
Downloading the Zikula CMS File
First, download the Zikula zip file from GitHub. We will create a directory for Zikula CMS under your web root directory to store the unpacked Zikula file.
sudo mkdir -p /var/www/zikula_cms
Navigate to GitHub on your computer and open your web browser to get the Zikula CMS download URL.
https://github.com/zikula/core/releases/
Once you are on the download page, copy the link to the Zikula CMS zip file.
Now, return to your SSH session. Using the wget command, you download the Zikula zip file from GitHub to the temp directory.
cd /tmp
wget https://github.com/zikula/core/releases/download/3.0.3/zikula.zip
The zip file is now downloaded. Let’s unzip it and copy all the extracted files to the /var/www/zikula_cms directory you created above. And set proper permissions on the Zikula files.
sudo apt install -y unzip
unzip zikula.zip
sudo rsync -avu zikula/ /var/www/zikula_cms/
sudo chown -R www-data:www-data /var/www/zikula_cms
Creating Virtual Host File for Zikula
Now it’s time to create a virtual host file for Zikula so that Apache knows how to serve the website. Use your favorite text editor to create a new file under /etc/apache2/sites-available directory.
sudo nano /etc/apache2/sites-available/zikula_cms.conf
Populate the file with the following lines.
<VirtualHost *:80>
  ServerName example.com
  DocumentRoot “/var/www/zikula_cms/public”

  <Directory “/var/www/zikula_cms/public”>
    Require all granted
    Options -Indexes +FollowSymLinks
    AllowOverride All
    Order allow,deny
    Allow from all
  </Directory>

  ErrorLog ${APACHE_LOG_DIR}/error.log
  CustomLog ${APACHE_LOG_DIR}/access.log combined

</VirtualHost>
Replace example.com with your domain name. Save the file and then activate the site using the following commands.
sudo a2dissite 000-default.conf
sudo a2ensite zikula_cms.conf
Replace example.com with your server’s hostname. Save the file and then activate the site using the following commands.
sudo a2dissite 000-default.conf
sudo a2ensite zikula_cms.conf
sudo systemctl reload apache2
Completing the Zikula Installation
You have completed all the required steps to install Zikula CMS on your Ubuntu 20.04 server. It’s time to go ahead and finish the installation.
Open your web browser and type your domain name followed by /install.php.
example.com/install.php
You will be taken to the welcome page.
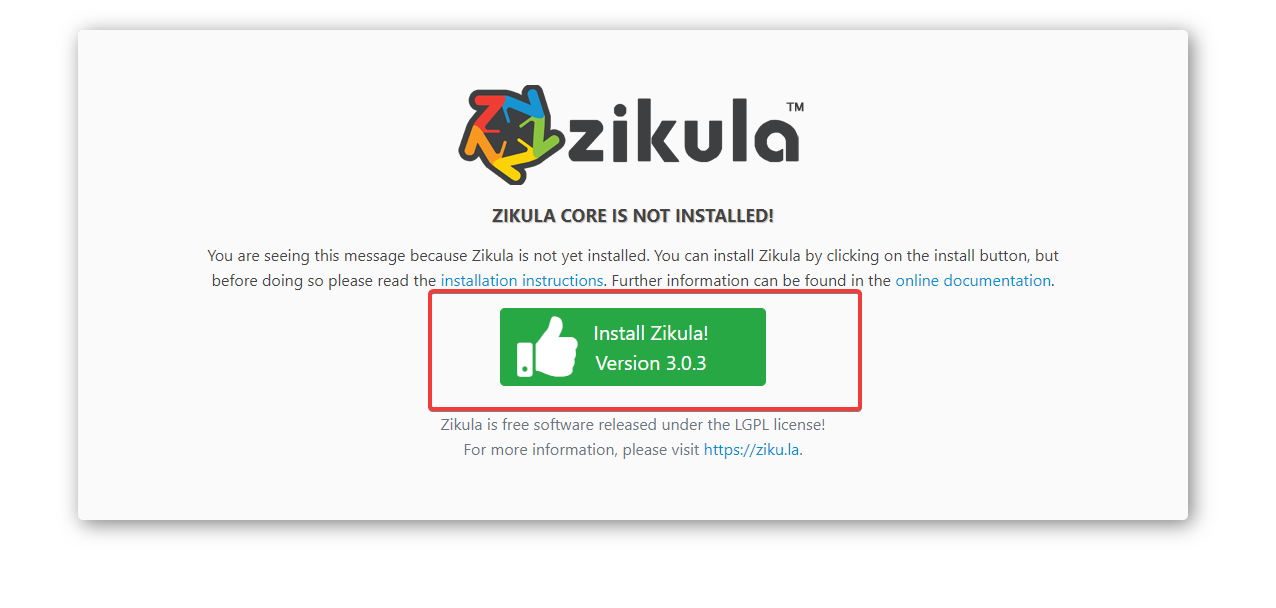
Click on the Install Zikula! button on the page, and then follow the instructions on the screen to finish the installation procedure.

That’s it! You have successfully installed Zikula CMS on an Ubuntu 20.04 Server and are ready to manage your website. For more information, you can read the official Zikula documentation.
Conclusion
This tutorial shows you how to install Zikula CMS on Ubuntu 20.04 server, including all the required prerequisites and initial configuration steps. We hope this tutorial will help you to quickly deploy your Zikula CMS. If you have any questions, please leave a comment below.